How to Apply DTF Transfers to Shirts: Step-by-Step Guide (Temperature, Pressure & Peel)
To apply DTF transfers to a shirt, place the transfer design face-up on your garment, press with a heat press at 300–320°F (150–160°C) for 10–15 seconds using medium-to-firm pressure, and peel according to your film's specifications. Whether you are a beginner pressing your very first custom shirt at home or a small business owner looking to optimize production speed and wash durability, getting the application right is the difference between a flawless print and a ruined garment.
By following this professional-grade guide, you will master the exact workflow, time, temperature, and peel techniques required to achieve retail-quality results every single time.
What Are DTF Transfers and Why Application Matters
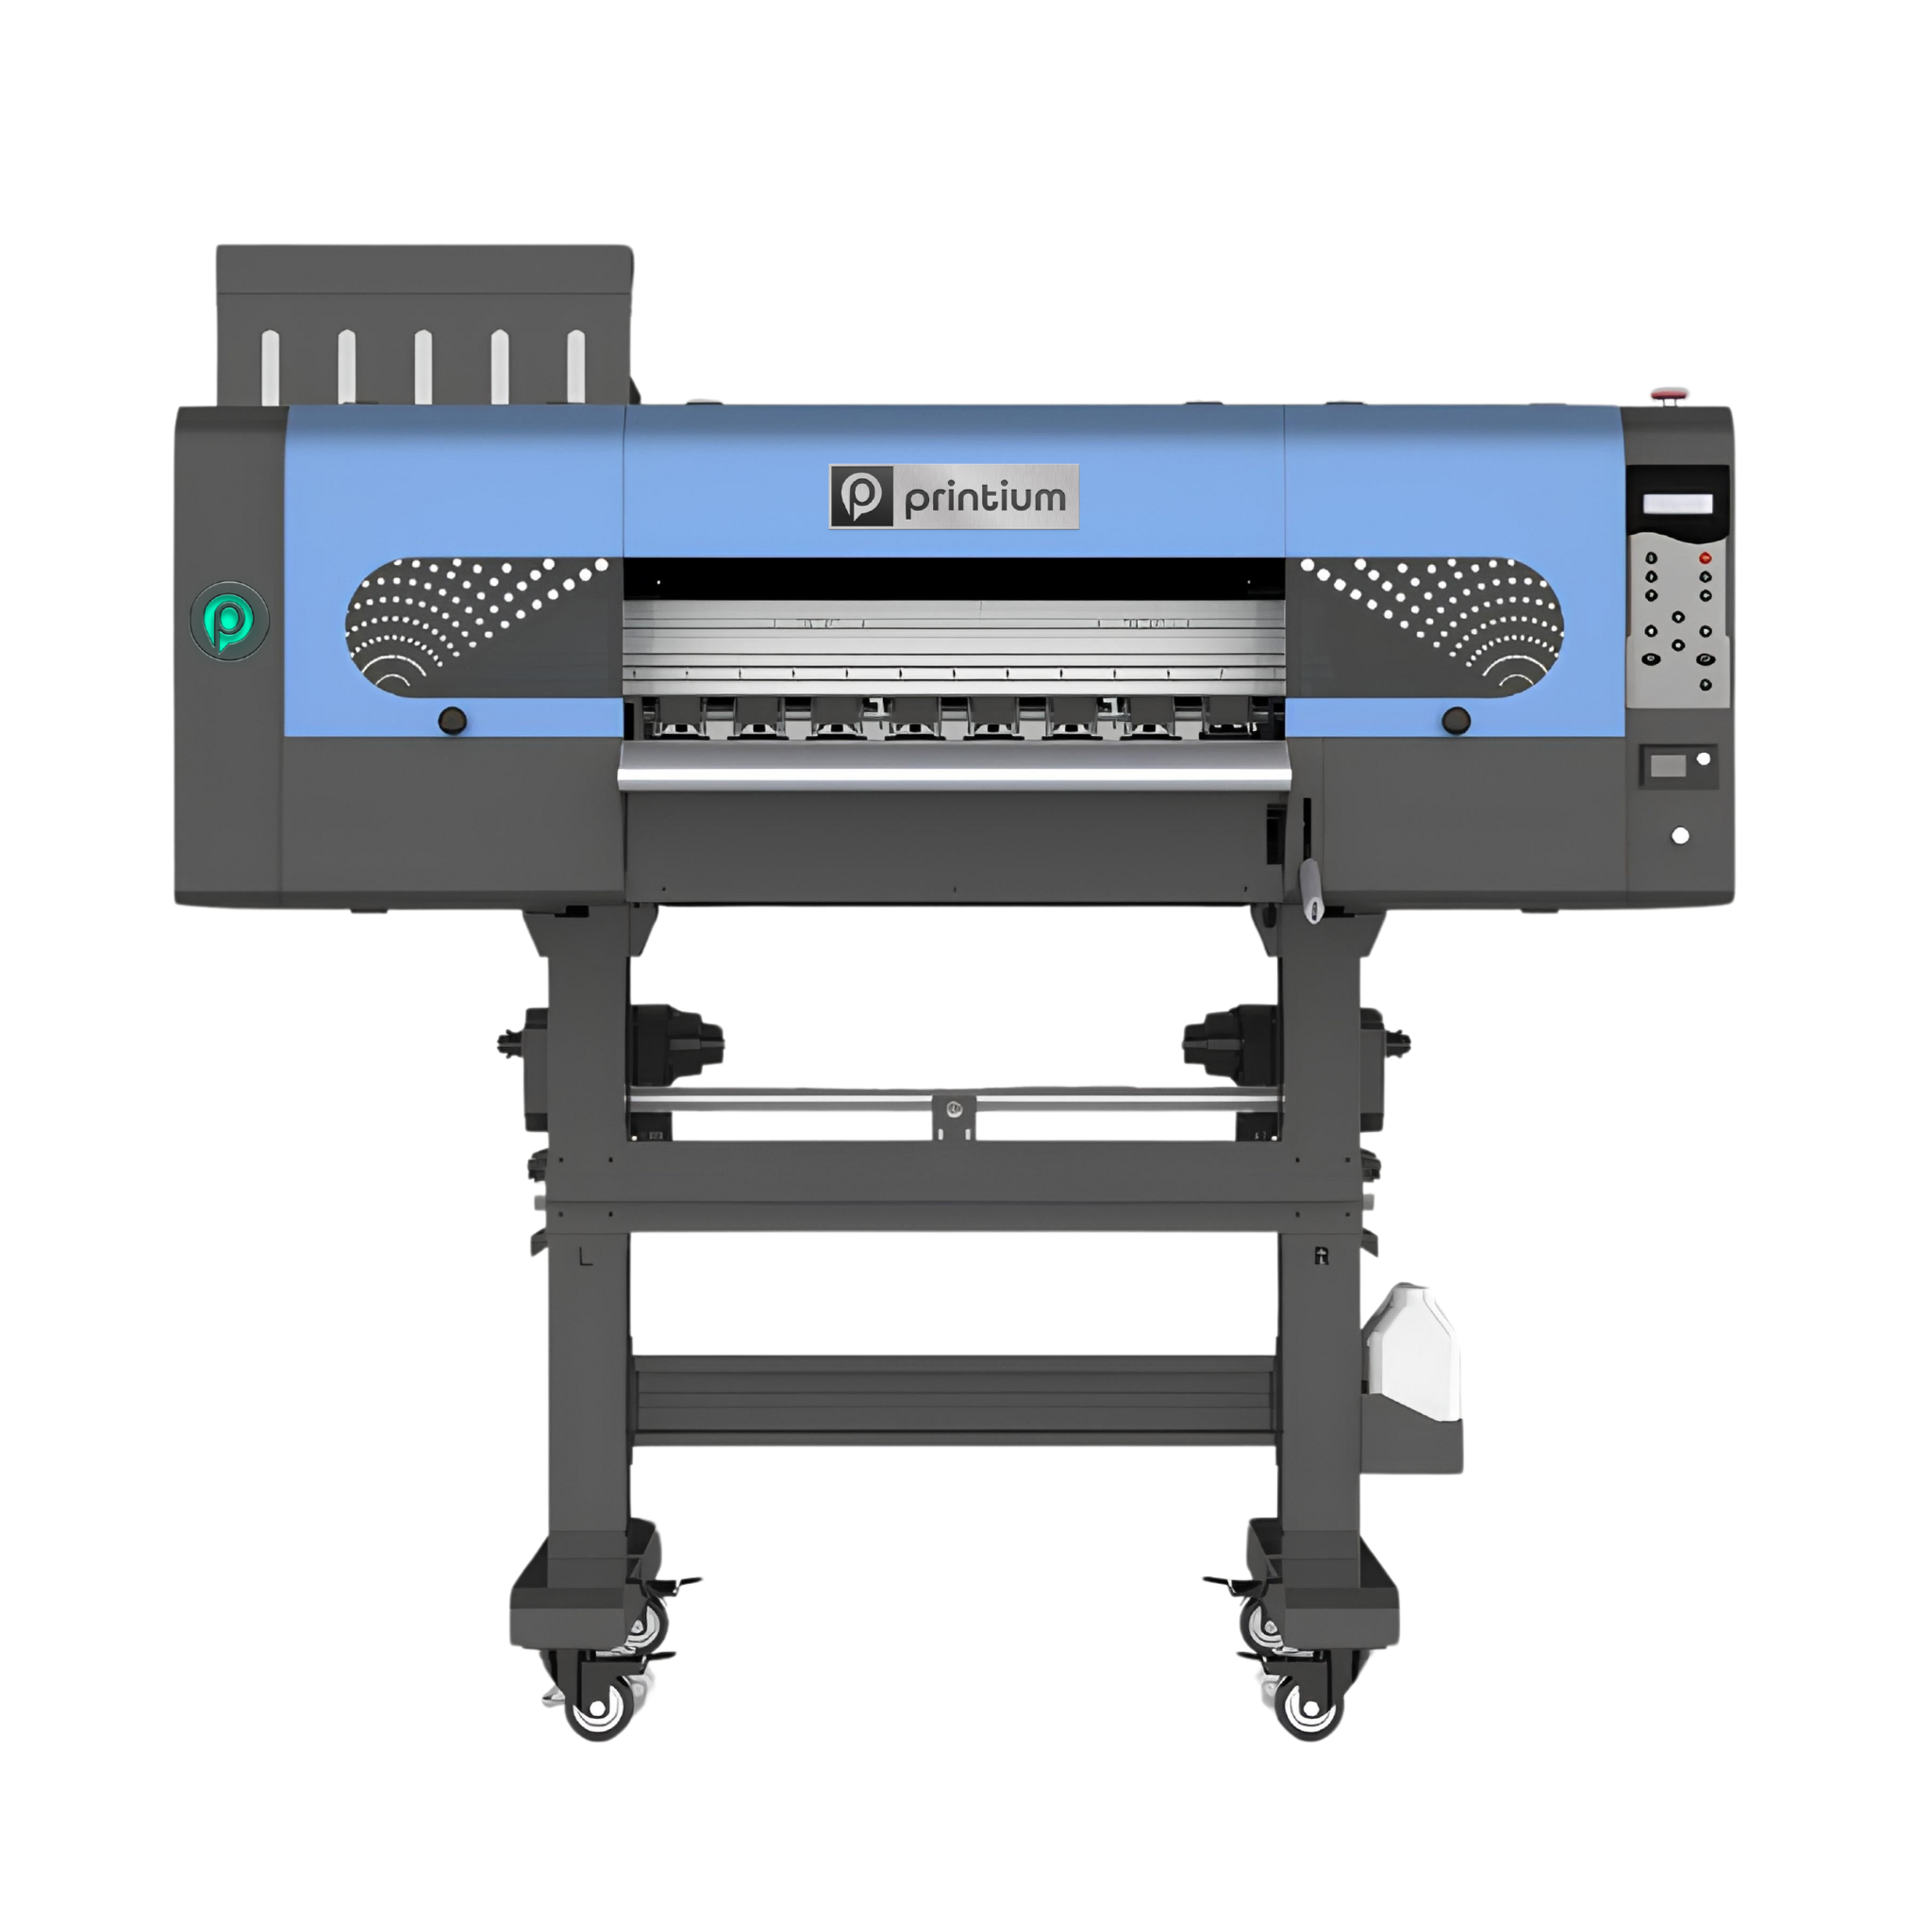
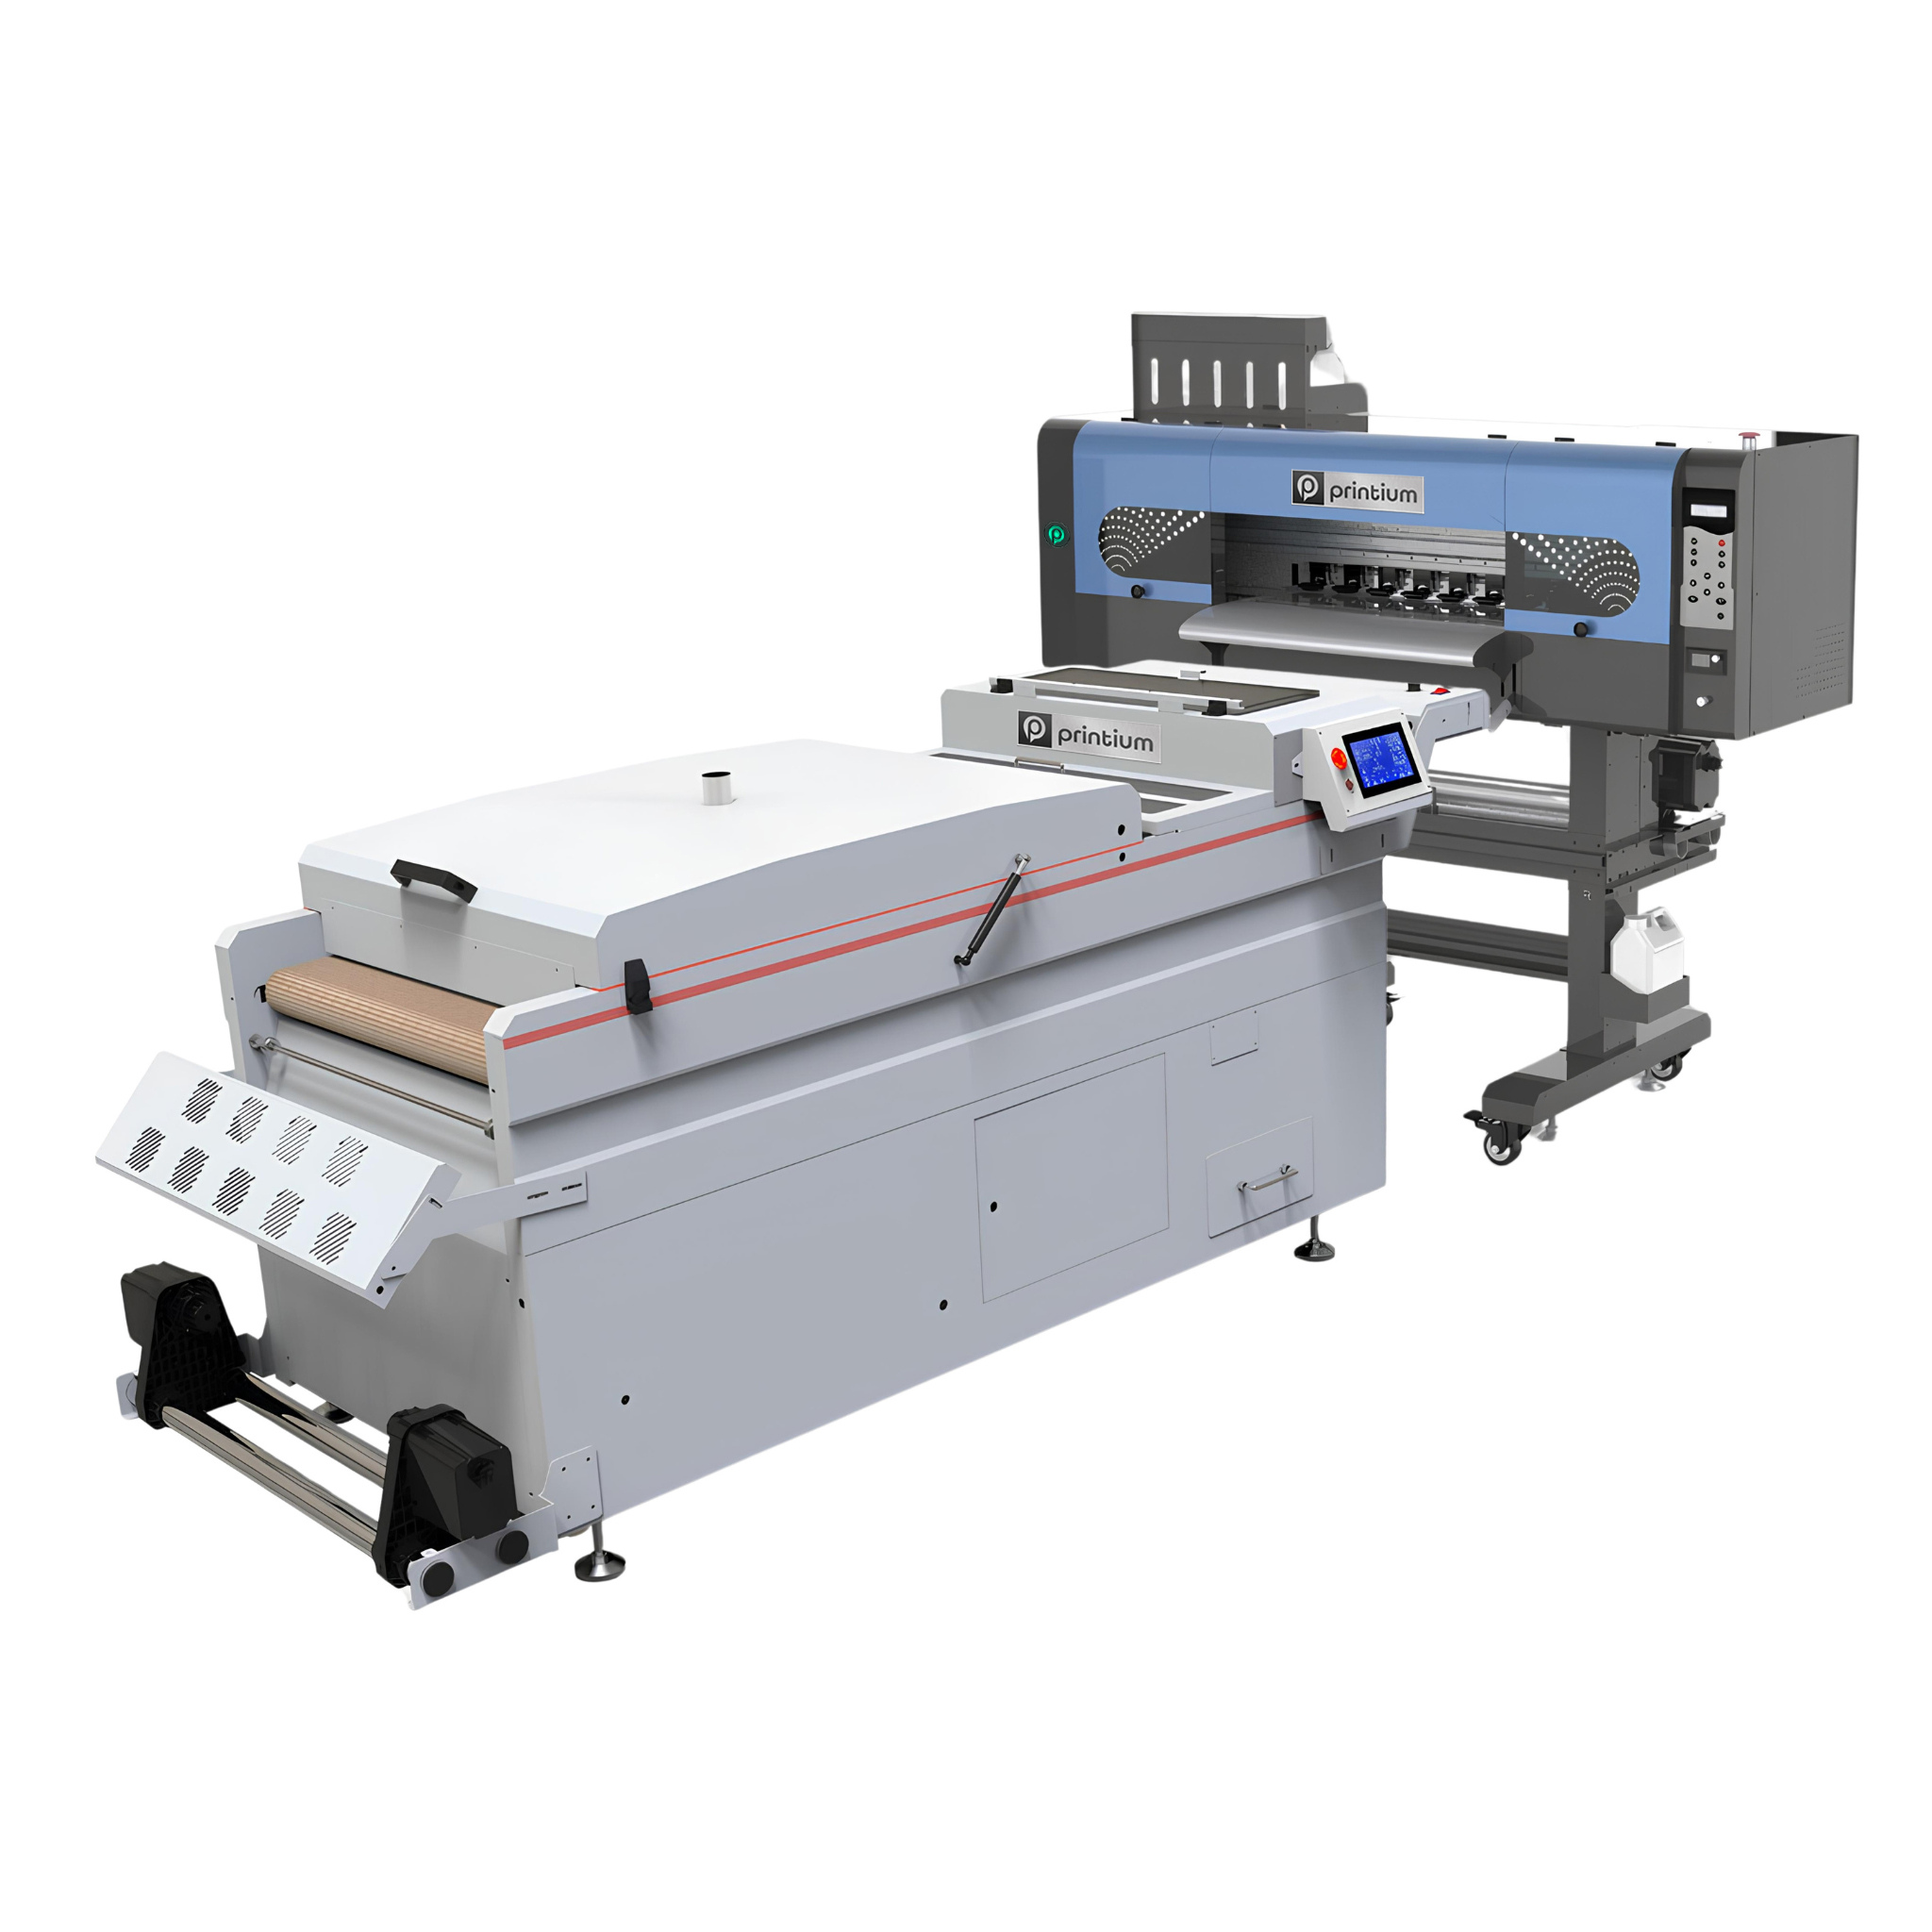
Direct to film transfers represent a massive leap forward in custom apparel technology. The process involves printing a digital design onto a specialized clear film, applying a uniform layer of thermal adhesive powder, and curing it so it is ready to press. Unlike older technologies, DTF works beautifully on cotton, polyester, and cotton/poly blends without requiring any tedious weeding or liquid pre-treatment. You can even experiment with specialty styles like glitter DTF transfers or vibrant glow in the dark DTF transfers to make your designs pop.
But understanding what is a DTF transfer is only half the battle; the magic happens during the heat transfer application. Precise heat, time, and pressure chemically fuse the cured ink and premium DTF powder directly into the fabric fibers. Executing this step correctly is exactly what separates a premium garment that handles 100+ washes from a sub-par print that starts peeling after three cycles.
What You Need Before You Start
Before diving into the actual pressing process, gather your materials. Having the right tools on hand ensures a smooth workflow and prevents accidental heat damage.
-
Ready-to-press DTF transfer: A high-quality custom print on professional DTF film.
-
A reliable heat source: A professional-grade commercial heat press is highly recommended for commercial durability, though a household iron can work for minor DIY hobby projects.
-
Garment: A clean, lint-rolled t-shirt, or heavy fleece options like DTF hoodis.
-
Protective sheet: A piece of parchment paper or a Teflon sheet to shield the film and fabric from direct metal contact.
-
Alignment tools: A basic t-shirt ruler guide or heat-resistant tape to keep the design perfectly square and centered.
-
Premium Apparel: Sourcing reliable blank apparel ensures that the fabric handles the heat without shrinkage or scorching.
Pro Tip: While a household iron can heat up adhesive, investing in proper heat presses for DTF printing is vital if you want retail-quality consistency. A professional press ensures flat, edge-to-edge pressure and stable temperature monitoring that a manual iron simply cannot replicate.
Step-by-Step: How to Apply DTF Transfers to Shirts
Achieving an immaculate press comes down to a repeatable, precise science. Follow these exact dtf application instructions to learn how to do a dtf transfer perfectly.
Step 1: Garment Pre-Press
Place your shirt onto the lower platen of your heat press. Press the bare fabric for 3–5 seconds. This critical step flushes out inherent atmospheric moisture and smooths away wrinkles, creating a completely flat, bone-dry surface for the adhesive powder to bond with.
Step 2: Position the Transfer
Lay your custom DTF shirts — custom printed apparel design flat on the fabric. The design must face printed side down, film side up (facing toward you). Use a standard 3-finger rule down from the collar to align your graphic centrally. Secure it with heat-resistant tape if you are worried about the film shifting when closing the press.
Step 3: Set Time, Temperature, and Pressure
Dial in your heat press settings based on the specific material of your garment. Look at the comprehensive fabric settings matrix below to find your exact numbers. For standard cotton, aim for 310°F for 15 seconds with medium-to-firm pressure.
Step 4: The First Press

Place a protective sheet of parchment paper over the transfer. Engage your heat press, clamping it firmly down. Ensure the press remains locked without shifting for the full duration of the countdown.
Step 5: The Peel Technique

This depends entirely on the film type you ordered:
-
Hot Peel (Instant Peel): Firmly grasp one corner of the film and peel it back smoothly in one continuous motion within 1–3 seconds of opening the press.
-
Cold Peel: Carefully remove the shirt from the press platen and let it cool completely to room temperature (about 45–60 seconds) before peeling the film away.
Always peel the film back at a sharp, low, flat angle close to the garment rather than pulling straight upward.
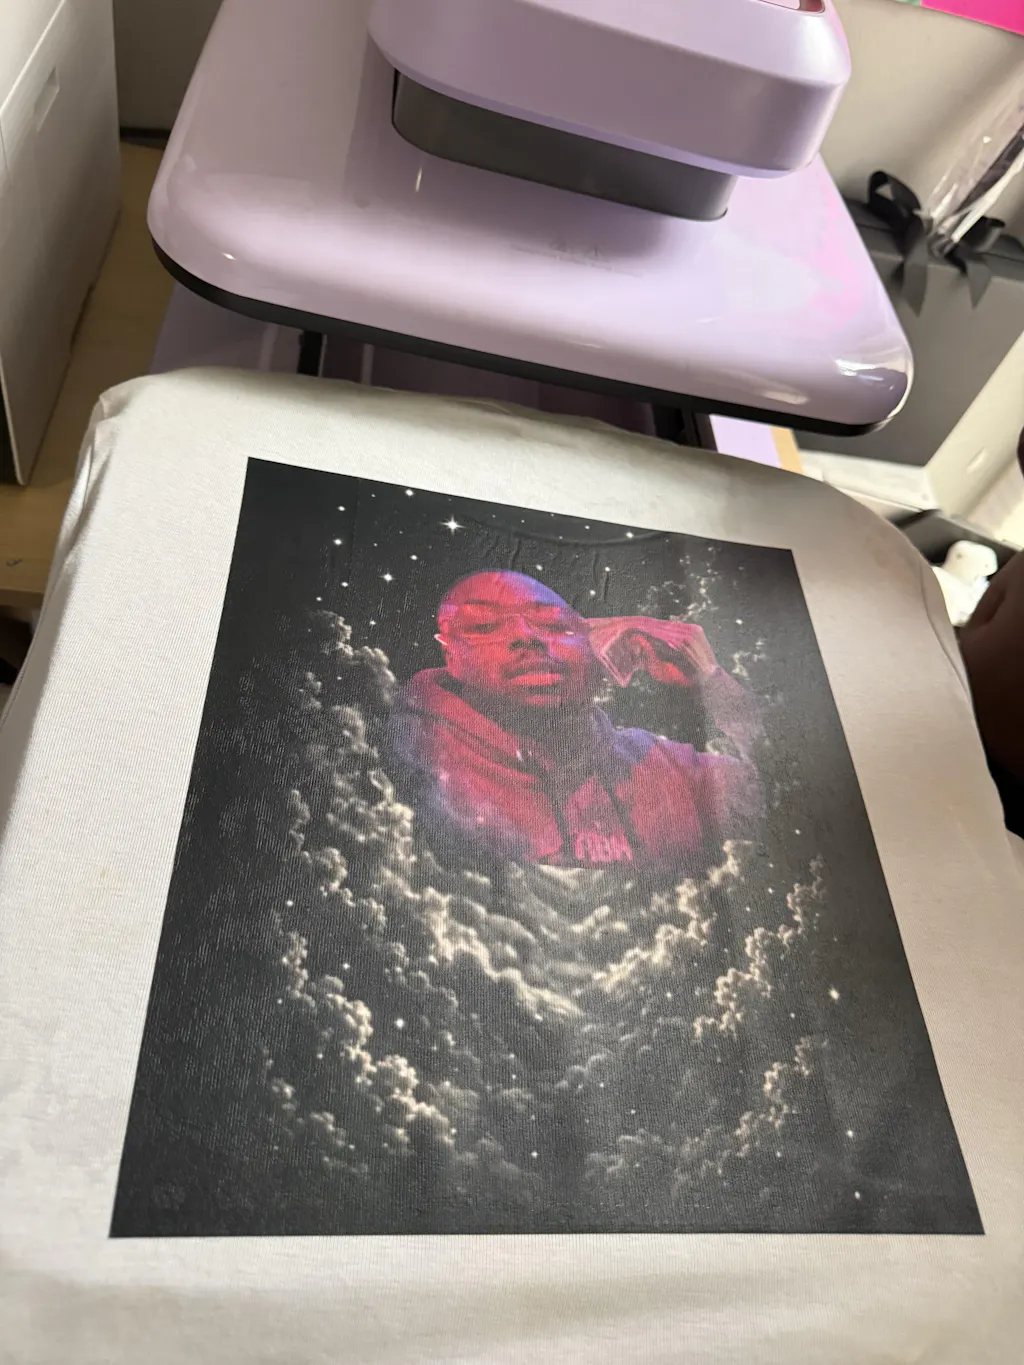
Step 6: The Vital Second Press (Post-Press)
Do not skip this step! Place the unpeeled design back onto the press, cover it with parchment paper (or a textured silicone mat for a matte finish), and press a second time for 5–8 seconds. This locks down the outer edges, melts away any remaining surface film lines, and dramatically increases overall wash durability.
Step 7: Let It Cure
Lay the completed shirt flat and allow the adhesive to fully stabilize. Do not wash, aggressively stretch, or bunch up the garment for at least 24 hours after pressing.
DTF Application Settings Matrix
To eliminate the guesswork on how to transfer dtf to shirt surfaces, program your equipment according to this targeted layout:![]()
| Fabric Type | Temperature | Press Time | Peel Type | Pressure |
| 100% Cotton | 305–320°F (151–160°C) | 12–15 sec | Hot or Cold | Medium-to-Firm (5–7 PSI) |
| Polyester / Performance | 280–300°F (137–148°C) | 10–12 sec | Cold Only | Medium (4–5 PSI) |
| Cotton/Poly Blend | 295–310°F (146–154°C) | 10–13 sec | Hot or Cold | Medium-to-Firm (5–6 PSI) |
| Dark Fabrics / Heavy Fleece | 305–315°F (151–157°C) | 12–15 sec | Hot or Cold | Firm (6–7 PSI) |
Need high-yield manufacturing options for a major project? Order premium custom DTF transfers by size and receive same-day shipping on orders placed before 3 PM.
Hot Peel vs. Cold Peel: Which Should You Use?
One of the most common points of confusion when learning how to use dtf transfer film is knowing when to peel off the plastic carrier sheet. Different print manufacturers use varying chemical coatings on their release films, making it vital to know what you are handling.
Hot Peel (Instant Peel)
Hot peel films utilize a specialized release coating that detaches cleanly from the cured ink while the plastic matrix is still hot.
-
The Workflow: You peel the film immediately after opening the press platen.
-
The Advantage: This speeds up production times significantly, making it the favorite choice for commercial garment shops utilizing a large DTF gang sheet. It typically leaves a highly desired, lightweight matte texture on the shirt.
Cold Peel
Cold peel films require the heat-activated adhesive to cool down completely and solidify before the film releases its hold on the ink.
-
The Workflow: You must set the garment aside until it is completely cool to the touch.
-
The Advantage: It is incredibly forgiving for beginners. Because the glue cools into a solid plastic state before removal, it prevents minor issues with under-curing or uneven pressure from pulling design elements off the shirt.
How to Verify Your Film Type: Always check the explicit manufacturer instructions included with your delivery. If you are uncertain whether your film is hot or cold peel, treat it as a cold peel first or test a small, non-essential graphic on a scrap piece of fabric. Pulling a cold-peel film while it is scorching hot will instantly split the ink and ruin the print.
Can You Apply DTF Transfers at Home Without a Heat Press?
If you are just starting out or working on a small hobby project, you might be wondering how to apply dtf transfers at home using a standard household iron. The short answer is yes, it can be done, but it requires rigorous attention to detail and technique.
Because a standard home iron lacks a massive, flat, locking platen, you have to compensate manually for the lack of automated pressure and uniform heat distribution:
-
Turn Off Steam: Double-check that your iron's water reservoir is dry and the steam setting is turned completely off. Moisture will destroy the hot adhesive powder compound.
-
Maximize Heat Settings: Set your iron dial to the highest "Cotton" or "Linen" setting (usually hovering around 300–320°F).
-
Press in Zones, Do Not Iron: Do not glide the iron back and forth like you are smoothing out a dress shirt. Instead, place the iron firmly over a single zone, lean down with your full body weight for 15 seconds, lift the iron completely, and move to the next section.
-
Overlap Your Press Zones: Ensure your manual pressing zones overlap slightly so that no section of the design is missed.
While an iron works well enough for simple, occasional home crafting, it cannot match the long-term commercial durability of a true mechanical press. A basic, economical clamshell heat press offers flat, consistent, high-pressure output across the entire footprint of the design. For a deeper breakdown of affordable home hardware, consult our complete guide to heat presses for DTF to upgrade your setup.
Common Mistakes and How to Fix Them
![]()
Even experienced garment decorators run into technical hurdles. If your application isn't looking retail-ready, use these proven DTF transfer quality tips to diagnose and fix the issue.
-
Design Peeling After the First Wash: This is almost always caused by insufficient pressure or low temperature during the initial press. If the adhesive doesn't sink deep into the shirt fabric, it will wash away. The Fix: Increase your press pressure and confirm your machine's true heat output with an external infrared thermometer.
-
Fabric Scorching or Color Distortion: This occurs when pressing sensitive synthetic materials (like polyester performance wear) at temperatures that are too high. The Fix: Lower your temperature to 285°F, use a reliable protective sheet, and slightly extend the press duration to 18 seconds to ensure the glue still melts completely.
-
Carrier Film Won't Peel Cleanly: If the print lifts off the shirt along with the plastic film, your press settings are off. For hot peel, it means the film cooled too much before you pulled; for cold peel, it means the film is still too warm. The Fix: Re-press the lifted edge immediately for 5 seconds with heavy pressure, let it reach the correct temperature state, and attempt your peel again at a sharper angle.
-
Fraying Edges After Production: Skipping the post-press step leaves the outer edges vulnerable to friction. The Fix: Always perform a mandatory second press for 5–8 seconds using parchment paper to permanently melt the edge perimeters into the garment weave.
-
Bubbling or Internal Wrinkles: This happens when trapped fabric moisture turns into steam during application. The Fix: Never skip your 3–5 second pre-press step to dry out your blank apparel completely.
Frequently Asked Questions

What temperature do you press DTF transfers?
For standard 100% cotton garments, press your DTF transfers between 305°F and 320°F (151–160°C). For heat-sensitive synthetic materials like 100% polyester, lower the application temperature to 280–300°F (137–148°C) to protect the fabric from heat marks or dye migration.
How long do you press a DTF transfer?
The initial application press should take 10–15 seconds depending on the thickness and composition of the garment. Follow this up with a mandatory second press lasting 5–8 seconds to seal the design edges and maximize wash durability.
Do DTF transfers peel hot or cold?
It depends entirely on the film chemical formulation provided by your supplier. Instant-peel films are designed to be removed immediately while scorching hot, whereas standard films require the print to cool completely to room temperature before peeling. Check your product packaging to be sure.
Can I use a regular iron for DTF transfers?
Yes, you can use a household iron on its highest cotton setting with the steam turned completely off. However, because irons distribute heat unevenly and rely entirely on manual body weight, a commercial heat press is highly recommended for long-lasting, retail-ready results.
How many washes do DTF transfers last?
When applied using correct temperature and pressure settings, high-quality DTF prints easily last between 50 to 100+ wash cycles before showing minor signs of wear. To maximize longevity, launder your garments inside out using cold water and hang dry or tumble dry on low heat.
What fabrics work with DTF transfers?
DTF transfers are incredibly versatile and bond securely to cotton, polyester, poly-blends, heavy fleece, canvas, denim, and even nylon. Unlike traditional screen printing or sublimation, no chemical pre-treatment is required for different fabric types.
Have more technical questions about application settings? Visit our comprehensive frequently asked questions page for added support.
Get Professional Results on Every Run
Applying custom transfers doesn't have to involve nerve-wracking guesswork. By mastering your temperature configurations, ensuring firm pressure, and honoring your film's specific hot or cold peel requirements, you can create durable, retail-grade custom apparel right from your workshop or home.
The secret to a flawless print always starts with premium source materials. Eliminate alignment errors and maximize your material efficiency by utilizing our intuitive, real-time DTF gang sheet builder to arrange your artwork seamlessly.
Ready to scale up your production with bright, durable graphics? Order your custom commercial prints directly from DTF Print Depot. We proudly offer same-day shipping on orders placed by 3 PM EST, zero minimum order constraints, and industrial-grade durability produced directly out of our US manufacturing center.
🎨 [Build Your Custom Gang Sheet Now] or [Order Custom Transfers by Size] to get your next production run underway! If you need bulk order assistance or tailored technical setups, feel free to contact our team today.