Perfect Glitter DTF Prints: Essential Production Guide
Offering unique textures helps modern custom apparel shops expand their sales margins in 2026. Standard flat designs often look generic to consumers looking for premium boutique fashion options. Mastering the creation of perfect glitter dtf prints adds instant visual value to your product line. Fine-tuning your chemical application settings eliminates rough edges and premature wash peeling.
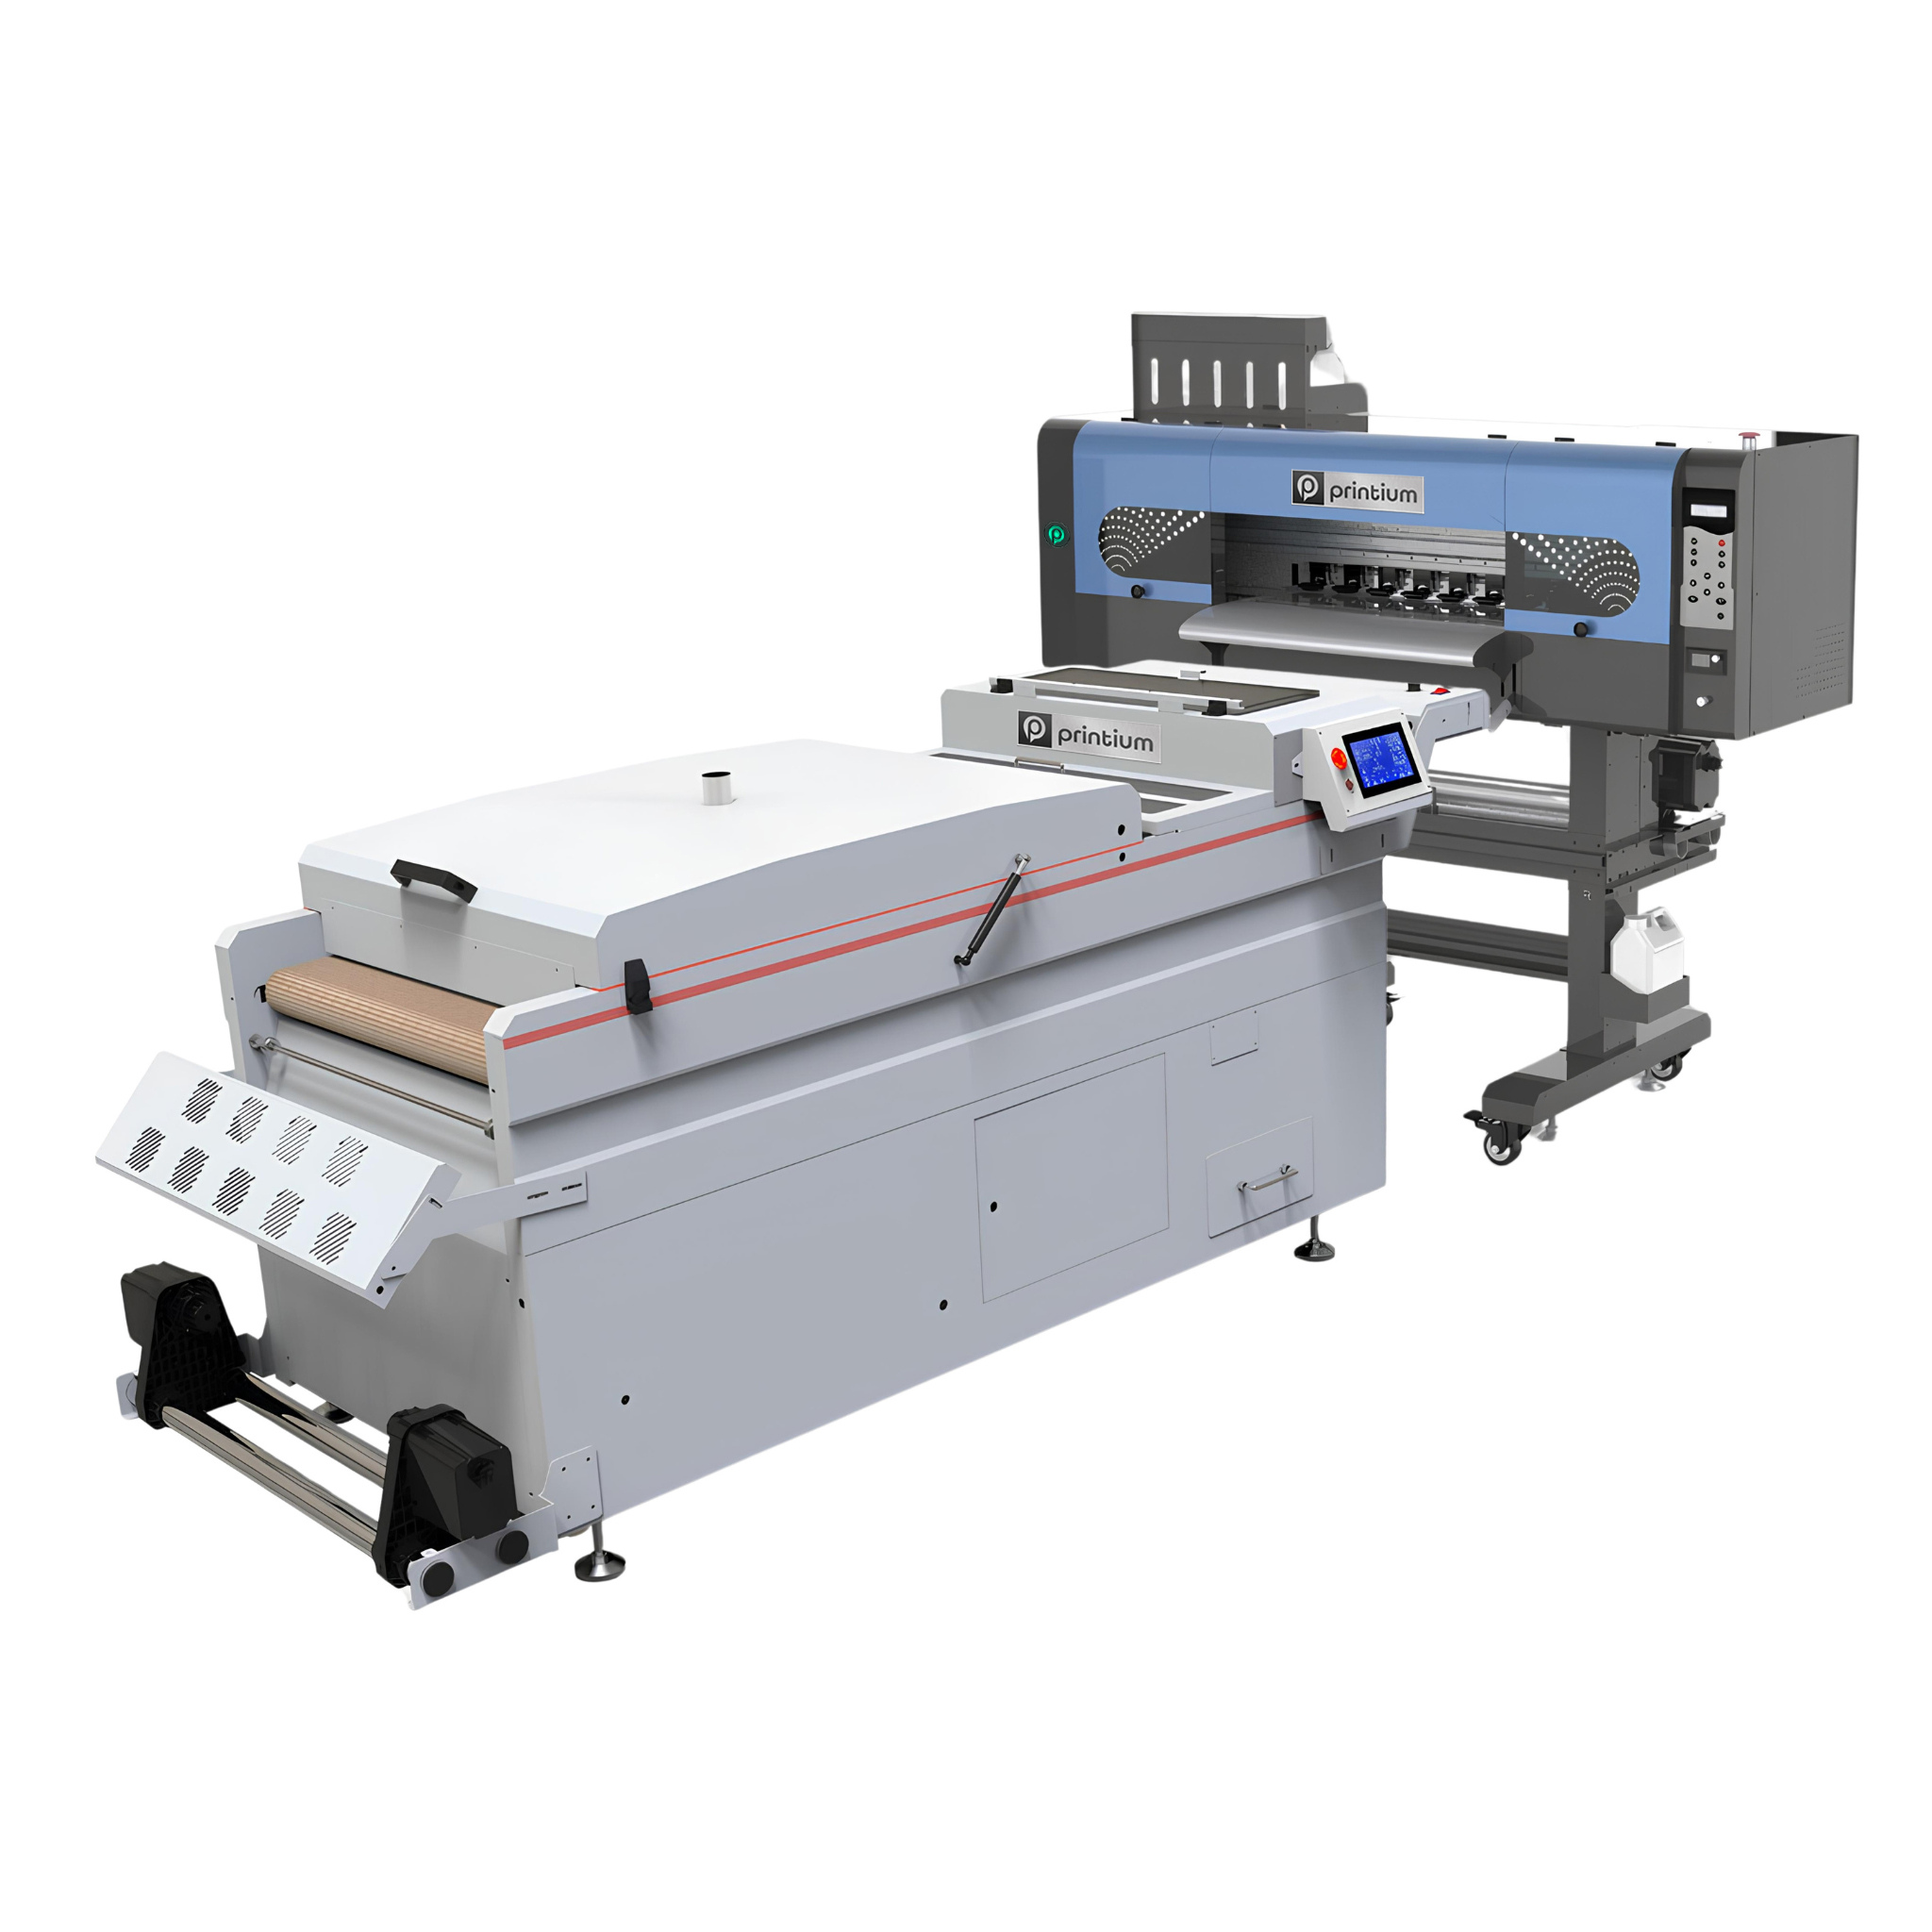
To analyze how metallic surface properties interact with industrial heating assemblies, view the Wikipedia Radiant Heating Page. Specialized textured films require accurate temperature calibration to melt internal adhesive layers evenly. Improper thermal distribution dulls the intense shine of embedded flakes during production shifts. Managing your oven timing protects the chemical integrity of your custom designs.
1. Managing Ink Densities and Shaking Parameters
Textured carrier sheets possess unique absorption behaviors compared to standard matte production media. Applying excessive white ink underbase saturation can cause the design to slide or smear. Lowering your white ink volume to 60% balances your liquid coverage perfectly. This digital adjustment inside your RIP software guarantees crisp typography borders on heavy hoodies.
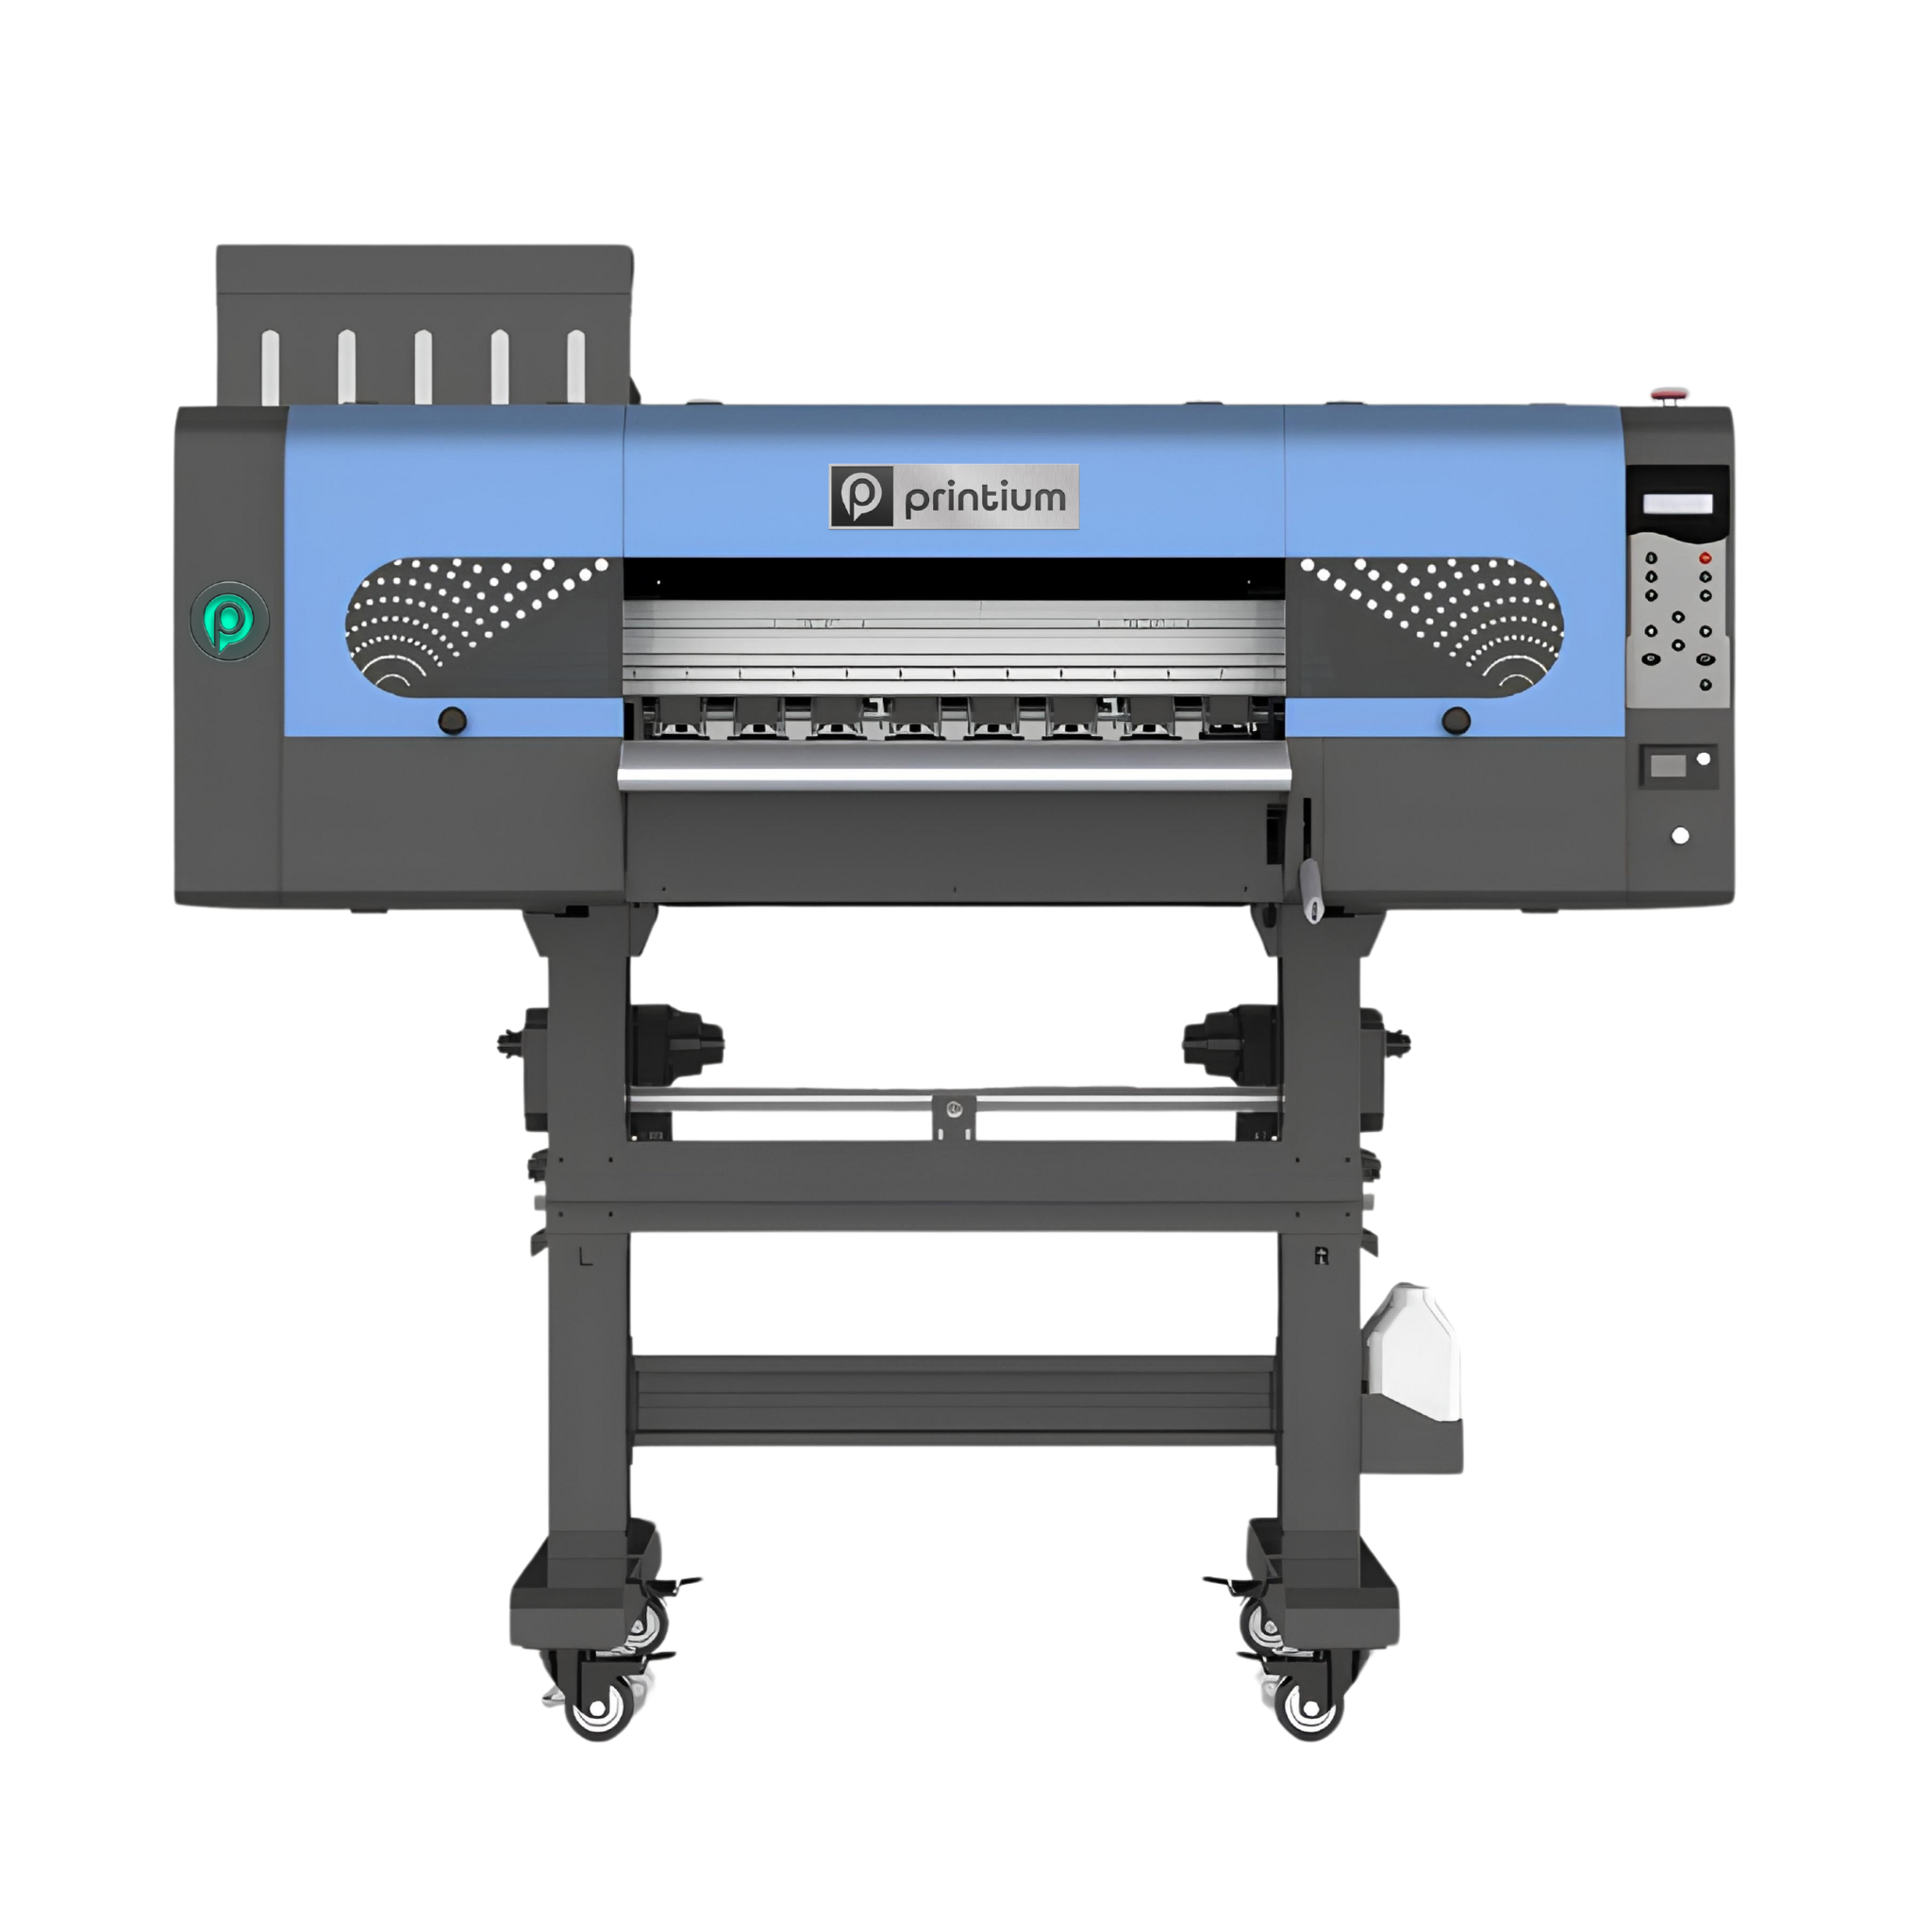
Additionally, adjust your automated powder vibration settings to accommodate the textured surface layout. Coarser film textures tend to grab excess hot-melt adhesive grains in non-printed areas easily. Intense mechanical shaking clears these stray particles before the film enters the curing oven tunnel. To acquire premium, reliable media options, browse our specialized glitter dtf transfers collection online.
Pro-Tip: Calibrate Your Heat Press Regularly
Using uneven platen pressure causes graphic edges to lift after early commercial laundry cycles. Following professional glitter dtf printing tips minimizes material waste and secures a luxurious finish. You can source fully calibrated production machinery and raw consumables directly at DTF Print Depot.
2. Flawless Finishing Press and Cold Peel Protocols
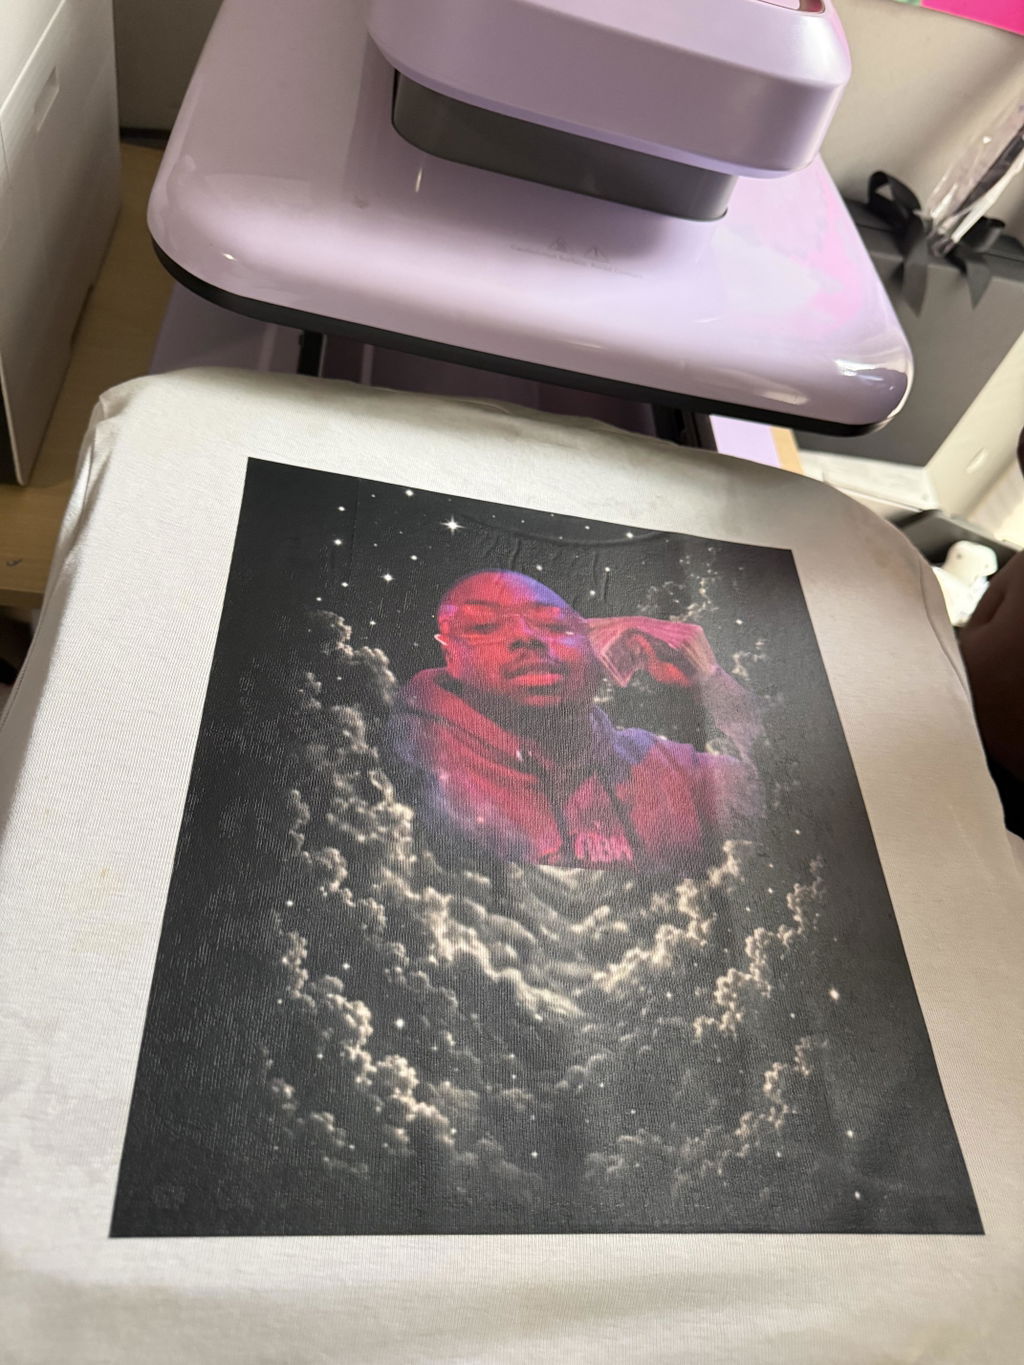
The application stage requires absolute patience to ensure the texturing particles remain pristine. Always perform a quick five-second garment pre-press to push out trapped atmospheric humidity completely. Trapped moisture vaporizes during application, forming small structural bubbles directly beneath the adhesive glue layer. Eliminating moisture allows the liquefied polymer to lock tightly around individual fabric threads.
Never rush to remove the clear carrier sheet while the plastic remains hot or warm. Glitter coatings contract as they cool down, sealing the colored pigments onto the textile structure safely. Peeling the sheet cold prevents fine design lines from separating or tearing away unexpectedly. Execute a secondary press with a silicone sheet to seal the edges for maximum wash fastness.
Frequently Asked Questions (SSS) Perfect Glitter DTF Prints
Which specialized steps guarantee perfect glitter dtf prints?
You must reduce your white ink base density slightly and use intense mechanical shaking. These parameters prevent texture bleeding and remove stray adhesive powder from unprinted sections completely.
How do basic glitter dtf printing tips improve overall design durability?
Executing a cold peel combined with a final finishing press maximizes durability. This routine pushes the melted polyurethane adhesive deep into the garment fibers for an unbreakable bond.
Why do my sparkling graphic prints feel stiff on thin cotton shirts?
Stiff finishes happen when you apply too much hot-melt resin powder or heavy ink layers. Lowering your underbase saturation level yields a much more flexible, lightweight garment hand-feel.