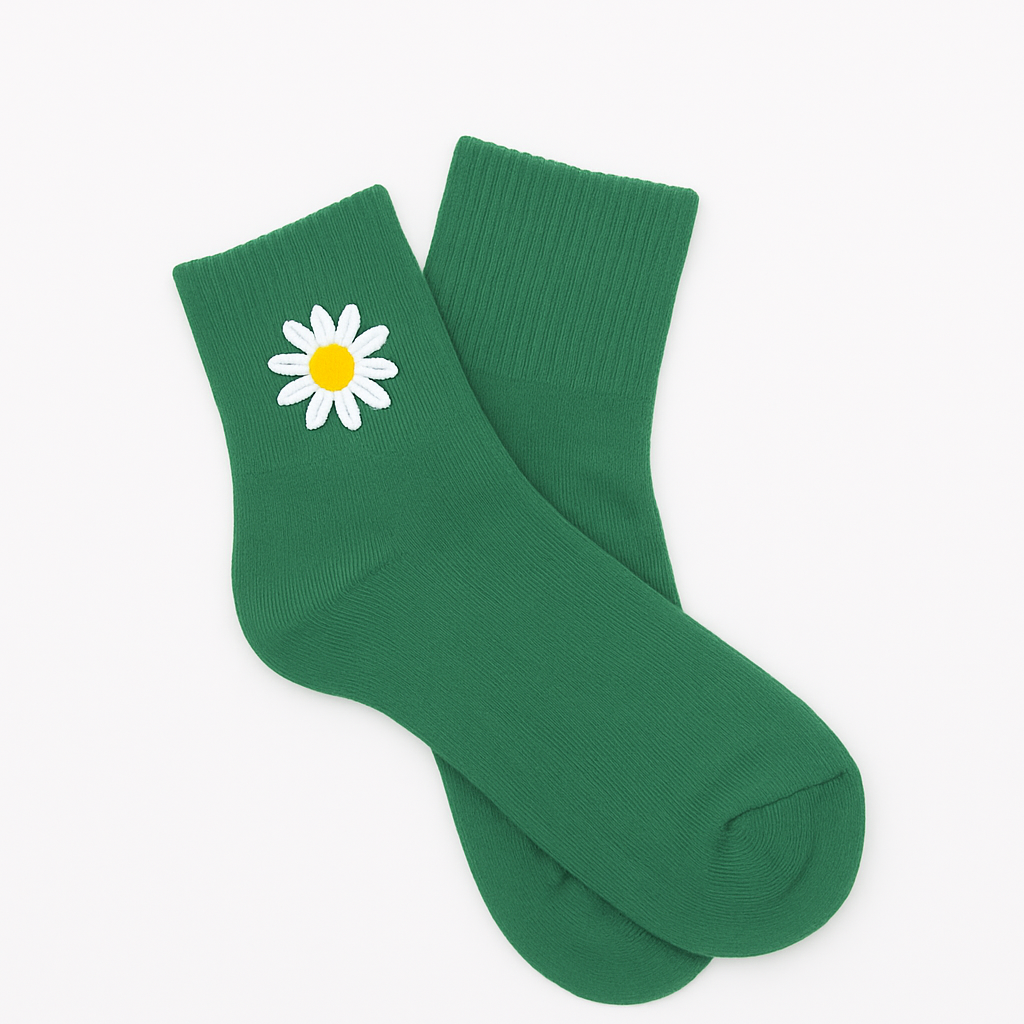
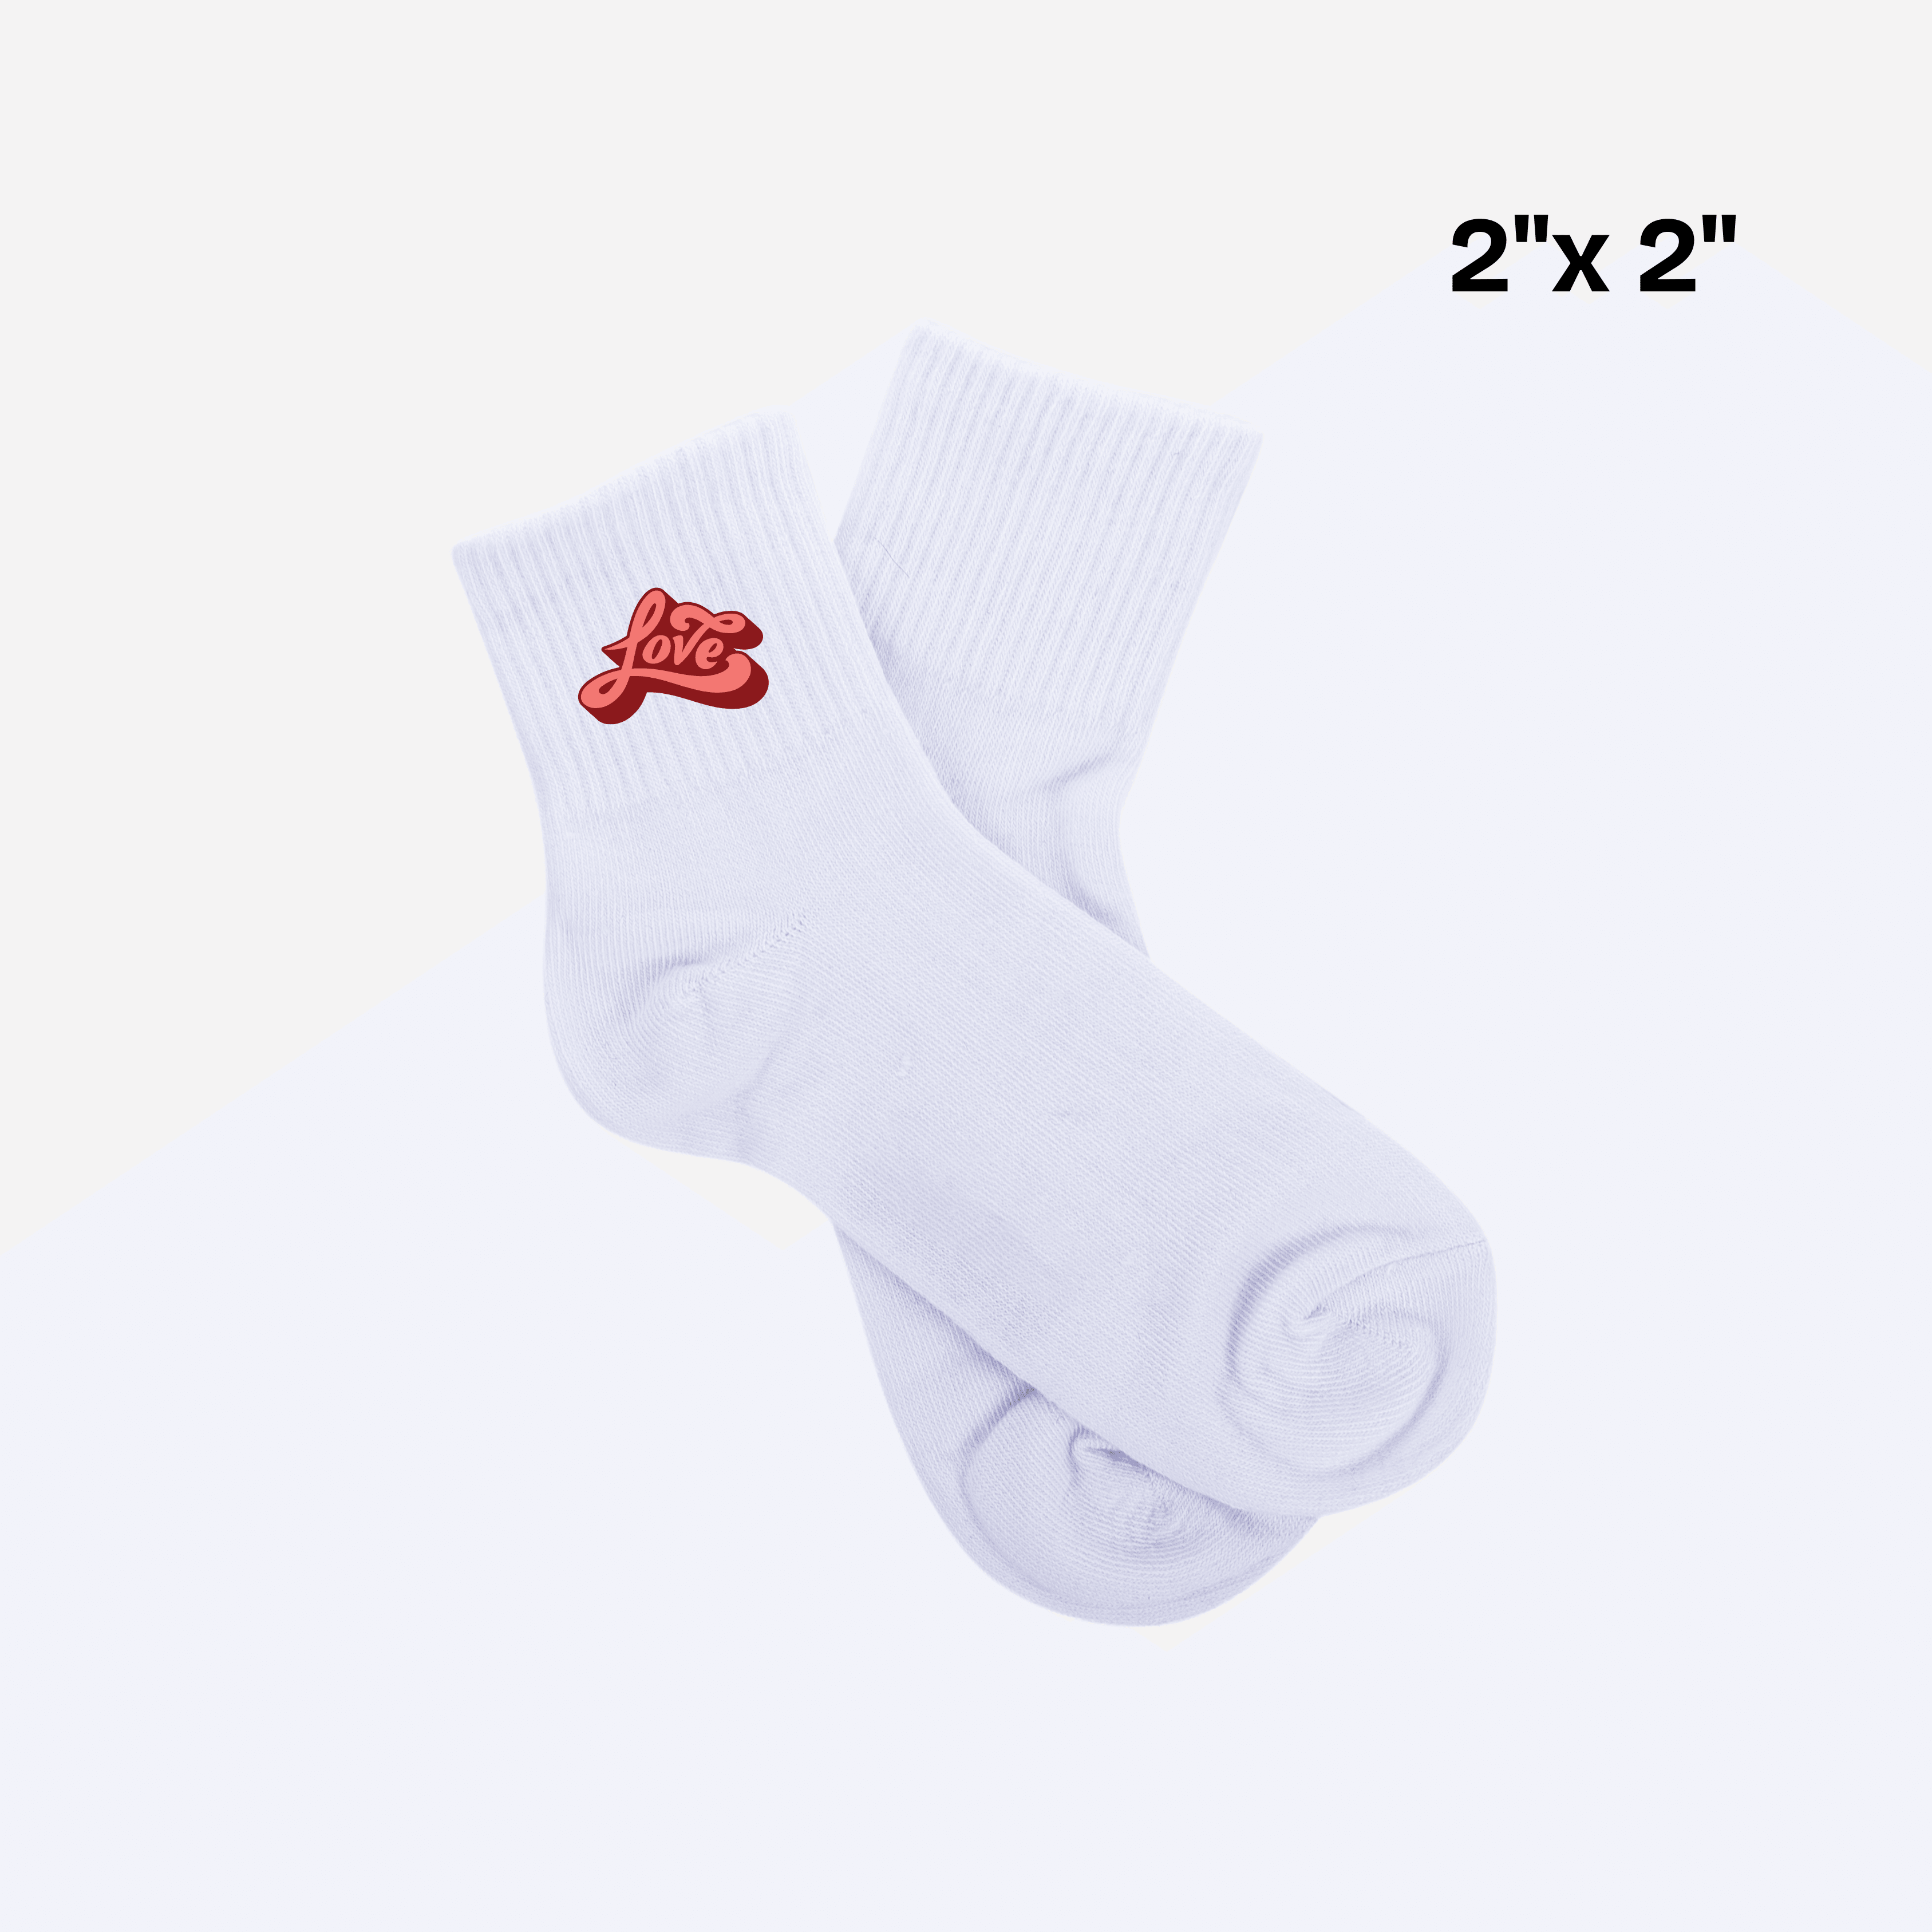
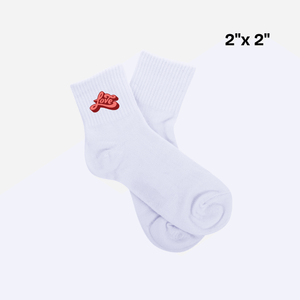
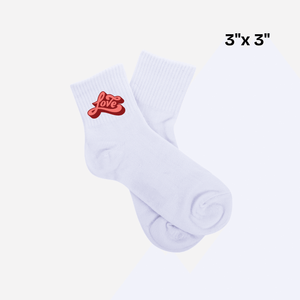
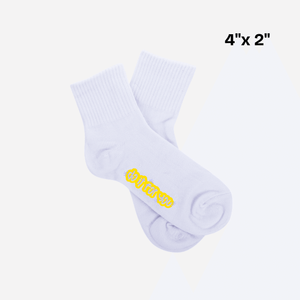
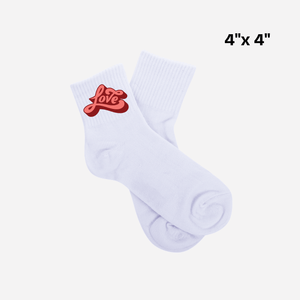
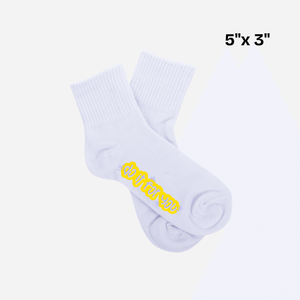
Transfers for socks provide a practical way to add logos, names, numbers, small graphics, or branded artwork to compatible sock styles. Because socks have smaller and more flexible print areas than many standard garments, successful customization depends heavily on choosing the right artwork size and placement.
Custom sock transfers can be useful for sports teams, clubs, promotional merchandise, small apparel brands, events, and personalized projects. Planning the design around the actual sock surface helps create a more balanced result and makes repeat orders easier to reproduce.
What Are Custom Sock Transfers Used For?
Custom sock transfers are designed for adding printed graphics to suitable sock areas. Typical applications include team logos, initials, names, numbers, small brand marks, event graphics, or decorative designs.
Because the available print area is often narrow, simple artwork and clearly defined placement usually work better than oversized or highly detailed graphics.
Common Sock Transfer Projects
-
Team socks: Add logos, names, numbers, or club branding.
-
Promotional merchandise: Create branded socks for campaigns, events, or giveaways.
-
Retail products: Add custom graphics to small apparel collections.
-
Personalization: Use initials, names, or decorative artwork for individual projects.
-
Event apparel: Coordinate sock graphics with uniforms or other branded garments.
Choose the Right Transfer Size for Socks
The size of the transfer should be based on the usable print area of the sock rather than the overall garment dimensions. Ribbing, seams, cuffs, heels, toes, and other construction details may limit where artwork can be positioned.
Measure the intended area before ordering and keep enough surrounding space so the design does not feel crowded once applied.
Check These Details Before Ordering
-
Finished transfer size: Determine the exact width and height required.
-
Placement: Decide whether the graphic will sit near the ankle, upper section, or another suitable area.
-
Artwork readability: Keep text and fine details clear at the intended size.
-
Quantity: Confirm whether designs are needed as singles, pairs, or larger batches.
-
Artwork version: Save the exact approved design for repeat orders.
Plan Artwork Around the Sock Surface
Socks are different from flat garments because the surface may stretch, curve, or include ribbed construction. The design should therefore be prepared around the specific placement rather than simply reducing a larger shirt graphic.
Compact logos, initials, numbers, and simplified graphics can be easier to position within a small print area. If a design contains detailed text, check that it remains readable at the final size.
Better Size Control
Prepare artwork around the actual printable sock area rather than scaling down a larger garment graphic without checking it.
Consistent Repeat Orders
Save the approved artwork, transfer size, and placement so matching sock graphics can be reordered later.
Transfers for Socks for Teams and Businesses
Teams, clubs, and businesses can use custom sock graphics as part of a broader branded apparel system. A small logo or identifying graphic can complement shirts, uniforms, shorts, or other merchandise without requiring a large print area.
For multi-person projects, standardizing the artwork size and placement before production can help create a more consistent appearance across the full order.
Create Custom Transfers for Socks
Choose the artwork, size, and placement that fit your sock customization project.
Explore Transfers for Socks →
Prepare Socks Before Applying a Transfer
Before applying a transfer, inspect the garment and identify the flattest suitable area for the design. Seams, heavy ribbing, thick transitions, or other raised areas can affect how the transfer sits during application.
Application settings should follow the instructions provided for the specific transfer and garment. Time, temperature, pressure, peel method, and other requirements can vary, so one universal setting should not be assumed for every sock material or transfer type.
Basic Application Planning
-
Inspect the sock: Identify the intended print area and nearby seams or raised sections.
-
Confirm the position: Align the design before beginning the application.
-
Keep the print area stable: Arrange the sock so the intended section is as flat and controlled as possible.
-
Follow the transfer instructions: Use the recommended application settings for the specific transfer.
-
Check the finished application: Inspect placement and adhesion before repeating the process across the full order.
Build a Repeatable Sock Transfer Specification
If the same sock design may be reordered later, keep a simple production reference. This is useful for sports teams, recurring merchandise, staff apparel, or seasonal products.
-
Approved artwork: Save the exact final file.
-
Finished dimensions: Record the transfer width and height.
-
Placement: Note where the transfer was positioned.
-
Quantity: Record whether the order was calculated per sock or per pair.
-
Sock variation: Keep separate notes if different styles require different dimensions.
Choosing the Right Artwork for Sock Transfers
A compact print area rewards clear visual decisions. If the purpose is team identification or business branding, a recognizable logo or short mark may be more effective than a complex composition.
For personalized products, names, initials, numbers, and simple graphics can be sized according to the available area. Always evaluate the artwork at its intended finished dimensions before ordering.
Frequently Asked Questions About Transfers for Socks
What are transfers for socks?
Transfers for socks are printed graphics intended for adding custom designs such as logos, names, numbers, or decorative artwork to compatible sock surfaces.
How do I choose the right transfer size for socks?
Measure the actual usable print area on the sock and choose dimensions that fit comfortably without interfering with seams, cuffs, or other garment construction.
Can sock transfers be used for team branding?
Yes. Teams and clubs can use consistent artwork, size, and placement to create coordinated custom sock designs.
Should I use the same transfer size for every sock style?
Not necessarily. Different sock constructions and available print areas may require different transfer dimensions.
Do all sock transfers use the same heat press settings?
No. Application requirements can vary by transfer and garment, so follow the instructions provided for the specific transfer being used.
Where can I order custom transfers for socks?
You can explore Transfers for Socks from DTF Print Depot.
Plan Your Custom Sock Transfer Project
A successful custom sock transfer project begins with accurate sizing, suitable artwork, and deliberate placement. Measure the usable area, prepare the design at its final dimensions, and keep a clear reference if the same setup will be ordered again later.
When you are ready to continue, visit Transfers for Socks to prepare your custom sock graphics.