DTF Printing for Beginners: How to DTF Print at Home Step by Step
Direct to Film (DTF) printing has revolutionized the custom apparel industry. How to DTF Print at Home It is a versatile method that allows you to print designs on a special film, which is then transferred onto various fabrics using heat and pressure. For beginners, DTF offers a much lower barrier to entry than screen printing and provides significantly more fabric flexibility than Direct to Garment (DTG) methods.
The popularity of DTF Printing stems from its high-quality results and durability. You can create vibrant, full-color designs that stretch without cracking. Whether you are starting a home business or a small shop, DTF is a scalable solution that delivers professional outcomes even for newcomers.
What Do You Need to Start How to DTF Print at Home?
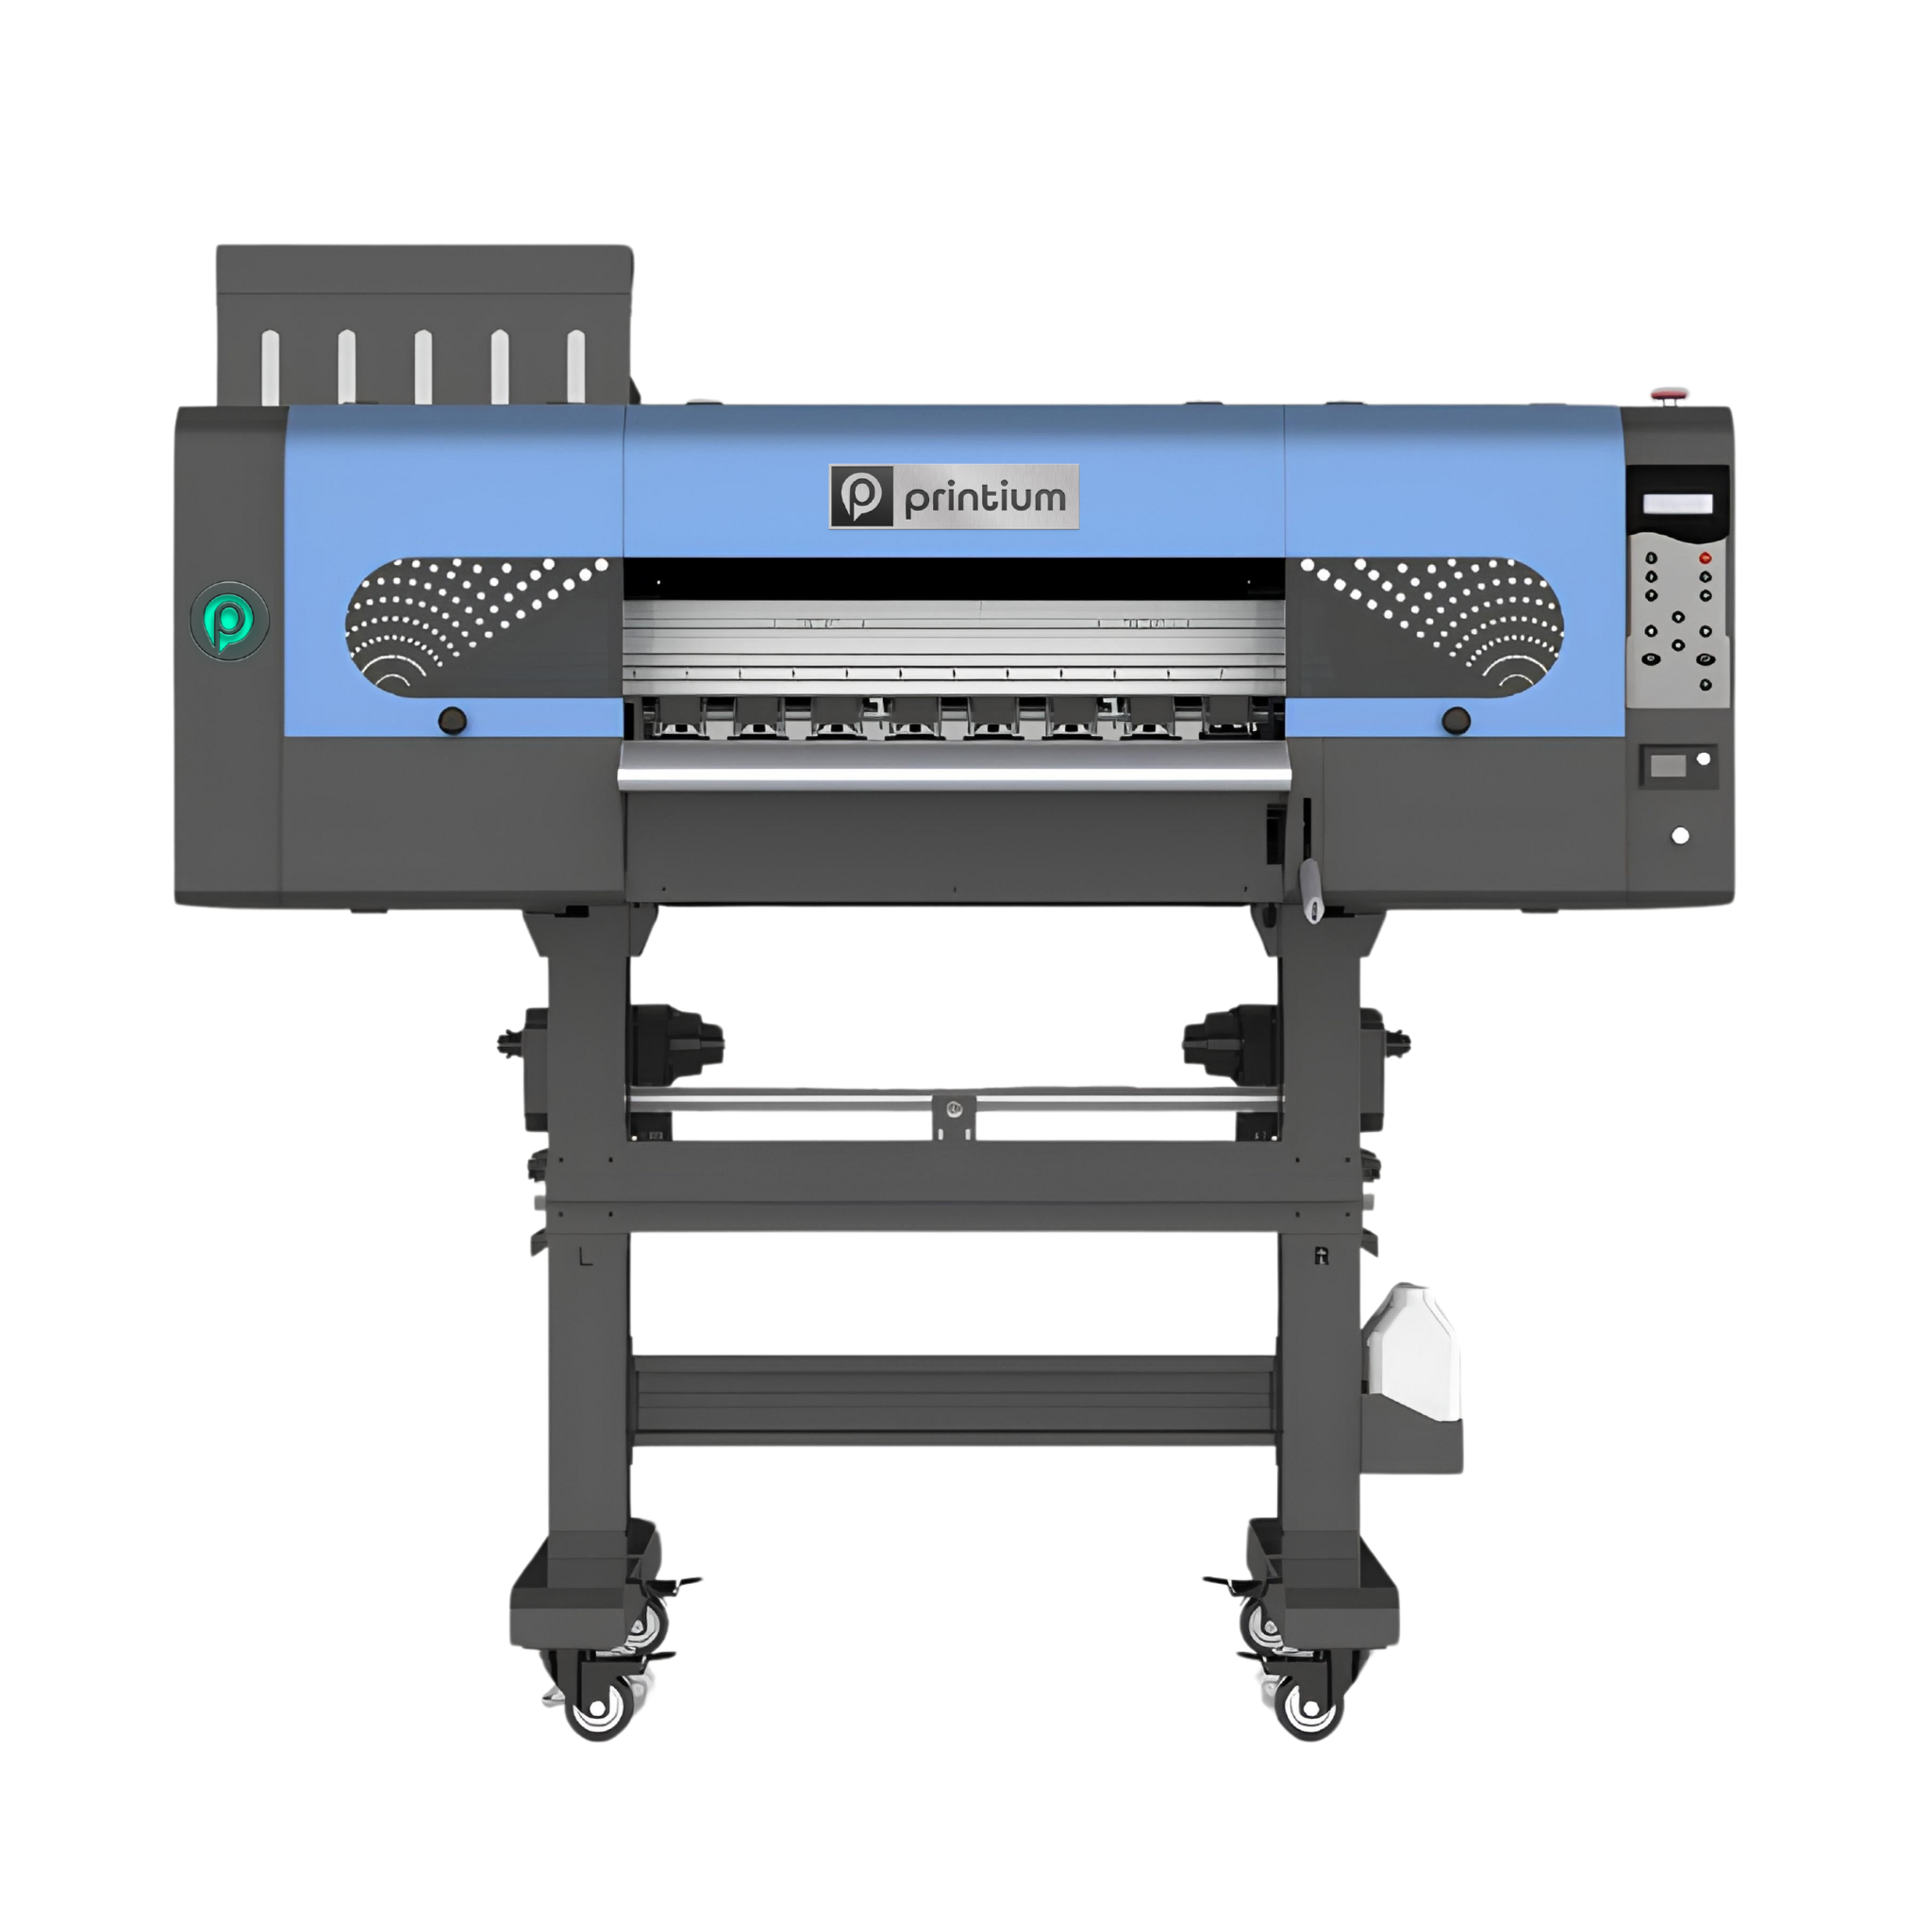
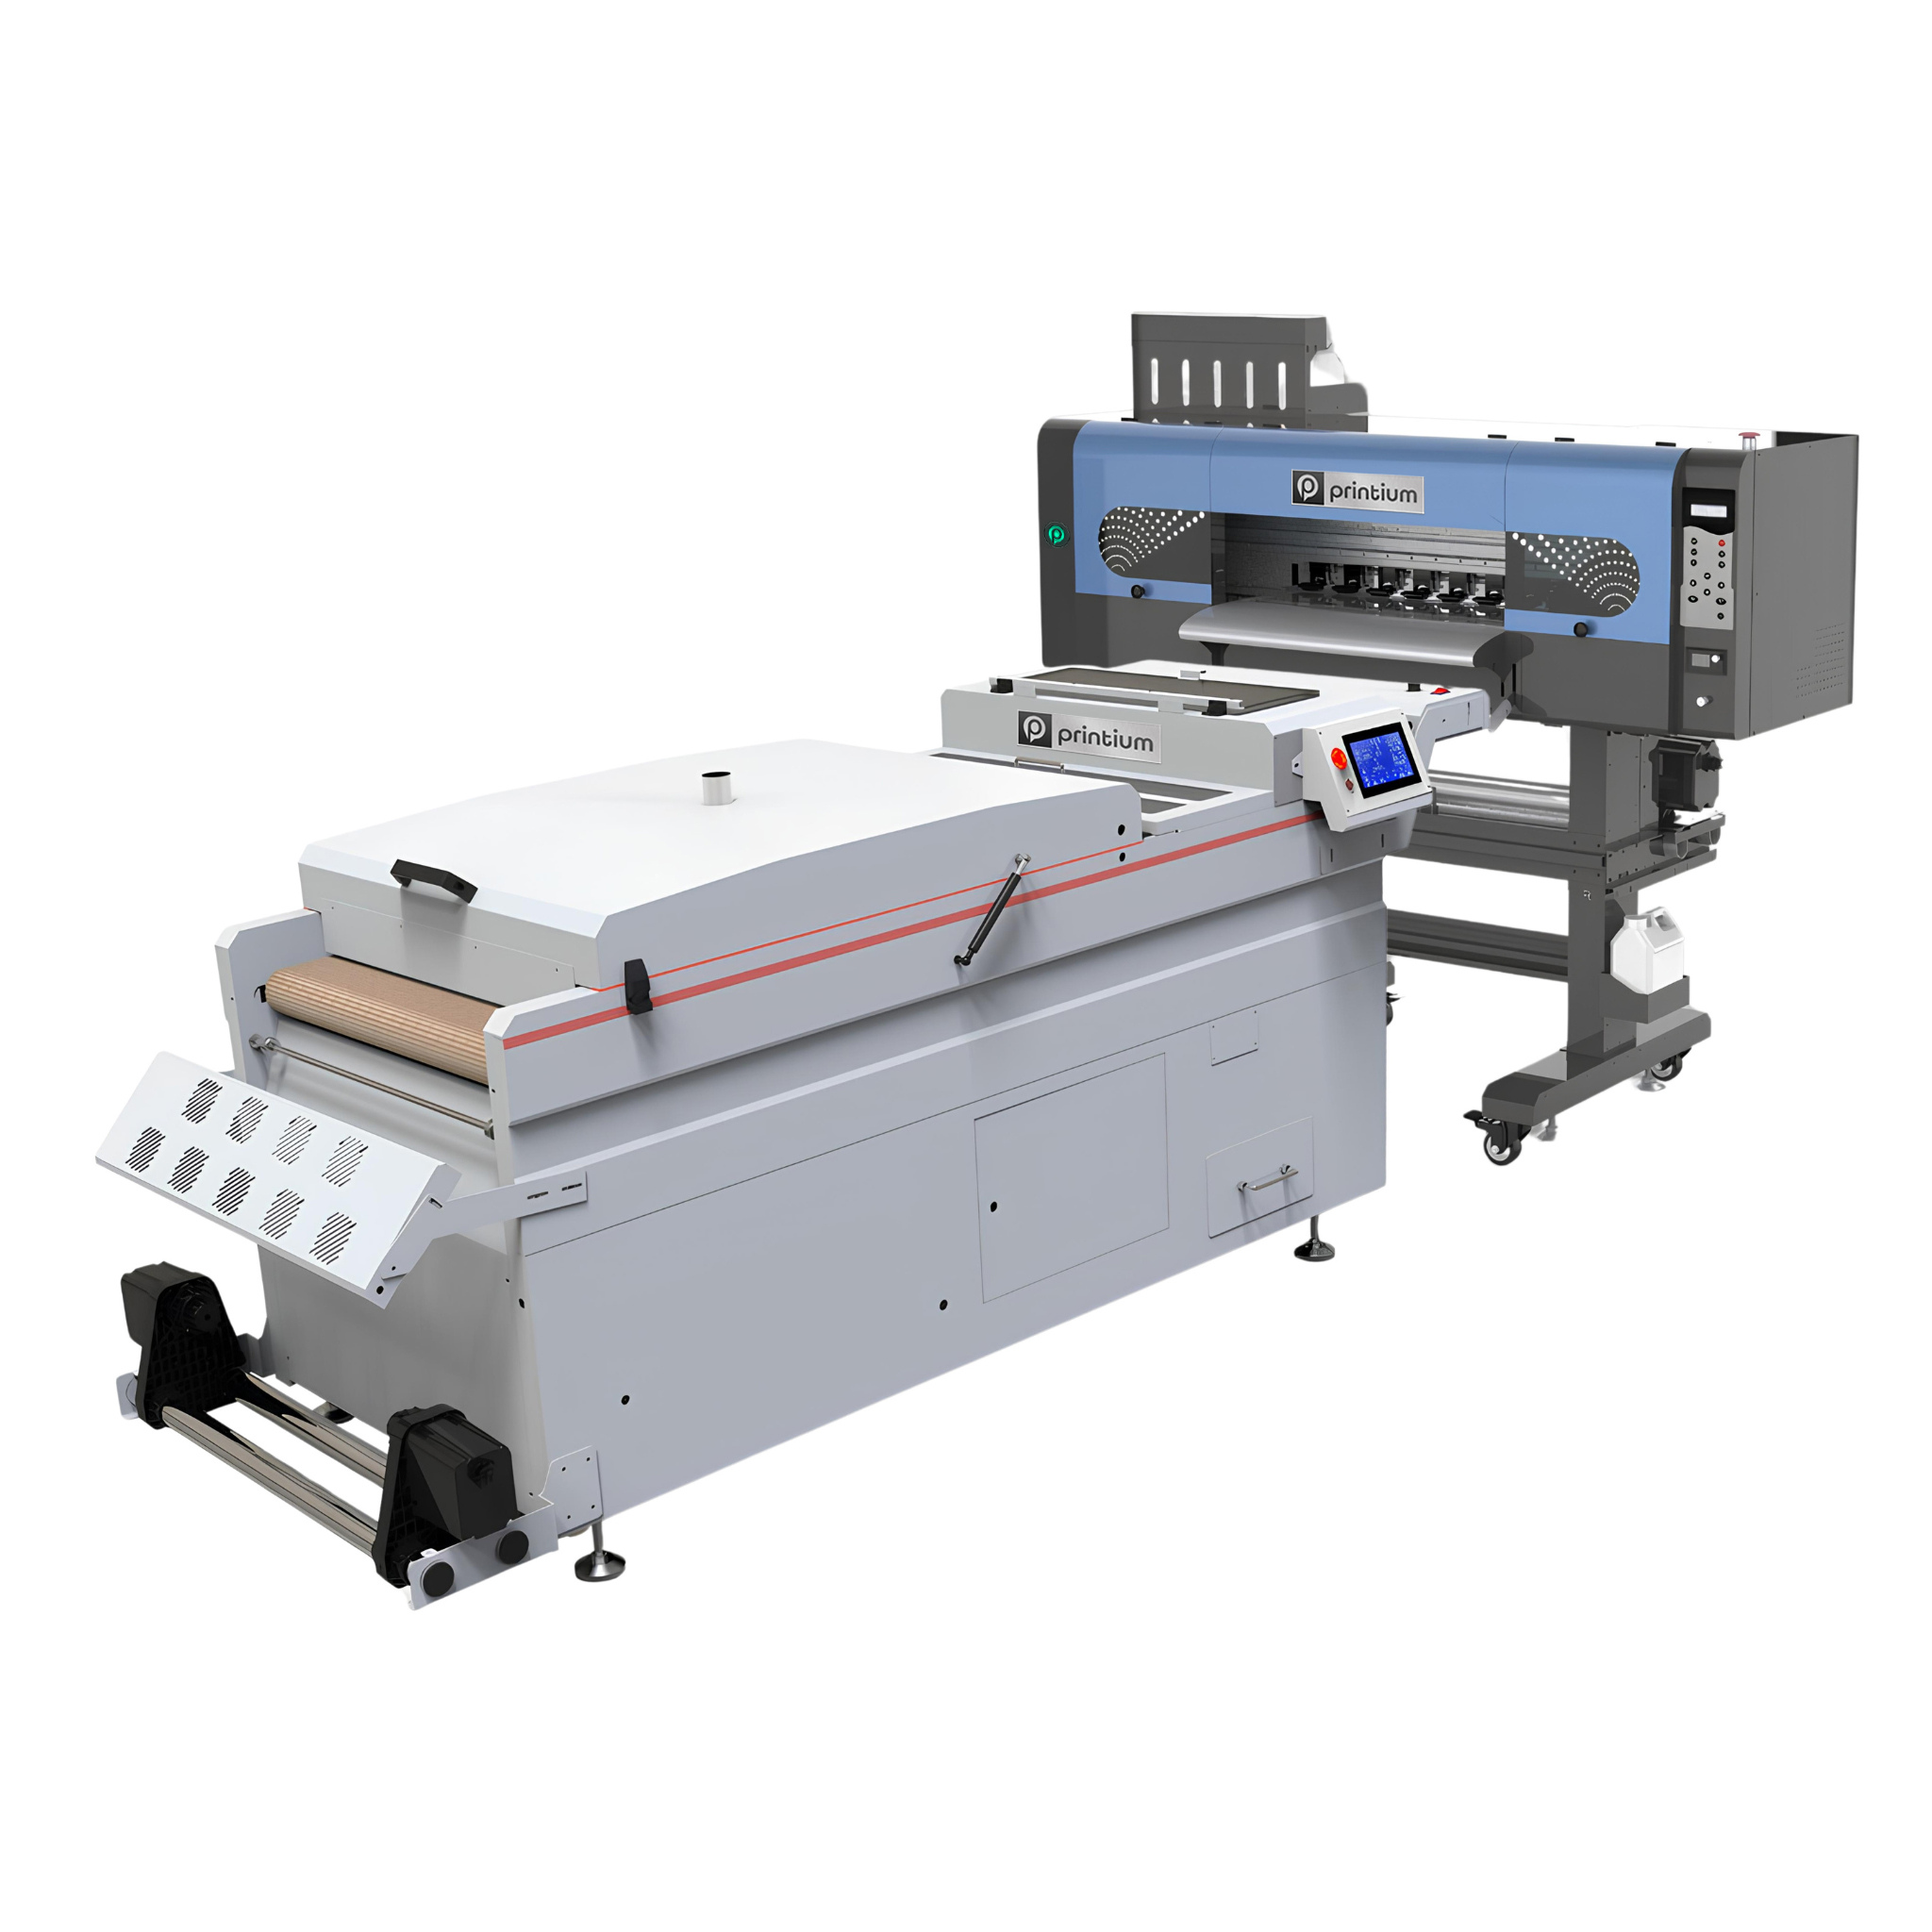
- A Specialized Printer: You will need a dedicated DTF printer modified to handle white ink.
- Transfer Media: High-quality transfer film (PET film) is essential for holding the ink.
- Specialized Ink: Specifically formulated DTF ink ensures flexibility and wash-resistance.
- Adhesive Component: High-bond adhesive powder (TPU) is what allows the ink to stick to the garment.
- Heat Source: A professional-grade heat press is required for curing and final application.
Preparing Your Digital Artwork
The quality of your transfer begins with the file. Use PNG images with transparent backgrounds at 300 DP. You must also use RIP (Raster Image Processor) software to manage white ink layers and mirror your design, as the image is printed on the back of the film.
The Printing and Powdering Process
The printer first applies CMYK colors onto the PET film, immediately followed by a layer of white ink. While the white ink is still wet, you must apply the adhesive powder manually or with an automated shaker[cite: 1]. Ensure full coverage and shake off any excess to avoid glue spots.
Curing the Transfer Properly
Curing turns the powder into a solid adhesive. This is done in a curing oven or under a heat press at 110°C to 150°C for 2 to 3 minutes. The powder should melt until it has a shiny, orange-peel texture. Under-curing is a common mistake that leads to peeling after the first wash.
Final Heat Press Application
Pre-press your garment for 5 seconds to remove moisture[cite: 1]. Place the transfer film on the garment and press at 150°C for approximately 15 seconds. Follow the instructions for your film—most beginner films are "Cold Peel," meaning you must wait for the design to cool completely before removing the film.
Conclusion
Mastering DTF Printing is a rewarding experience for any creative entrepreneur. From choosing the right equipment to perfecting the final press, every step counts. This technology gives you the freedom to print on almost any material with ease, combining digital detail with industrial strength.