How to Prepare Artwork Files for Flawless DTF Transfers
Getting vibrant, long-lasting, and professional-quality results with DTF (Direct-to-Film) transfers doesn’t start at the heat press — it starts with your artwork file. Even with the best printer, film, and heat press, poor file prep will lead to faded colors, blurry edges, or misaligned prints.
This guide will walk you through everything you need to know about preparing artwork files for flawless DTF transfers, whether you're a beginner or a seasoned designer.
Why File Preparation Matters in DTF Transfers
DTF printing is a digital process, but it still relies heavily on how your file is created. Low-resolution images, wrong color modes, or missing layers can cause major print issues — and waste both time and materials.
A properly prepared file ensures:
-
Clean, sharp edges 🧼
-
Accurate, vibrant colors 🎨
-
Perfect alignment and print placement 🎯
-
No surprises during the final peel
Step-by-Step: Preparing Artwork for DTF Transfers
Use High-Resolution Images (300 DPI Minimum)
Always design or export your artwork at 300 DPI (dots per inch). This resolution ensures fine lines and details are crisp on the printed film.
🧠 Avoid scaling up small images — it will cause pixelation.
Work in CMYK Color Mode
DTF printers use CMYK inks, not RGB. Designing in CMYK helps you get colors that are closer to the final print outcome.
-
In Photoshop or Illustrator, convert your document to CMYK early.
-
Keep in mind: Some bright RGB colors (like neon green or electric blue) may not print the same.
Transparent Background is Key
Your design should be placed on a transparent canvas, especially if you're printing on dark or colored garments.
-
Export final files as PNG with transparency
-
For vector files, SVG or EPS formats also work, but confirm with your print provider.
Outline All Fonts and Expand Strokes
Before exporting:
-
Convert all text to outlines (so the font won’t change if it’s missing on another computer)
-
Expand strokes or borders to avoid misalignment
This makes your file more reliable and universally readable.
Use Solid, Bold Lines for Better Adhesion
Avoid ultra-fine lines or overly thin details — they can fail to adhere or lift during peeling.
-
Add a slight stroke (0.25–0.5 pt) to weak areas
-
Thicker outlines help improve durability, especially on textured fabrics
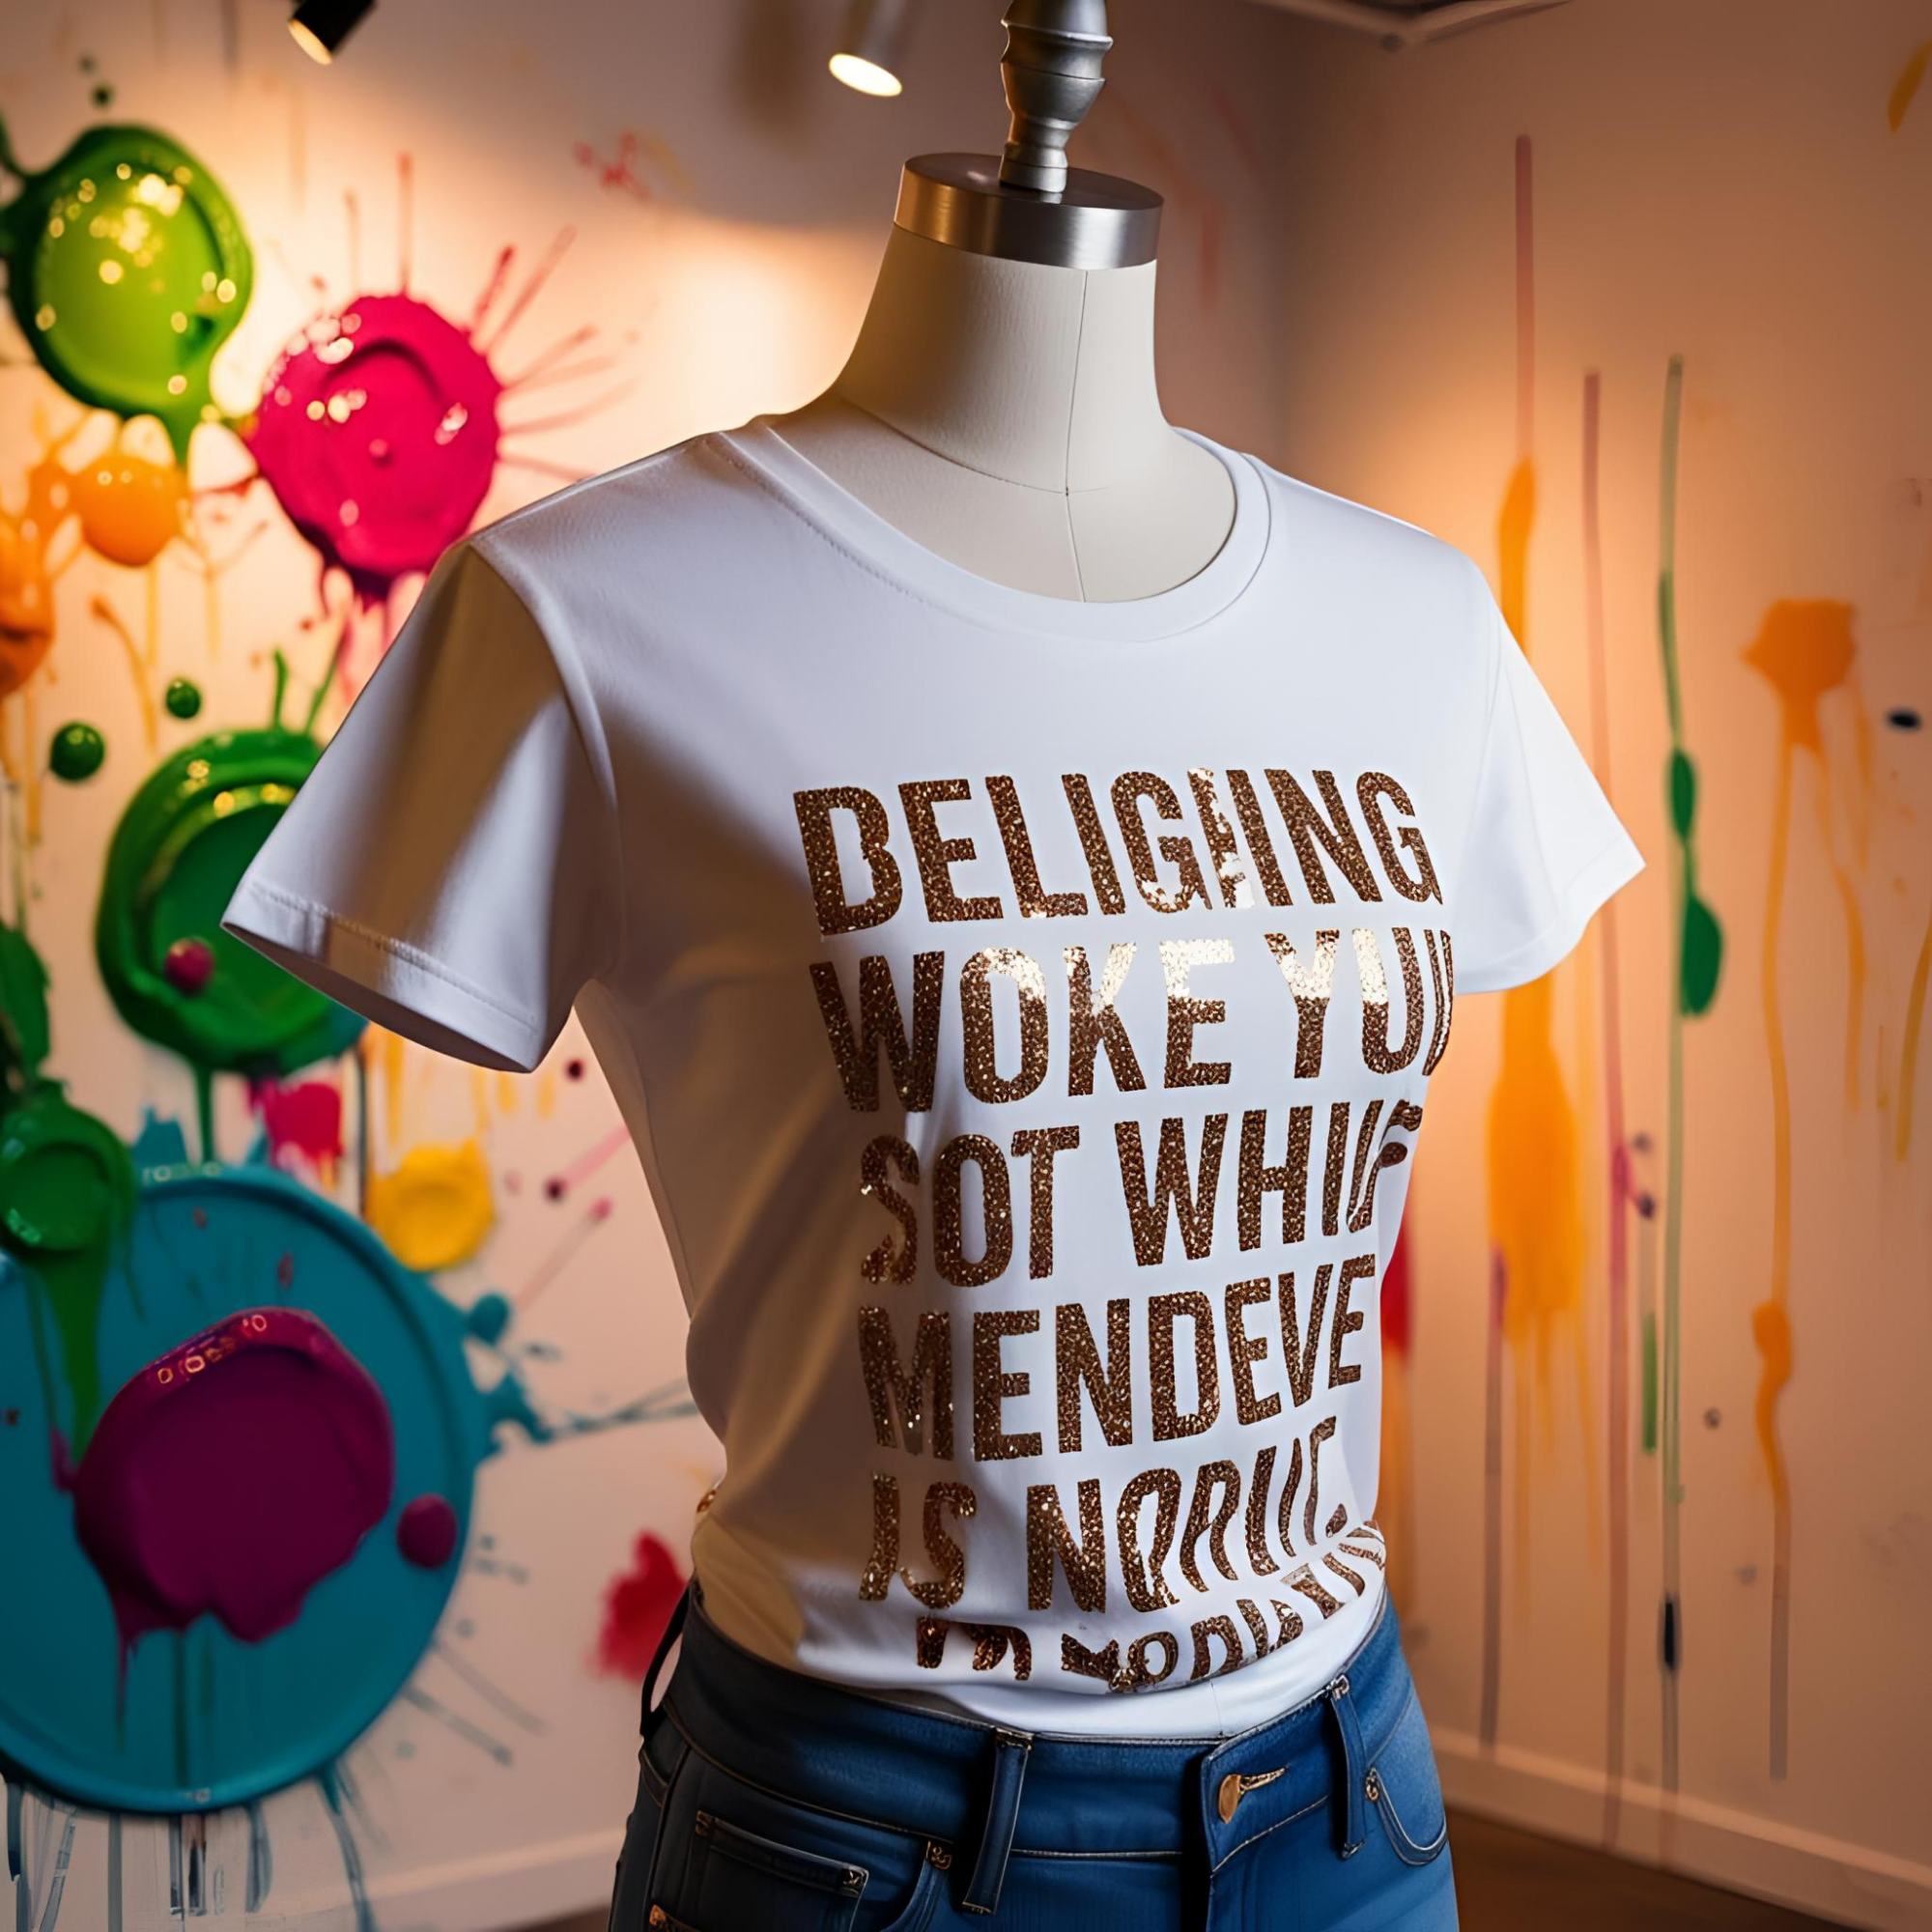
Avoid Semi-Transparent Areas or Glows
DTF printers do not handle semi-transparent gradients, shadows, or glow effects well.
-
Use solid colors
-
For effects, convert to rasterized layers with full opacity
-
Avoid drop shadows unless flattened and solid
Export in the Right Format
Your final export should be:
-
PNG (300 DPI, Transparent Background)
-
CMYK mode
-
Dimensions matching the print area
📎 Bonus: Always keep your editable source file (AI, PSD, or CDR) in case revisions are needed.
Bonus Tips for Gang Sheets
If you're preparing a DTF gang sheet (multiple designs on one large film), make sure:
-
Designs are spaced at least 0.25 inch apart
-
No overlapping elements
-
Keep everything aligned and grouped
🖨️ Upload Your Gang Sheet Here
Final Thoughts
Every great print begins long before the machine starts running. It starts with careful planning, clean digital design, and a structured workflow. Taking the time to refine your graphics, ensuring high image quality, selecting the correct color profile, and saving in the proper format can make all the difference between a disappointing outcome and a professional-looking result.
Inconsistent colors, blurry edges, or peeling prints are often symptoms of overlooked steps during the design stage—not issues with the printer itself. By addressing these details early, you’re not just improving the look of your work — you’re saving time, reducing material waste, and preventing frustration.
No matter the size of your project or experience level, the principles remain the same. Well-prepared artwork leads to fewer errors, more accurate output, and happier customers. The better your foundation, the better your final product.