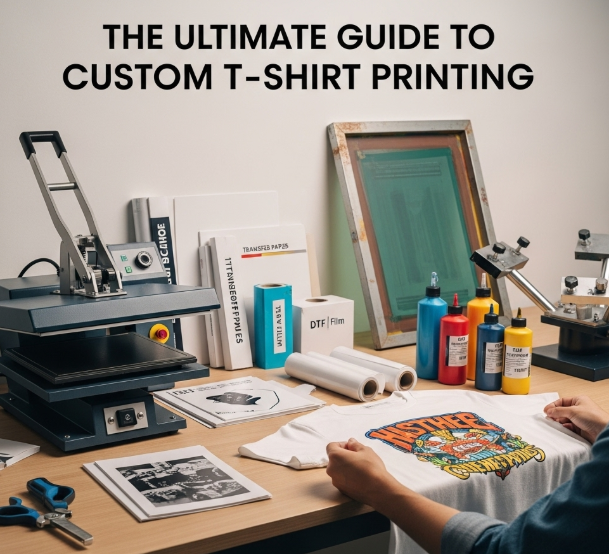
The Ultimate Guide to Custom T-Shirt Printing: From Concept to Creation
Custom t-shirt printing has evolved into a creative and profitable industry. Whether you’re looking to create personalized gifts, design custom apparel for your business, or start your own t-shirt printing venture, the process can be both exciting and rewarding. However, there’s a lot to consider to ensure your final product is high-quality and meets your design expectations. In this ultimate guide, we’ll take you through the entire process of custom t-shirt printing—from concept to creation—giving you all the tools you need to bring your ideas to life.
Step 1: Conceptualizing Your Design
The first step in the custom t-shirt printing process is coming up with a strong design concept. A great t-shirt design should be visually appealing, meaningful, and relevant to your target audience. Here are some things to keep in mind when brainstorming your design:
-
Identify Your Audience
Who will be wearing this custom t-shirt? Is it for a family reunion, a business, a charity event, or a fashion line? Understanding your audience will help shape the design to resonate with them. For example, a design for a corporate event will look very different from a graphic tee for a fashion brand. -
Choose a Theme
Your design theme will guide the overall concept of your t-shirt. It could be humorous, inspirational, artistic, or promotional. Your theme will help you decide on fonts, colors, and graphics. -
Keep It Simple
Often, the best designs are the simplest. Think about iconic logos and t-shirt designs—many are straightforward, yet effective. Aim for clarity and a clean layout that doesn’t overwhelm the viewer. -
Consider Color Psychology
Colors evoke emotions. For example, red can symbolize excitement, passion, or urgency, while blue may be associated with calmness or professionalism. Choose colors that align with your message or brand identity.
Step 2: Choosing the Right Fabric and Shirt Style
Once you have your design, it’s time to select the perfect shirt to print on. Choosing the right fabric and style is just as important as the design itself, as it impacts the fit, feel, and durability of your custom t-shirt.
-
Fabric Options
Cotton is the most popular choice due to its softness, breathability, and comfort. However, there are other fabrics to consider:-
Polyester: Durable, moisture-wicking, and resistant to shrinking.
-
Cotton-Polyester Blends: A balance between comfort and durability, with less shrinkage than 100% cotton.
-
Tri-Blend: A mix of cotton, polyester, and rayon that gives a soft, vintage feel.
-
-
Shirt Styles
The style of the shirt is just as important as the fabric:-
T-Shirts: The classic choice, available in both men’s and women’s styles.
-
Tank Tops: A great option for summer or activewear.
-
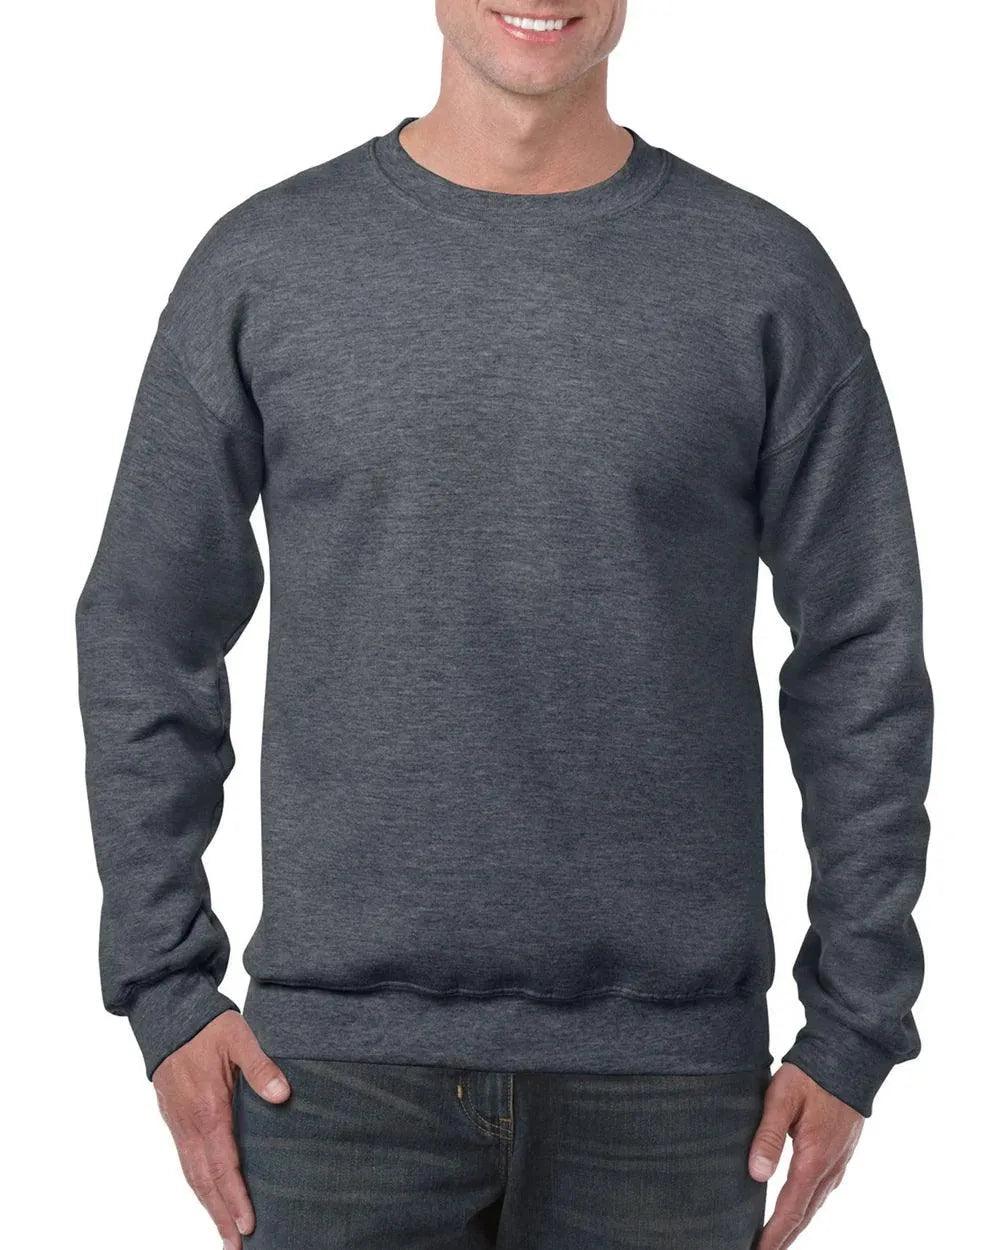
Hoodies and Sweatshirts: Perfect for cooler weather and a more casual, comfortable look.
-
V-Neck or Crew Neck: Choose the neckline that suits your design and audience best.
-
Step 3: Selecting the Right Printing Method
There are several different printing methods available, each with its advantages depending on the design, quantity, and fabric used. Here are the most popular options:
-
Screen Printing
Screen printing is one of the most common and cost-effective printing methods, especially for bulk orders. It involves using a stencil (or screen) to apply layers of ink onto the t-shirt. It's best for large runs with simple designs, as it requires setting up screens for each color.Pros:
-
Excellent for large quantities.
-
Durable and long-lasting.
-
Vibrant colors.
Cons:
-
Not ideal for complex or multi-colored designs.
-
High setup costs for small runs.
-
-
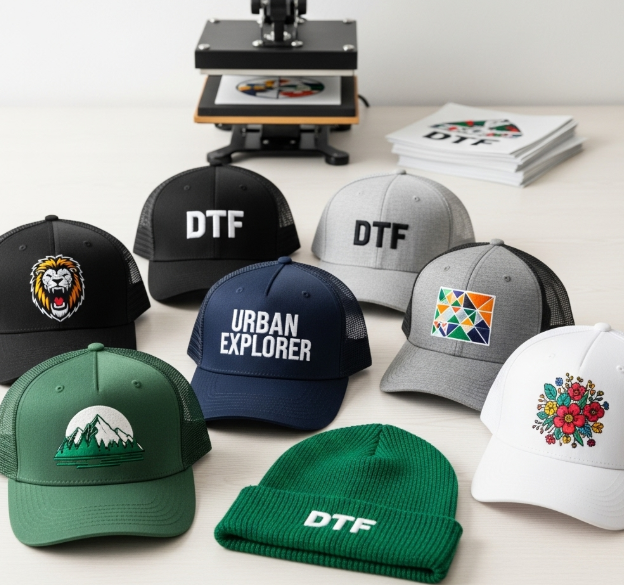
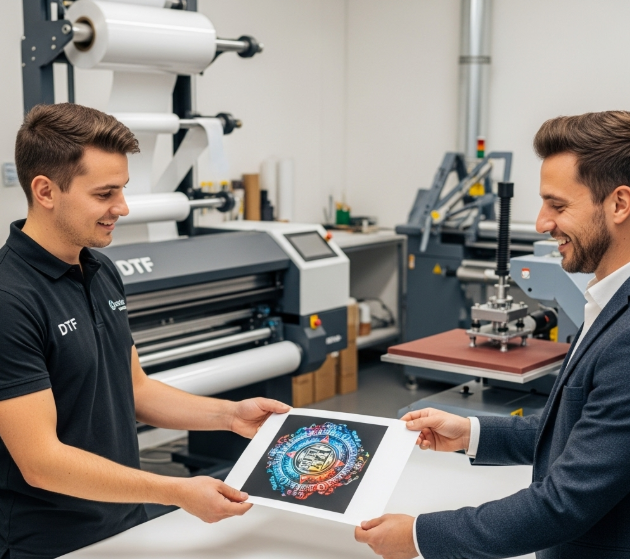
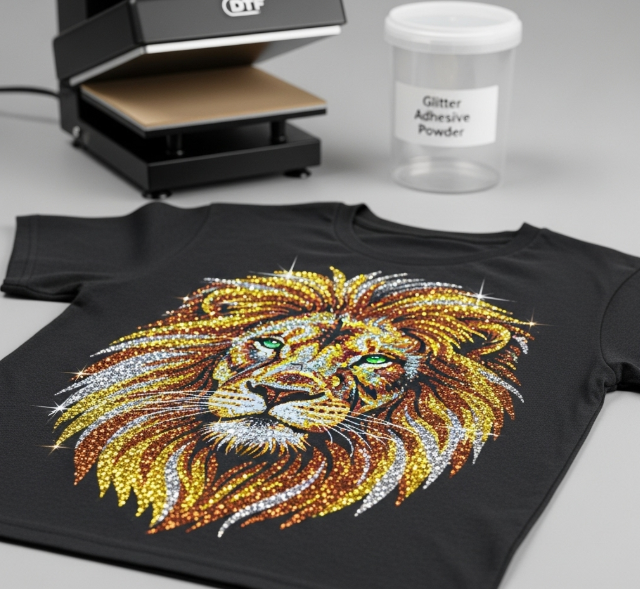
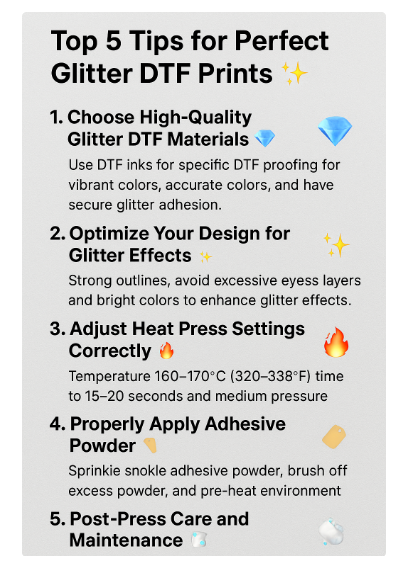
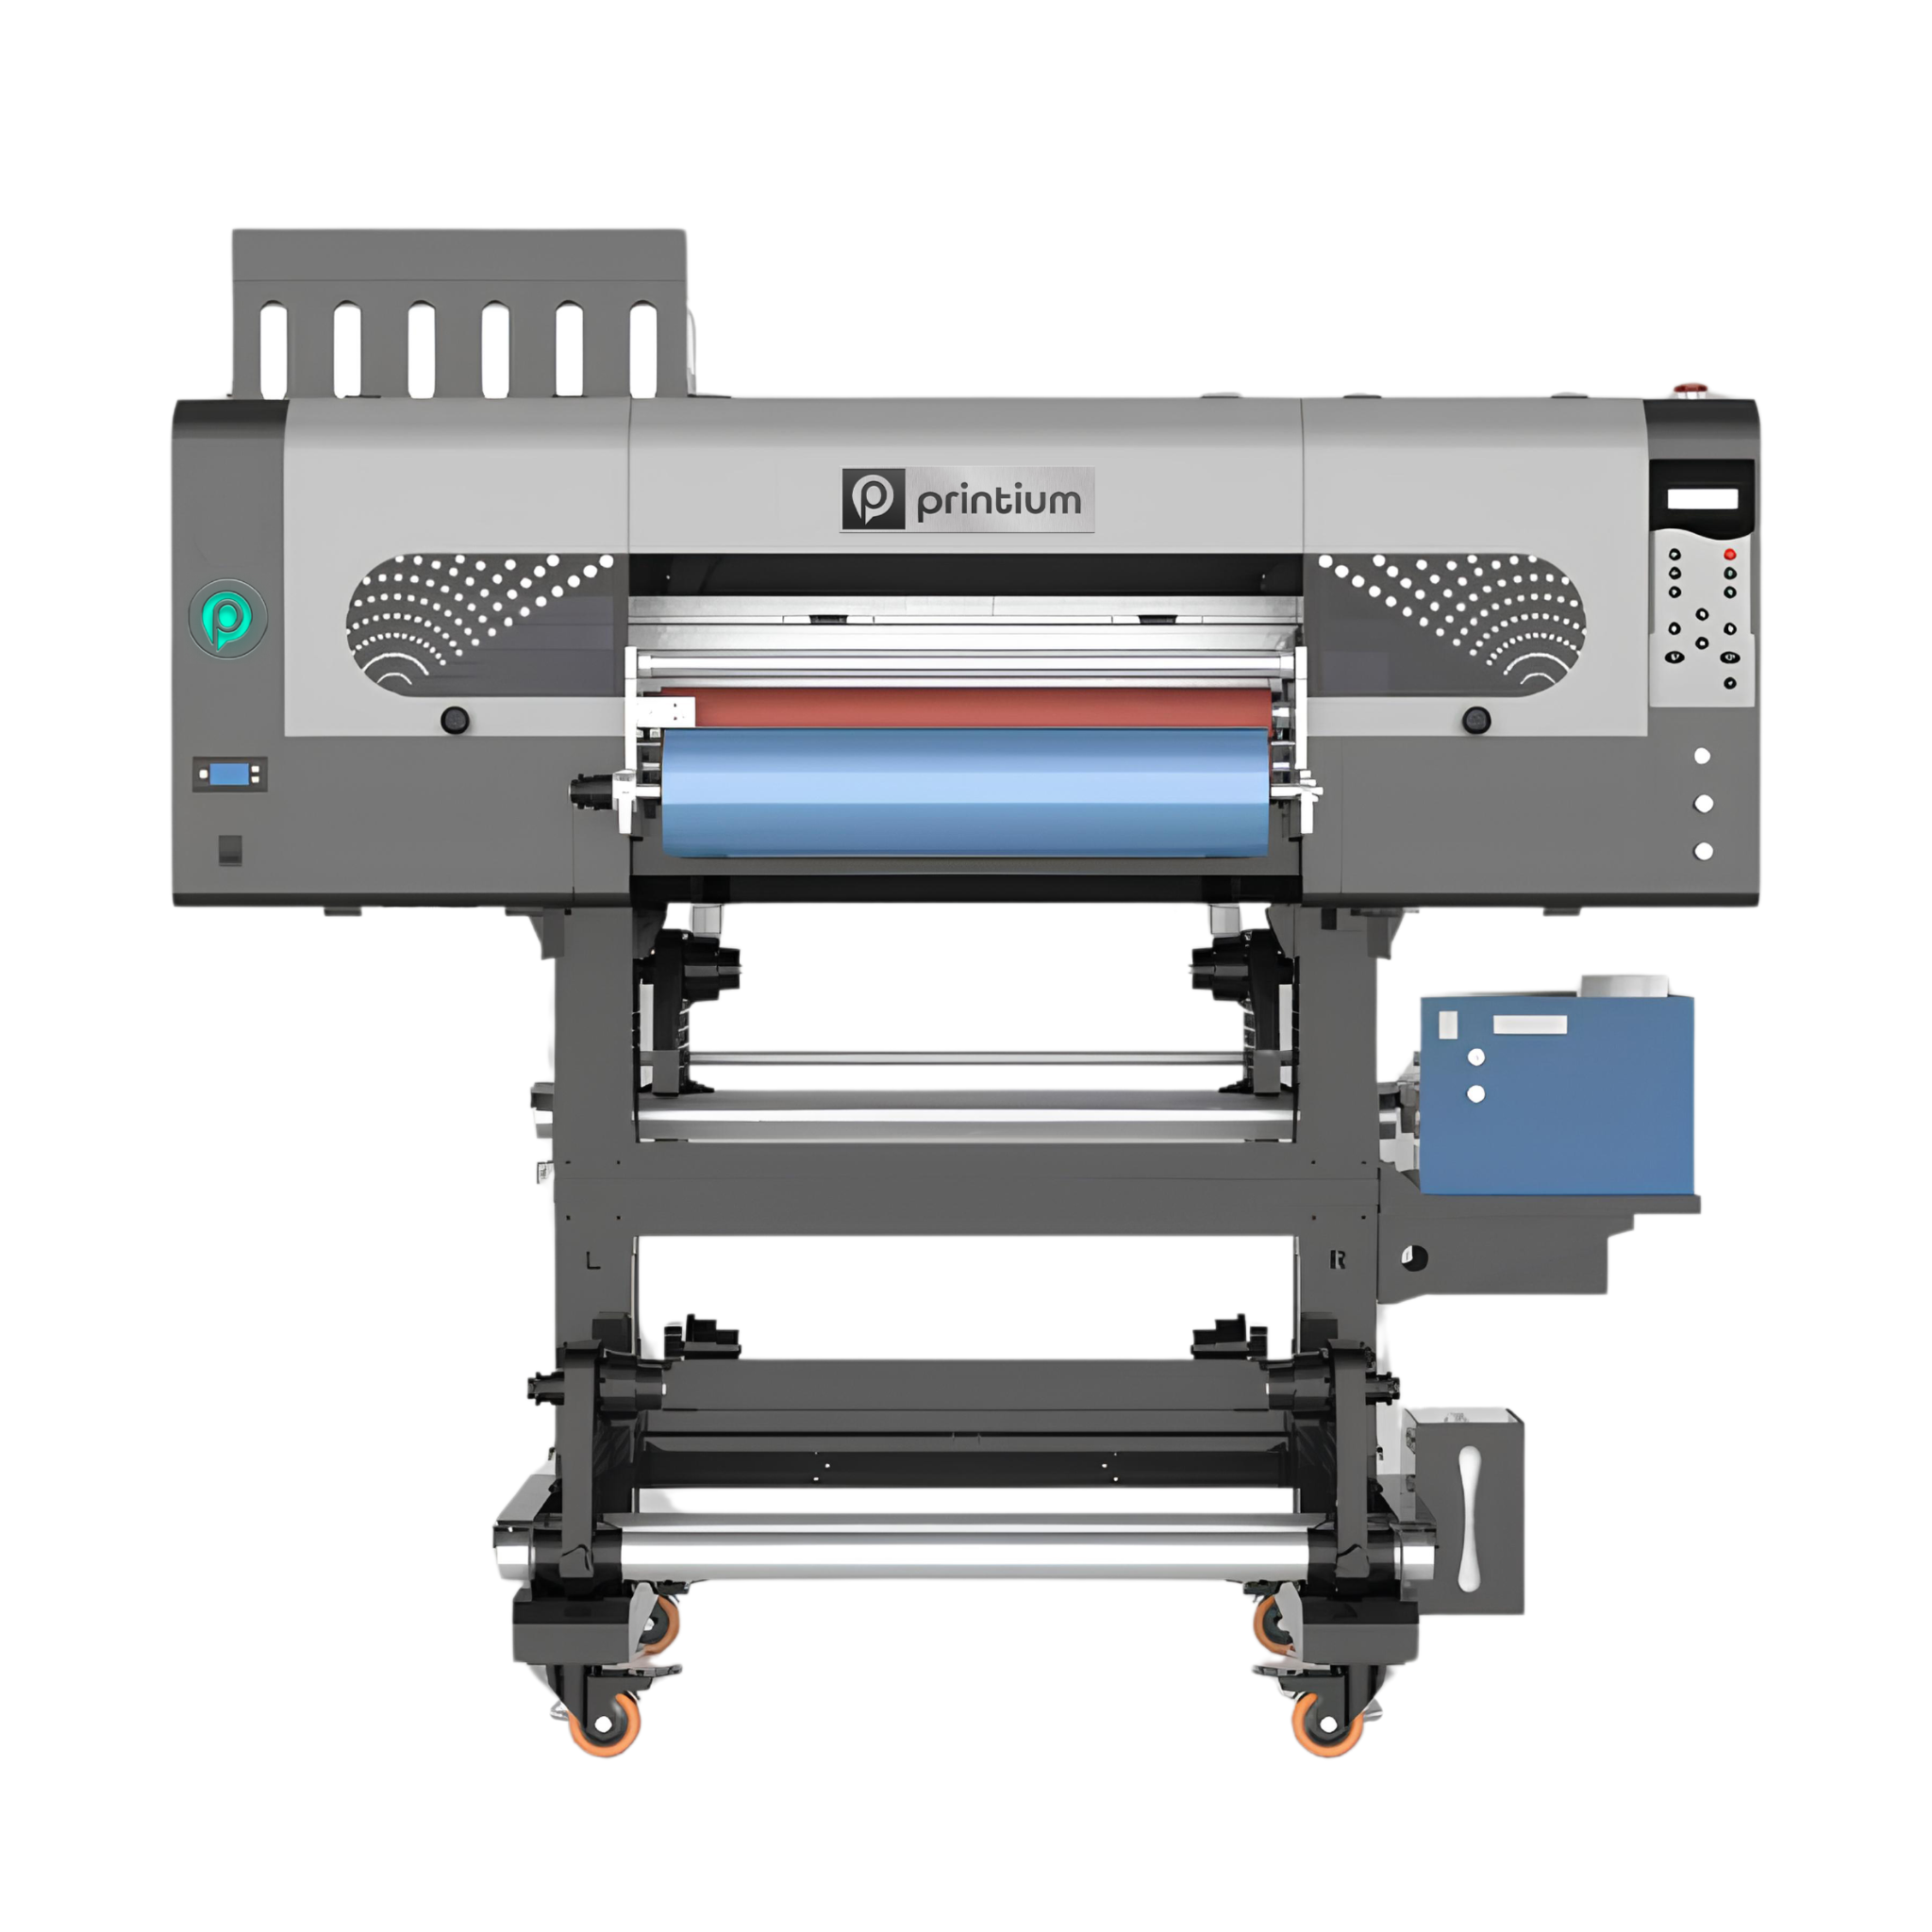
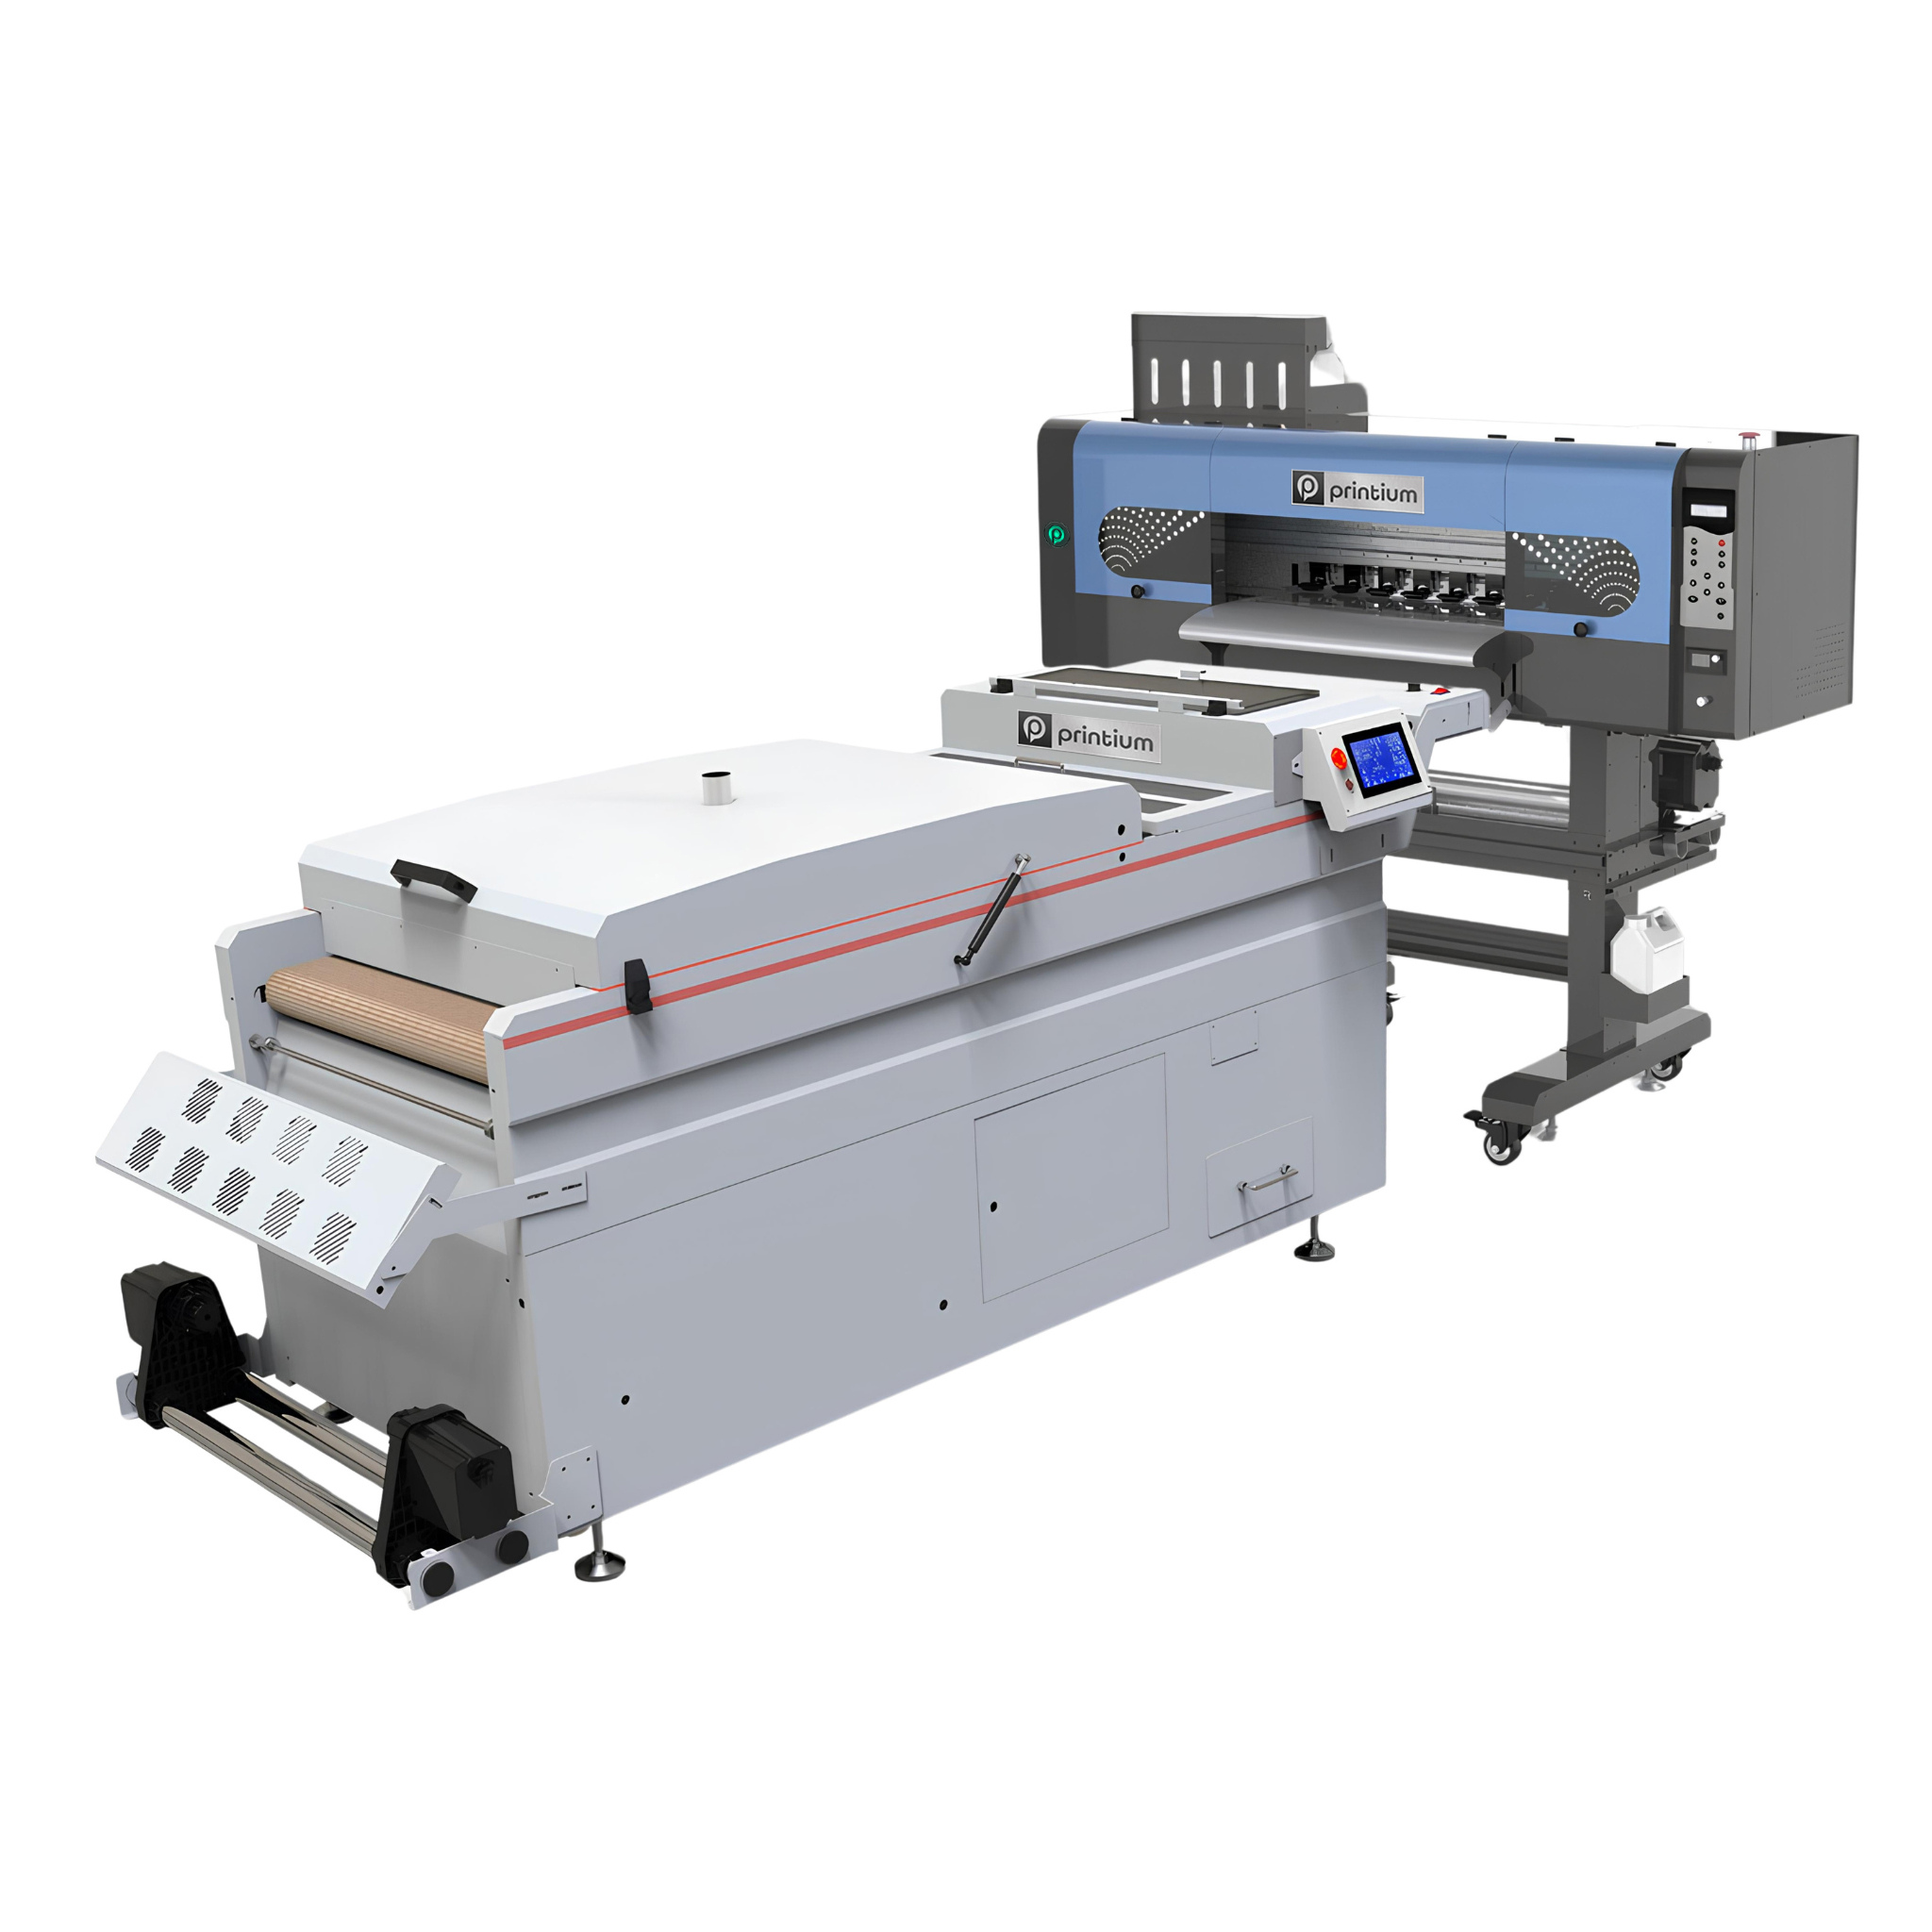
DTF Printing (Direct-to-Film)
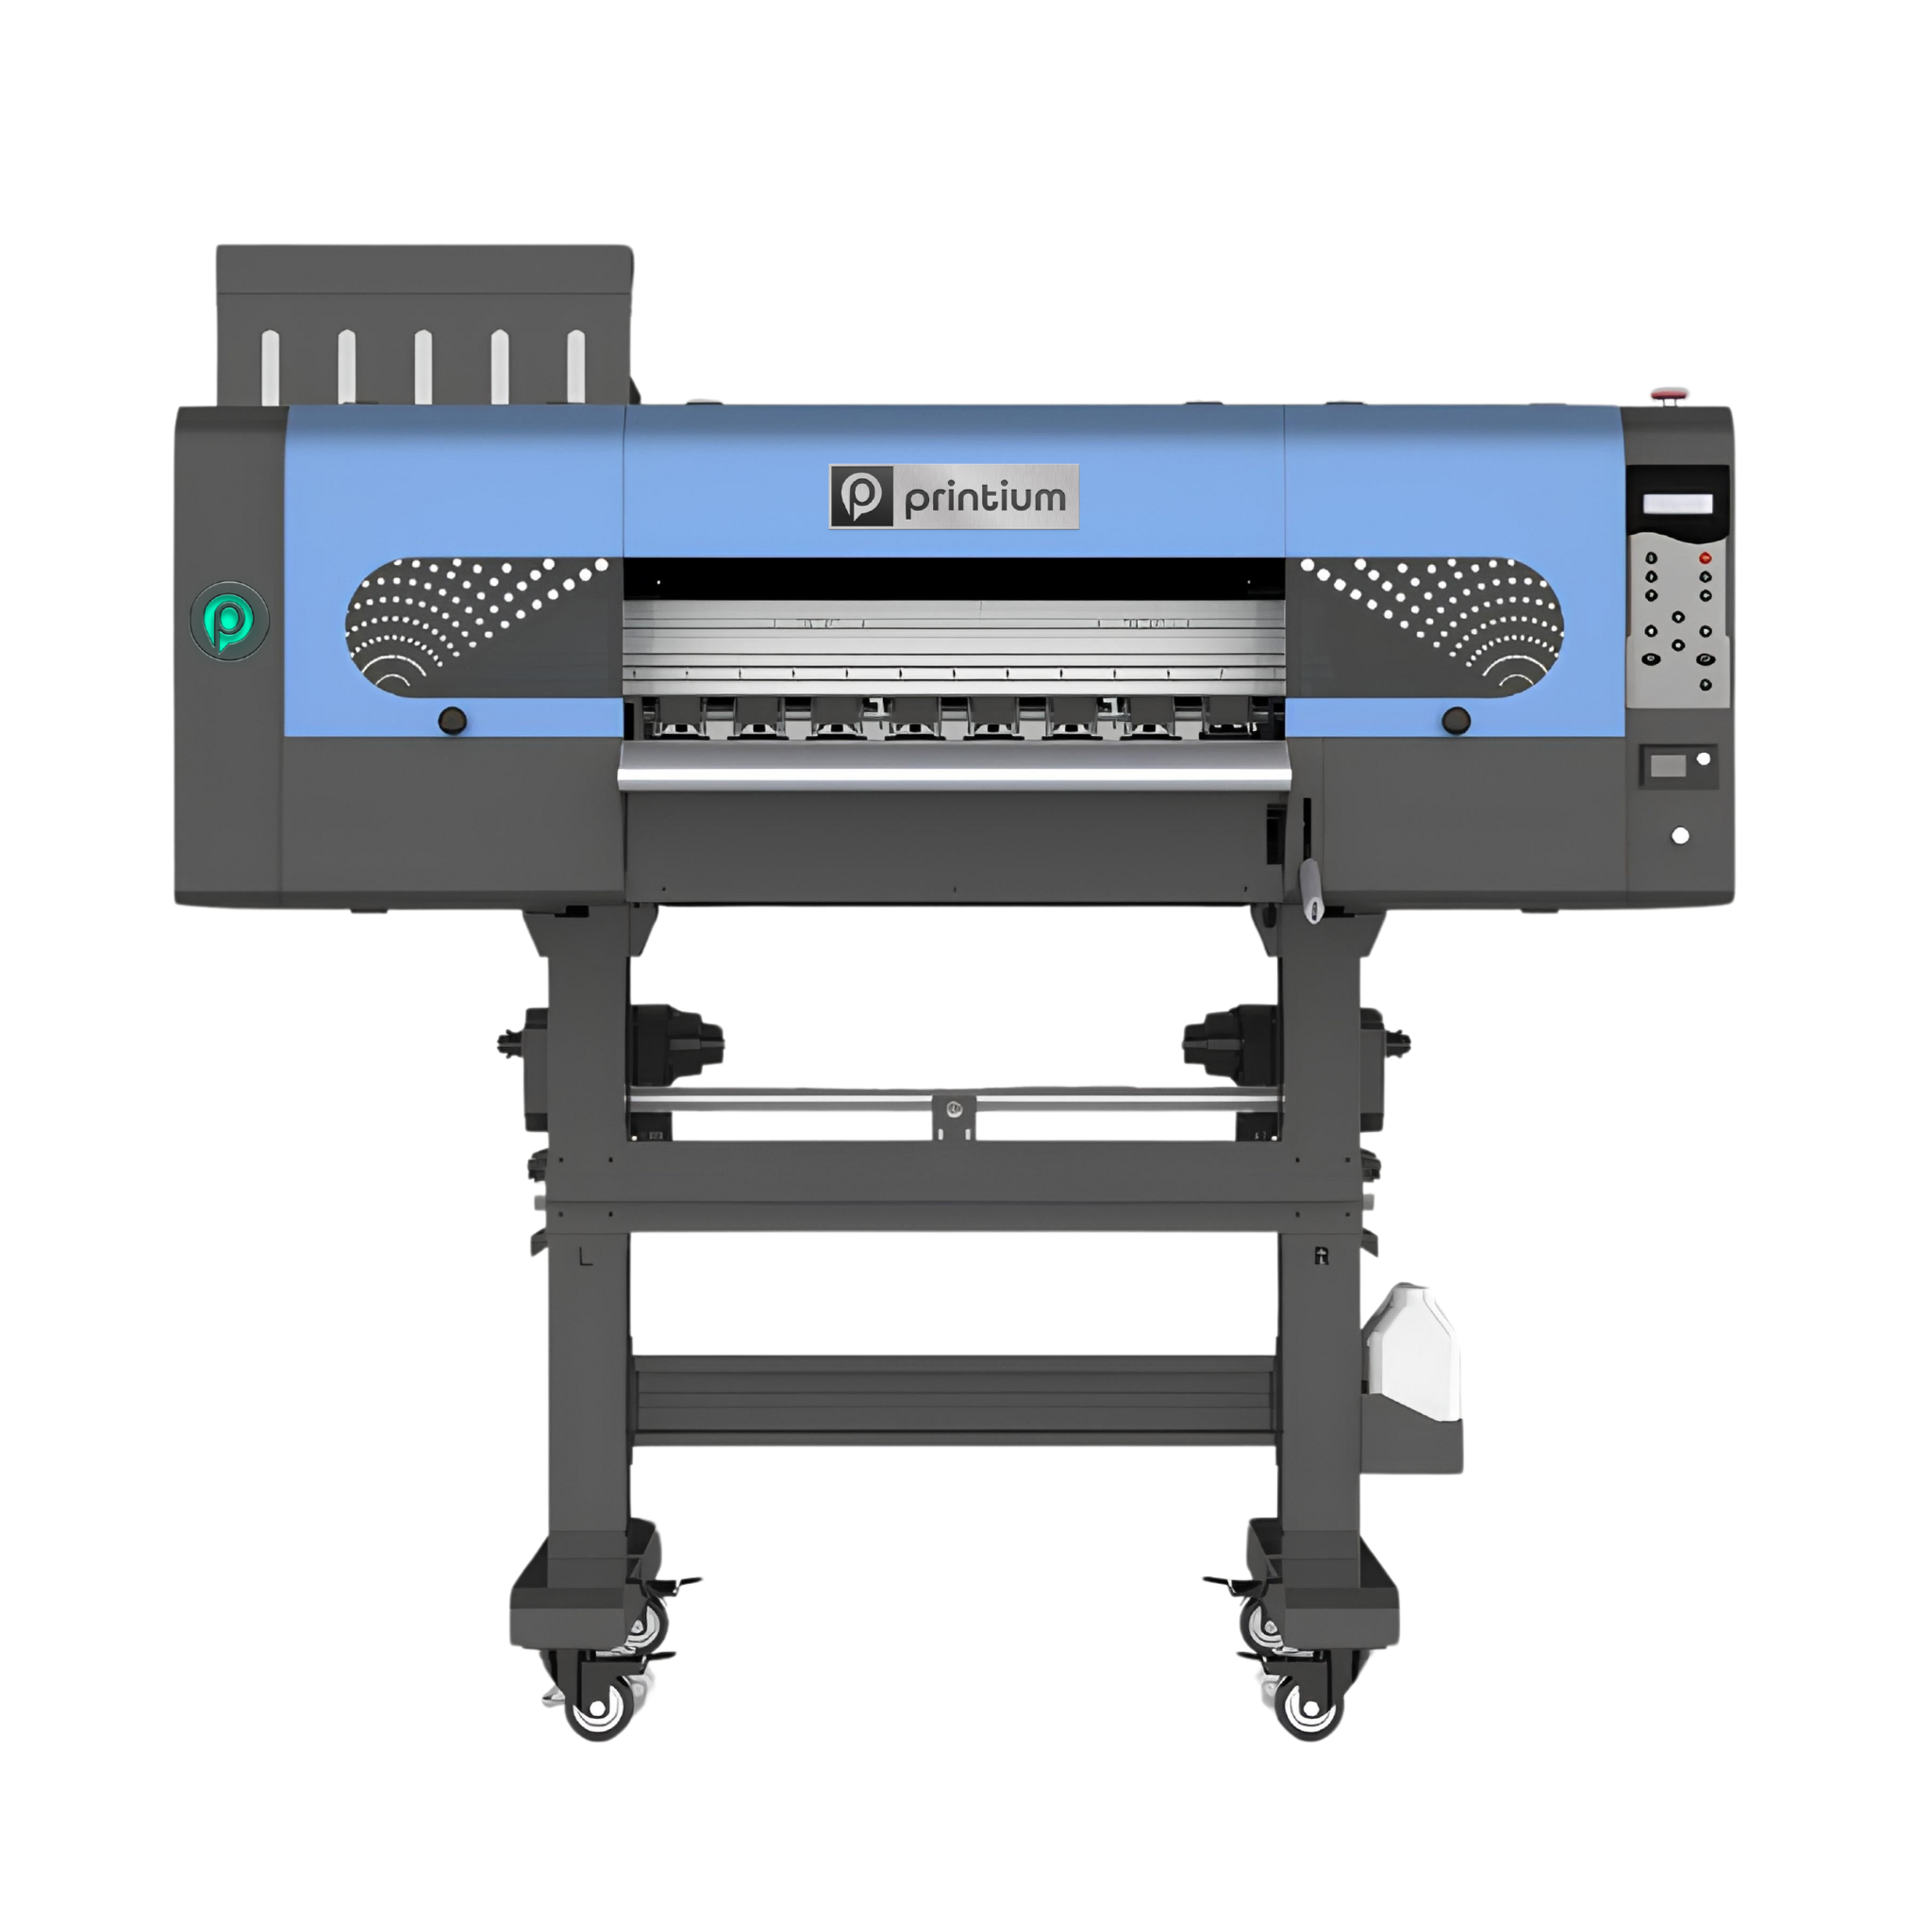
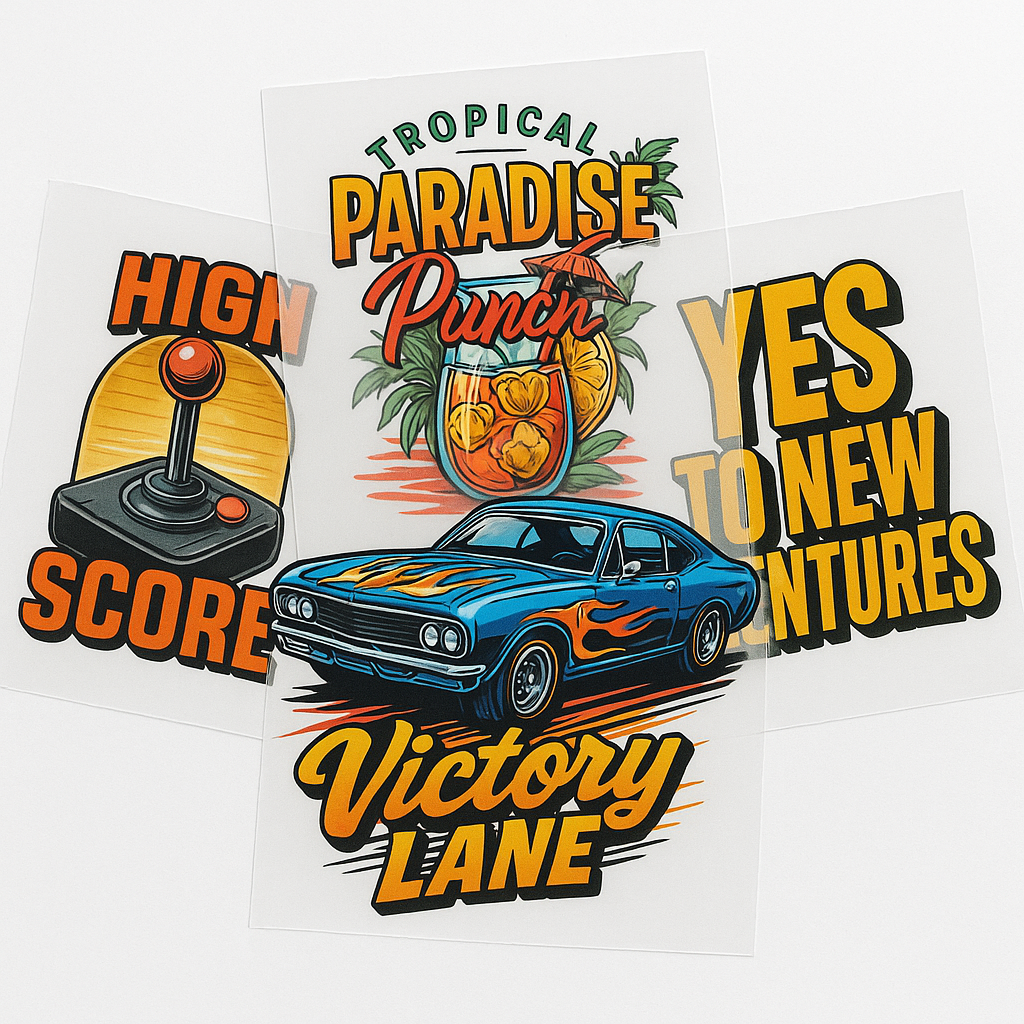
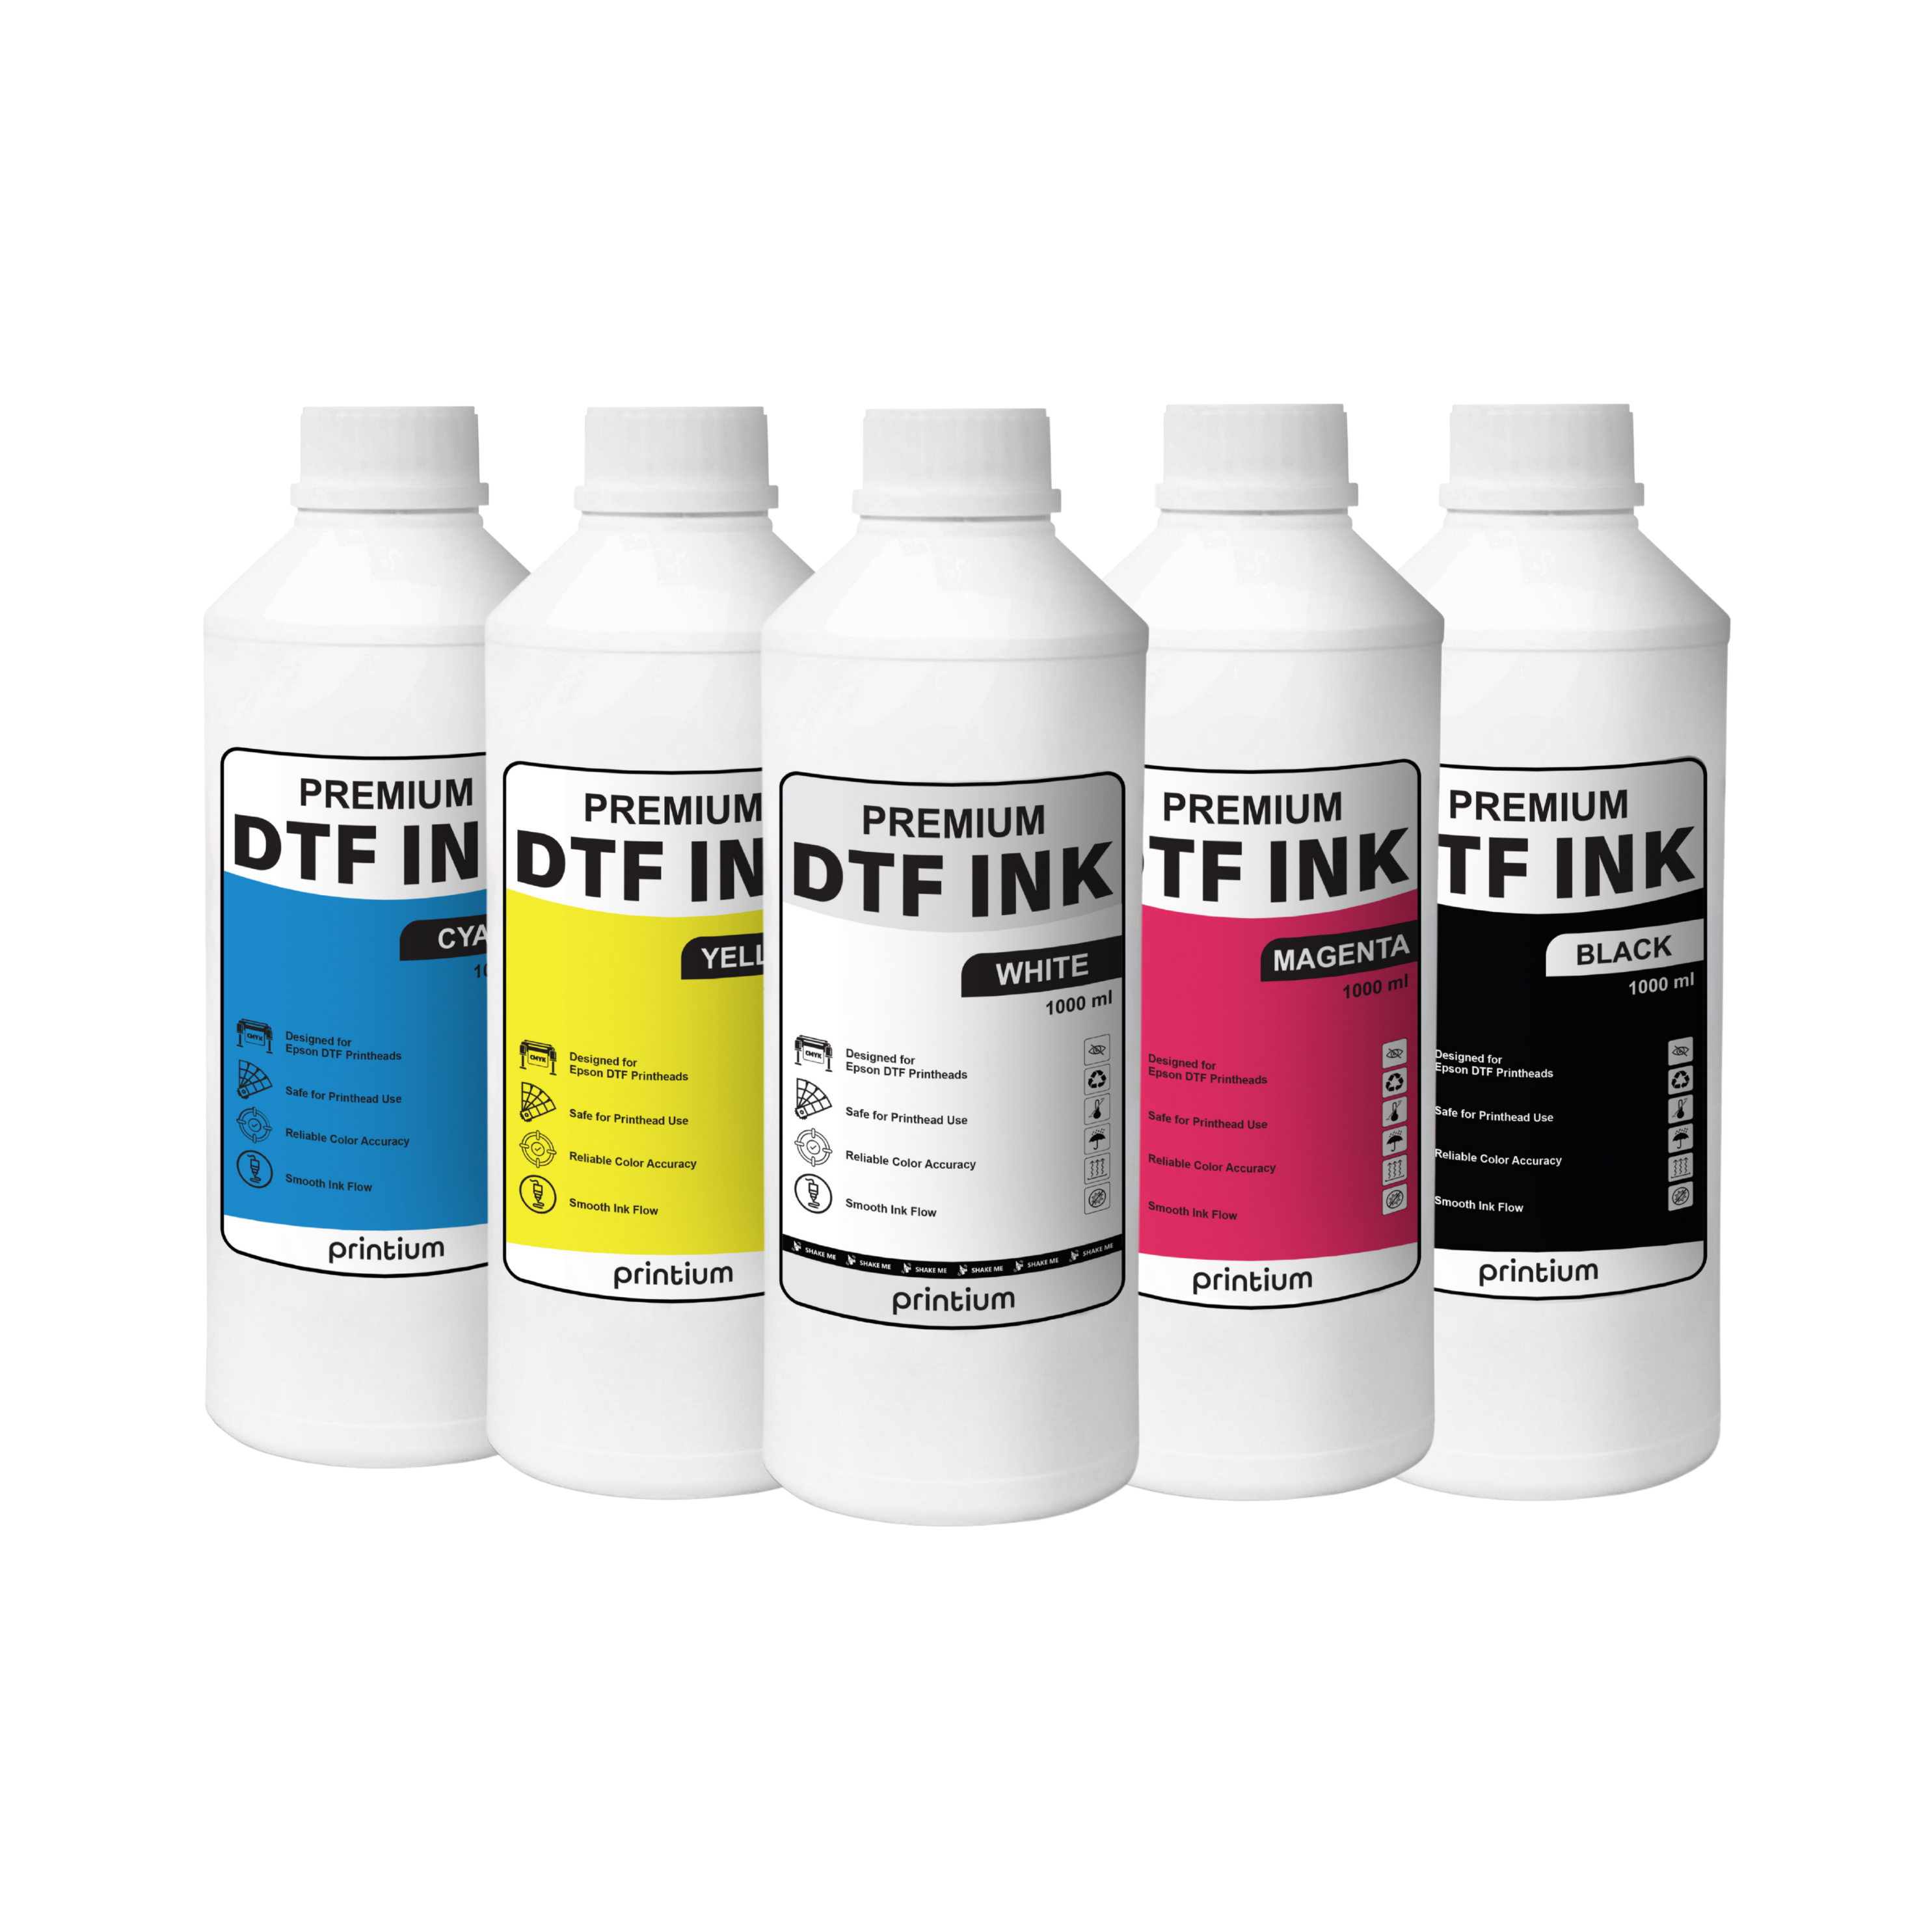
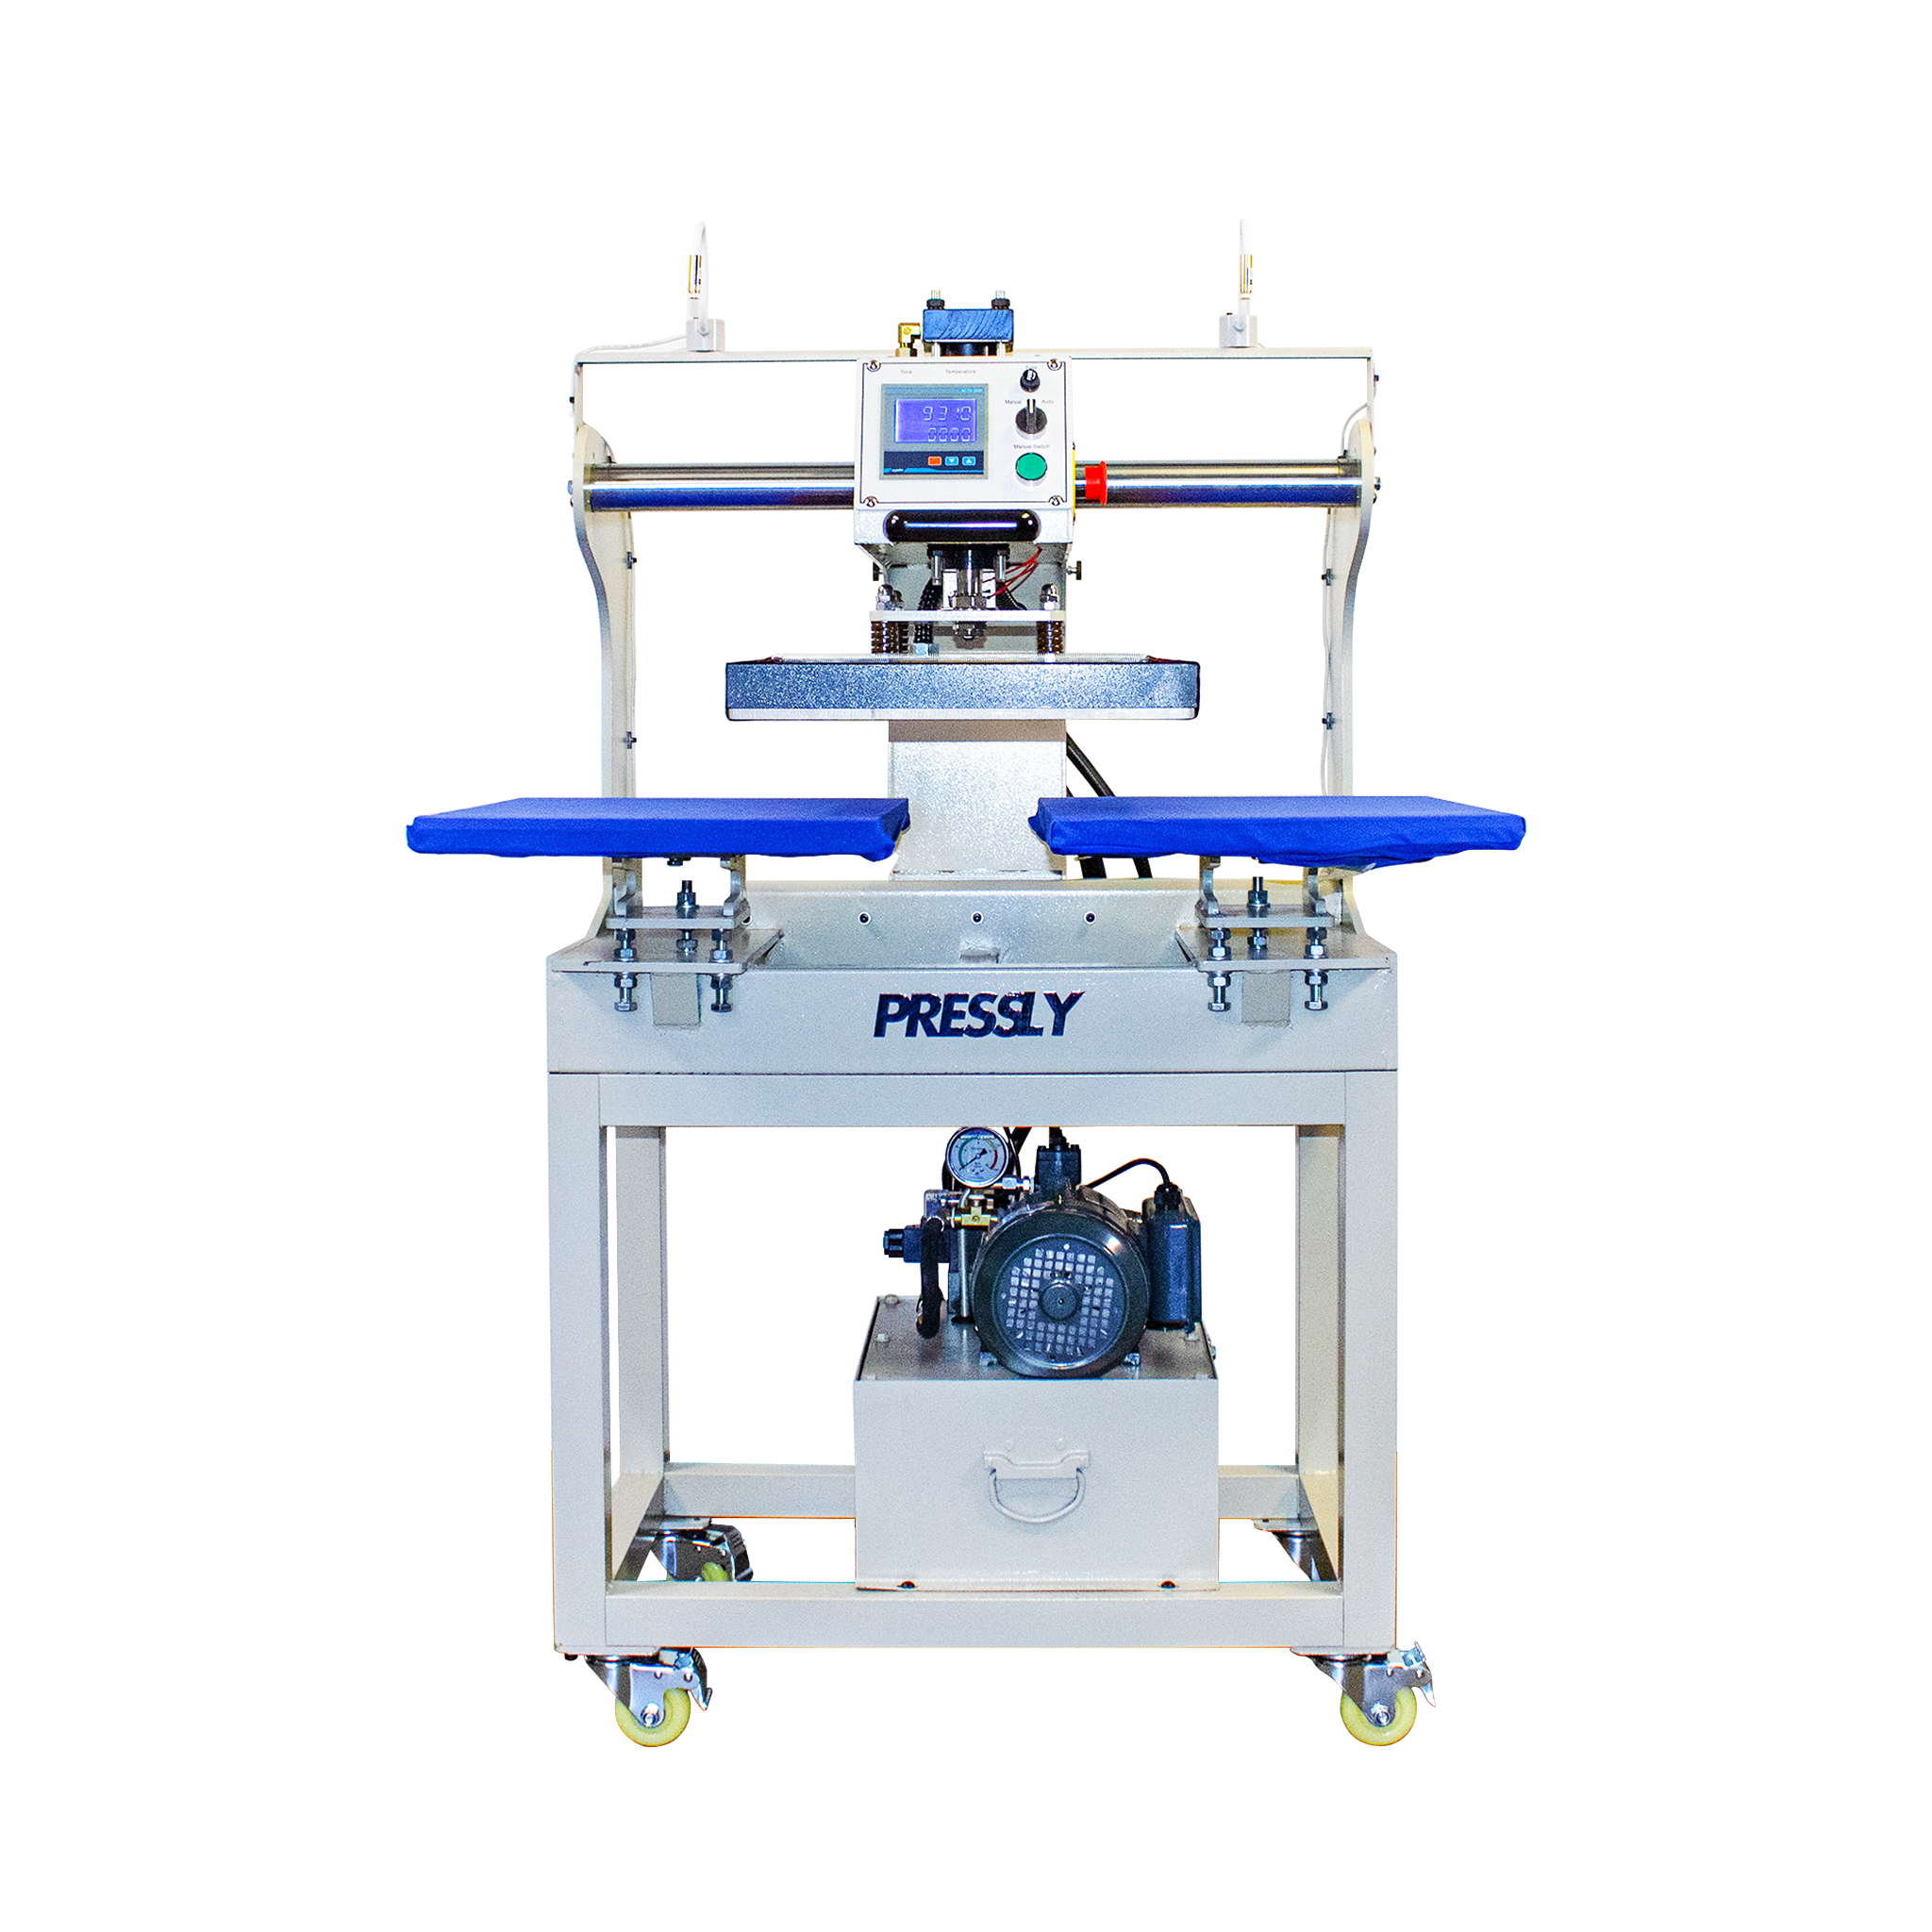
DTF printing is a newer method where designs are printed onto a special film, and then heat-pressed onto the fabric. It works well for both light and dark fabrics, and the results are vibrant and highly durable.Pros:
-
Great for intricate designs and multiple colors.
-
Works on a variety of fabrics.
-
No need for cutting or weeding.
Cons:
-
Requires specialized equipment.
-
Limited availability in some regions.
-
-
Sublimation Printing
Sublimation printing uses heat to transfer dye onto fabric, typically polyester or polyester-blend fabrics. This method allows for full-color, all-over prints that won’t fade or crack.Pros:
-
Ideal for all-over designs.
-
Prints won’t peel or fade.
-
Great for vibrant, photo-quality images.
Cons:
-
Only works on polyester or polyester-blend fabrics.
-
Expensive for small orders.
-
-
Heat Transfer Vinyl (HTV)
This method involves cutting designs out of vinyl sheets and then applying them to the fabric using a heat press. It’s great for smaller runs or single designs.Pros:
-
Ideal for small quantities.
-
Works well for text and simple designs.
-
Quick turnaround time.
Cons:
-
Not as soft as other methods.
-
Limited to simpler designs.
-
Step 4: Printing and Quality Control
Once you’ve selected the right method, it’s time to start printing. If you’re working with a professional printer, they will take care of this step. If you're printing at home or through a local print shop, here are some important things to keep in mind:
-
Pre-Treatment of the Fabric
Make sure the fabric is clean and free of any dust, oils, or wrinkles. A pre-treatment can ensure that the design adheres properly and lasts longer. -
Test Prints
If possible, do a test print on a sample shirt to ensure that the colors and design appear as expected. This helps to catch any issues early, such as color misalignment or print quality. -
Final Quality Check
Before shipping or distributing your shirts, make sure each one meets your standards. Look for any errors in the design, color, or fabric, and ensure that the print is even and well-applied.
Step 5: Packaging and Distribution
The final step in the process is packaging and distributing your custom t-shirts. Here are some tips for this step:
-
Packaging
Fold your shirts neatly and consider using eco-friendly packaging if you want to offer a more sustainable product. You can also add custom tags, labels, or packaging for an extra personalized touch. -
Shipping
Ensure that your shipping process is efficient, whether you're sending t-shirts to customers or fulfilling bulk orders. Always use reliable shipping methods and provide tracking information.
Final Thoughts
Custom t-shirt printing is a fantastic way to express creativity, promote your business, or make personalized gifts. By understanding the full process—from conceptualizing your design to selecting the best printing method—you can ensure that your t-shirt project is a success. With the right design, materials, and printing techniques, you can create high-quality shirts that look great, feel great, and last a long time. So, whether you're printing for fun or for business, follow this guide to bring your ideas to life with style.
