High Quality DTF Transfer Tips: Professional Shop Guide
Running a successful custom apparel boutique in 2026 requires flawless print execution. Customers expect vibrant graphic colors that survive dozens of weekly laundry cycles easily. Implementing specific high quality dtf transfer tips keeps your daily shop production ahead of market competitors. Fine-tuning minor mechanical details saves valuable material costs and eliminates customer complaints.
To explore how automated temperature calibration affects polymer film processing, visit the Wikipedia Curing Page. Perfecting your daily powder baking cycle creates an unbreakable physical bond on fabrics. Uniform heat distribution prevents the hot-melt resin from becoming brittle after drying. Protecting your underlying graphic structure directly ensures excellent stretchability on athletic wear lines.
1. Essential Climate Control and Powder Aggression Rules
Digital print hardware requires a highly stable workspace environment to operate efficiently. Low room humidity creates intense static electricity that causes ink droplets to scatter wildly. Maintaining a steady room climate ensures clean image borders around tiny typography text elements. Investing in a dedicated studio humidifier preserves the longevity of your delicate printhead micro-nozzles.
Proper management of your hot-melt polymer powder also determines the overall softness of your garments. Aggressive mechanical shaking must remove all loose resin grains from unprinted film boundaries entirely. Residual powder particles create permanent yellow speckles on pure white cotton t-shirts after heat pressing. For high-volume storefronts, outsourcing bulk graphic production to professional dtf transfers providers guarantees retail-ready results.
Pro-Tip: Standardize Raw Media Combinations
Mixing cheap ink formulas with low-grade films causes severe bleeding and slow drying times. Using premium, factory-calibrated shop supplies ensures consistent ink absorption profiles on every roll. You can source commercial-grade print consumables straight from the online portal at DTF Print Depot.
2. Perfecting the Finishing Press and Peel Techniques
The final heat application phase requires absolute precision to guarantee excellent wash durability. Always execute a brief five-second fabric pre-press to remove moisture trapped within the shirt fibers. Trapped water vapor turns into expanding steam, which creates microscopic bubbles beneath your print layer. This hidden moisture barrier prevents the melted resin from gripping the textile weave permanently.
Allow your printed cold-peel film sheets to cool down completely before lifting them away. Peeling the plastic carrier sheet while it remains warm tears fine design edges apart easily. Execute a secondary five-second finishing press with a silicone pad to remove the plastic shine. This critical finishing step pushes the cured ink deep into the fabric for a luxurious matte look.
Frequently Asked Questions (SSS)
Which high quality dtf transfer tips best prevent image cracking on shirts?
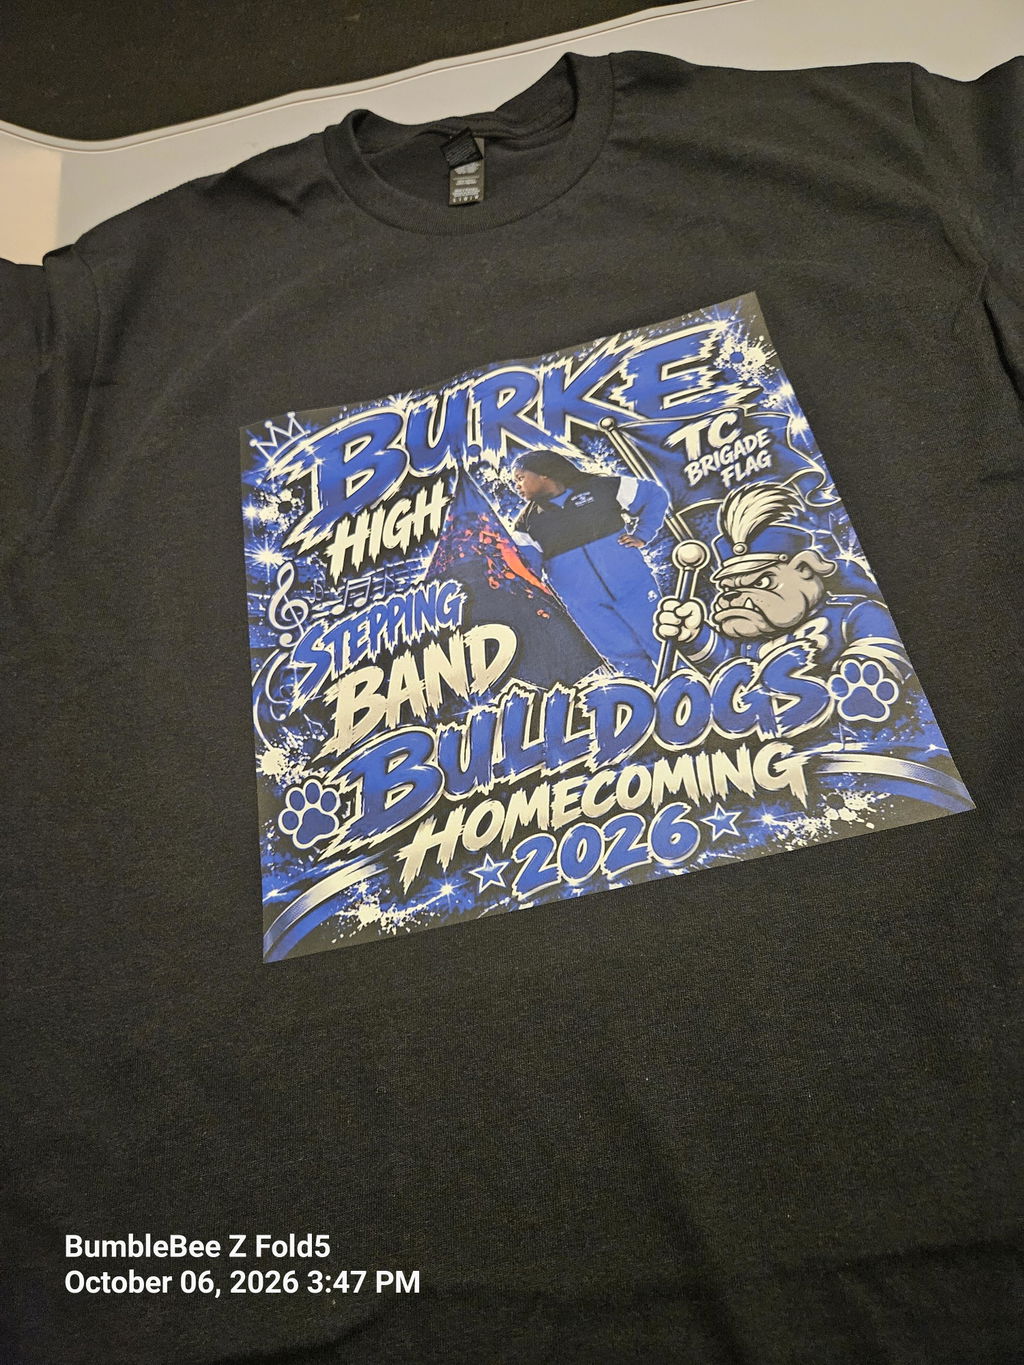
Ensuring complete powder curing inside your oven and executing a secondary finishing press are vital steps. This process forces the liquefied adhesive deep into the textile weave, providing maximum wash fastness.
Why do my transferred colors look dull and faded on black hoodies?
Dull colors happen when your white ink underbase layer settings are too low inside your RIP software. Increase your white ink saturation to around 70%–80% to build a solid reflective backing block.
How do I stop static electricity from ruining my loose film rolls?
You must maintain a consistent workspace humidity level between 45% and 55% using a digital humidifier. Eliminating dry air keeps the powder from sticking to non-printed areas of the clear plastic.