Step-by-Step Guide to the DTF Printing Process
The modern DTF Printing Process has completely transformed how commercial print workshops handle custom apparel decoration. This advanced production strategy allows operators to produce vibrant, durable graphics on almost any fabric type. Whether you are printing on raw organic cotton, slick polyester activewear, or dense synthetic blends, film transfers offer incredible results.
Understanding the core chemical workflow is the vital first step toward mastering this scalable garment manufacturing system. The mechanical application process relies on heat-activated polymers to establish a permanent bond with fabric threads. To explore the foundational history and technological development of inkjet mechanisms, visit the Wikipedia Inkjet Printing Page. Executing each production step with total precision ensures your finished garments hold up perfectly against long-term laundry wear.
How Does DTF Printing Work?
Many production managers ask, exactly how does dtf printing work in a daily high-volume shop routine? The system functions by printing specialized digital graphics onto a clear plastic PET carrier sheet using specialized textile inks. The liquid design receives a layer of granular adhesive powder before being cured in an oven and pressed onto the garment.
DTF Printing Process
Step 1: Preparing the Digital Artwork
The structural quality of your transfers begins within your graphic design software canvas. Operators must utilize flat image assets saved at a minimum resolution of 300 DPI to avoid fuzzy edge artifacts. Graphic files must feature transparent backgrounds to ensure the printer head only drops ink onto active design spaces.
Next, use specialized RIP software to mirror the entire template horizontally across the layout. Mirroring is mandatory because the graphics are printed face-down onto the back of the film roll. The RIP platform also creates the vital solid white ink underbase layer that maps directly underneath your colors.
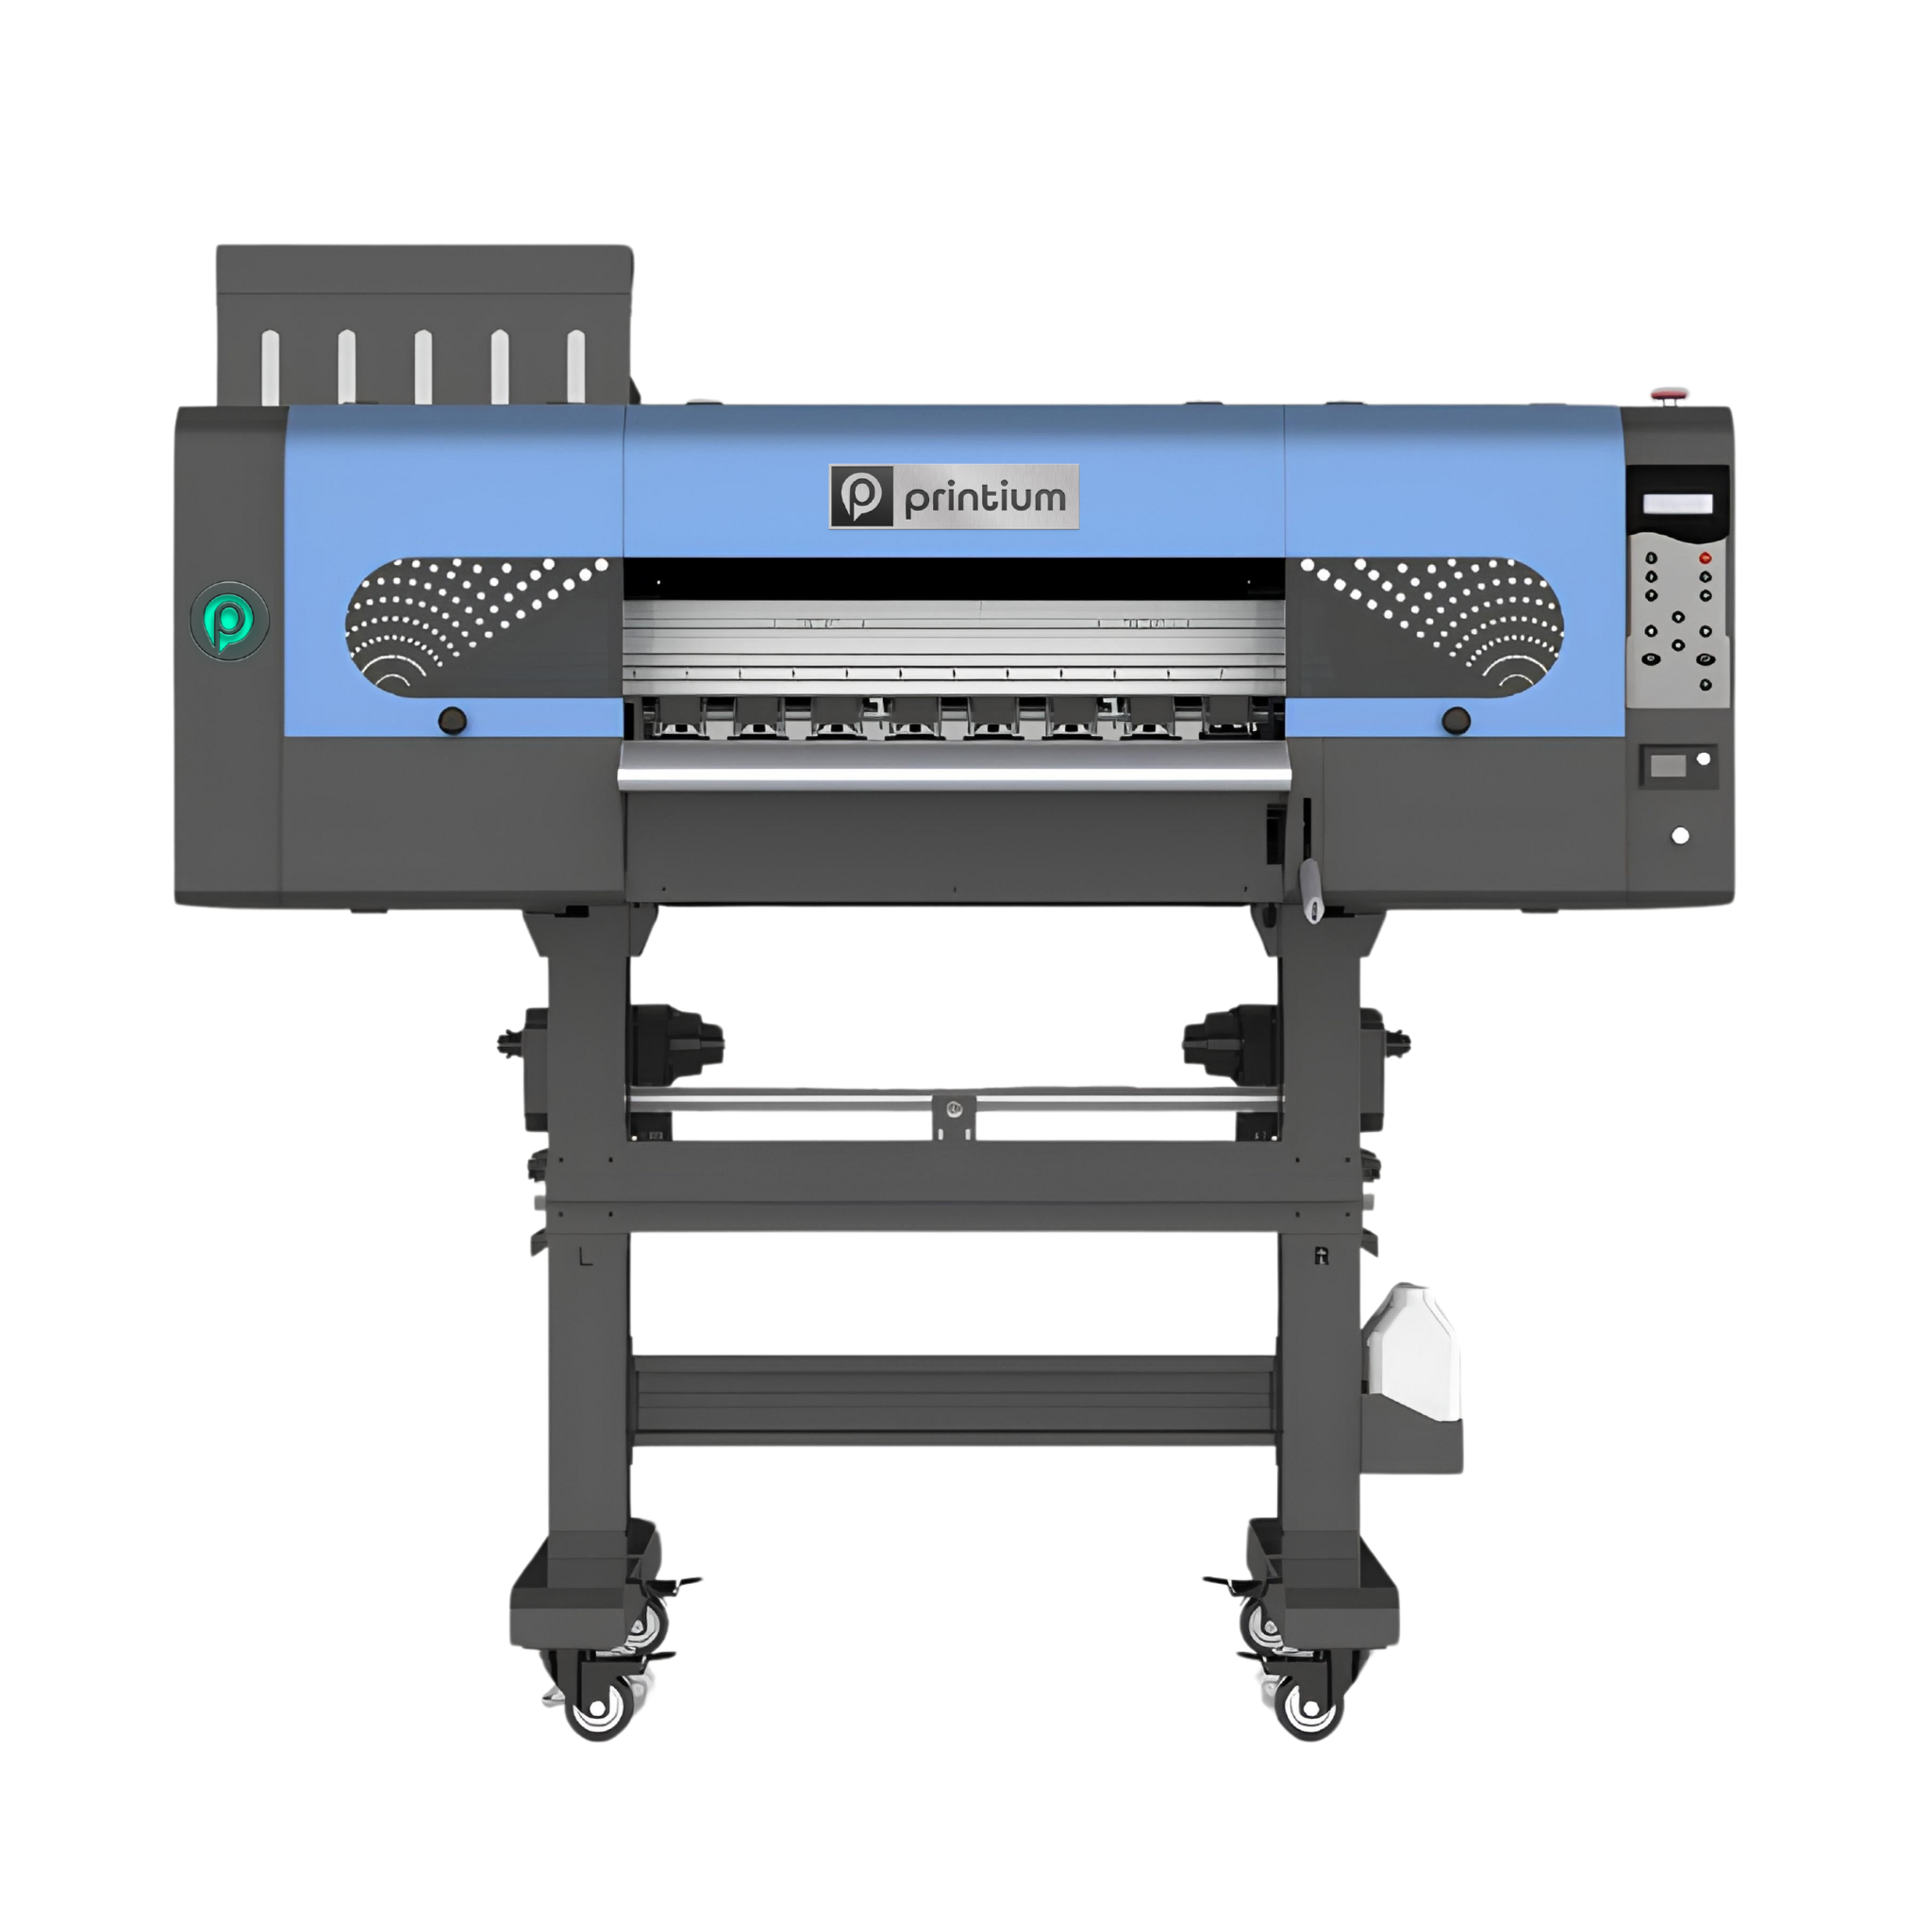
Step 2: Printing Onto the PET Transfer Carrier
Once your digital file outputs correctly, the physical production phase begins inside the print engine. Load premium PET film rolls into your machine, ensuring the ink-receptive coating faces upward toward the print carriage. The automated nozzles deposit vibrant CMYK pigment inks onto the clear layer first.
Immediately afterward, the machine prints a thick, wet layer of solid white ink directly over the colored graphics. This white coating serves as a critical priming face for your granular adhesive glue. It blocks your background shirt colors from bleeding through the finished graphics after heat pressing.
Pro-Tip: Source Commercial Grade Transfers
Bypassing complex machine maintenance allows your business to save time and focus heavily on scaling order volume. Upload your custom graphics and order premium, ready-to-press custom dtf transfers directly from DTF Print Depot today.
Step 3: Applying the Adhesive Powder
While the white underbase ink is still completely wet, you must apply specialized thermoplastic polyurethane powder. Automated shaker machines distribute this hot-melt powder uniformly over the moving film canvas. The granular powder bonds directly to the wet white ink areas while sliding cleanly off the dry, transparent sections.
If you are operating a manual shop setup, gently tap or flick the back of the sheet over a collection tray. Removing every single speck of excess powder prevents unsightly glue spots from forming on your blank shirts later.
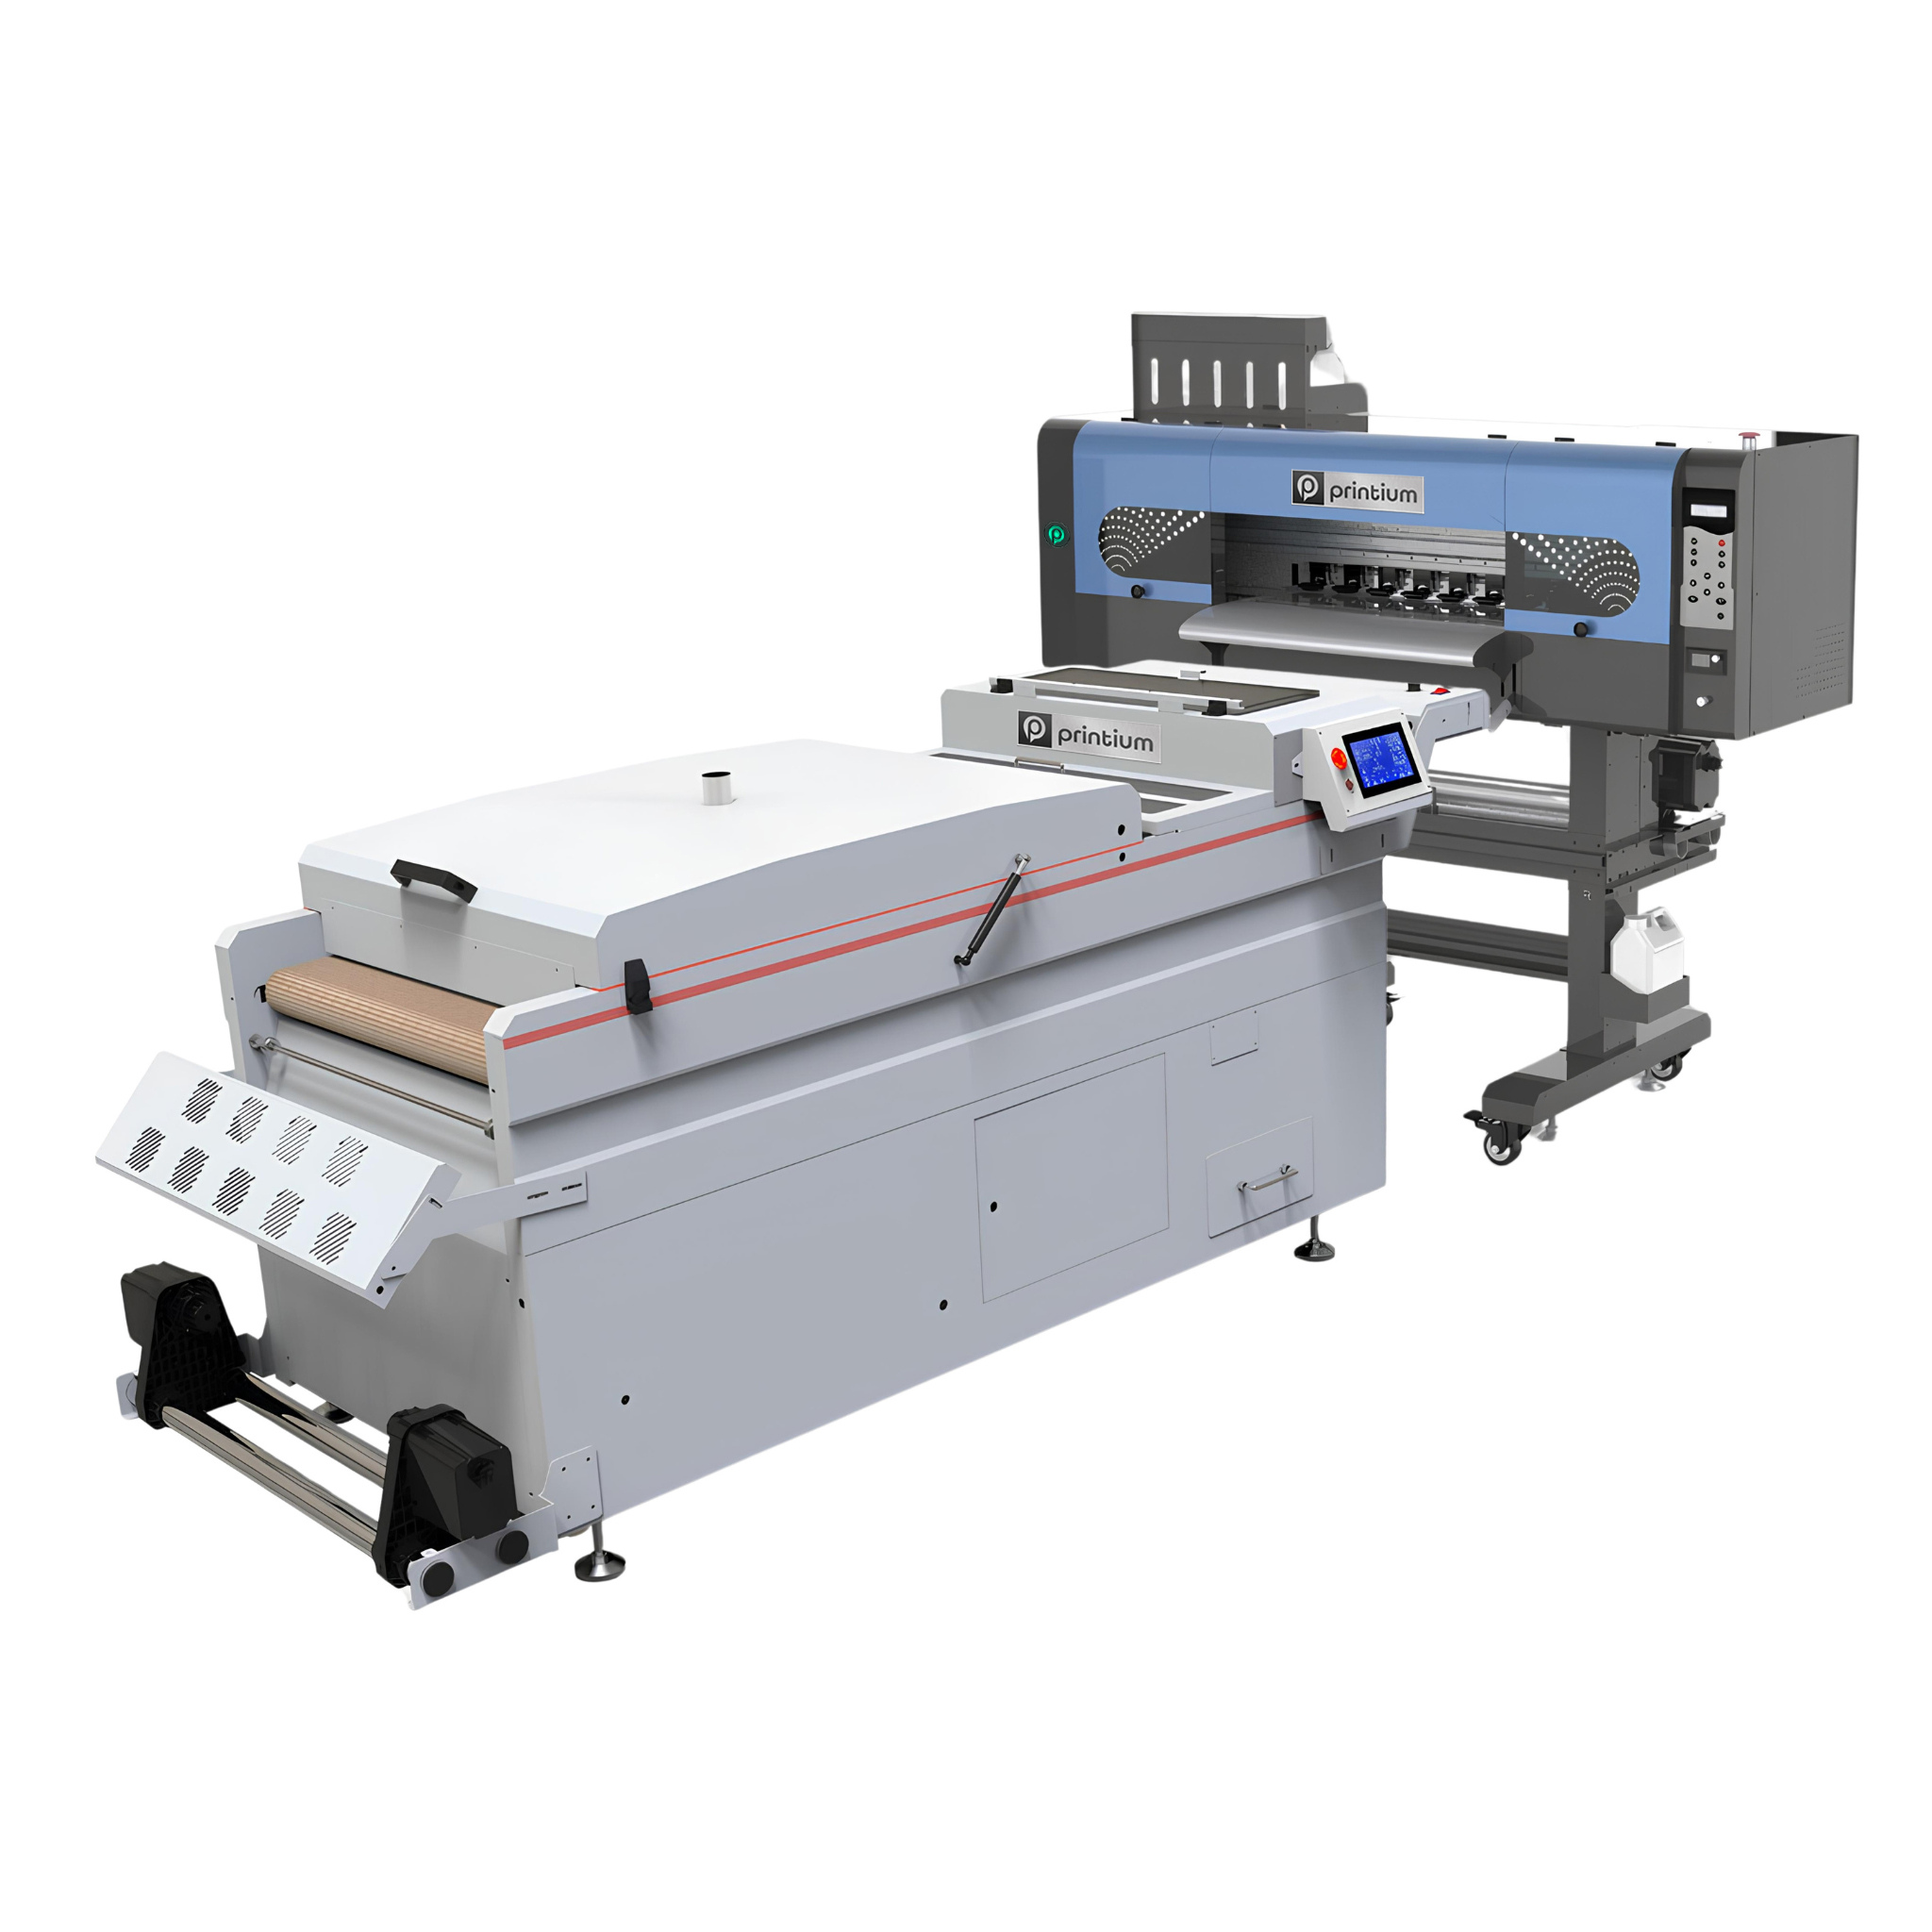
Step 4: Curing the Thermoplastic Polymer
The coated film passes immediately into a dedicated curing tunnel or tabletop drawer oven to melt the resin particles. Keep your curing heat settings calibrated between 110°C and 150°C for approximately two minutes. Watch the film face until the white powder turns into a smooth, shiny glaze resembling an orange peel texture.
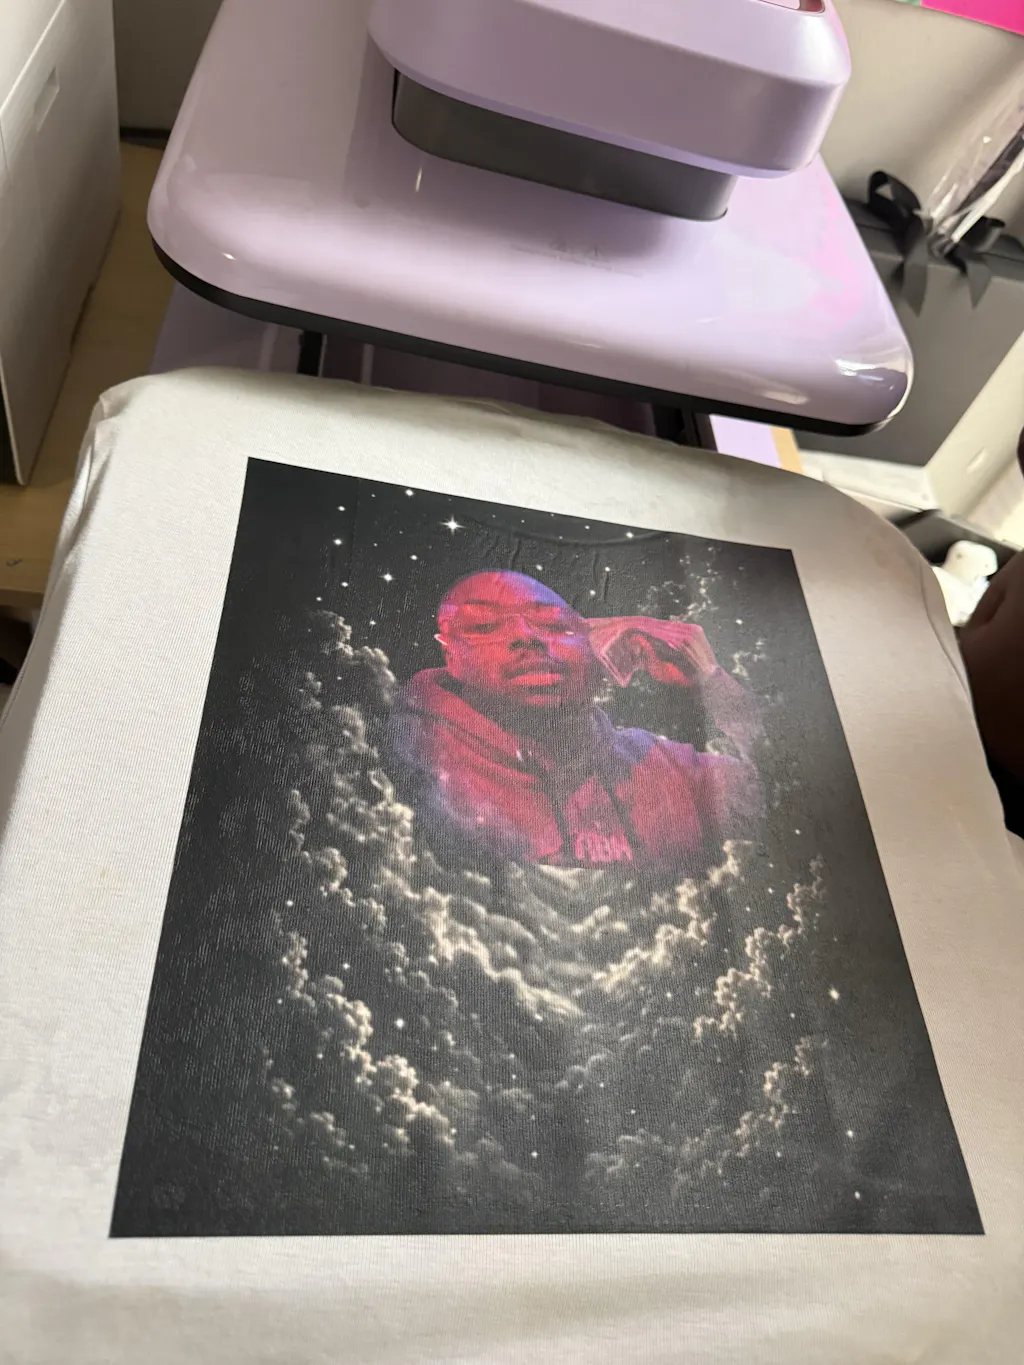
Step 5: Garment Preparation and Final Pressing
Position your target apparel blank flat onto the lower platen of your commercial heat press. Lock the press down for five seconds to draw out moisture and flatten wrinkles. Next, position your cured transfer sheet down onto the smooth fabric with the clear backing facing upward.
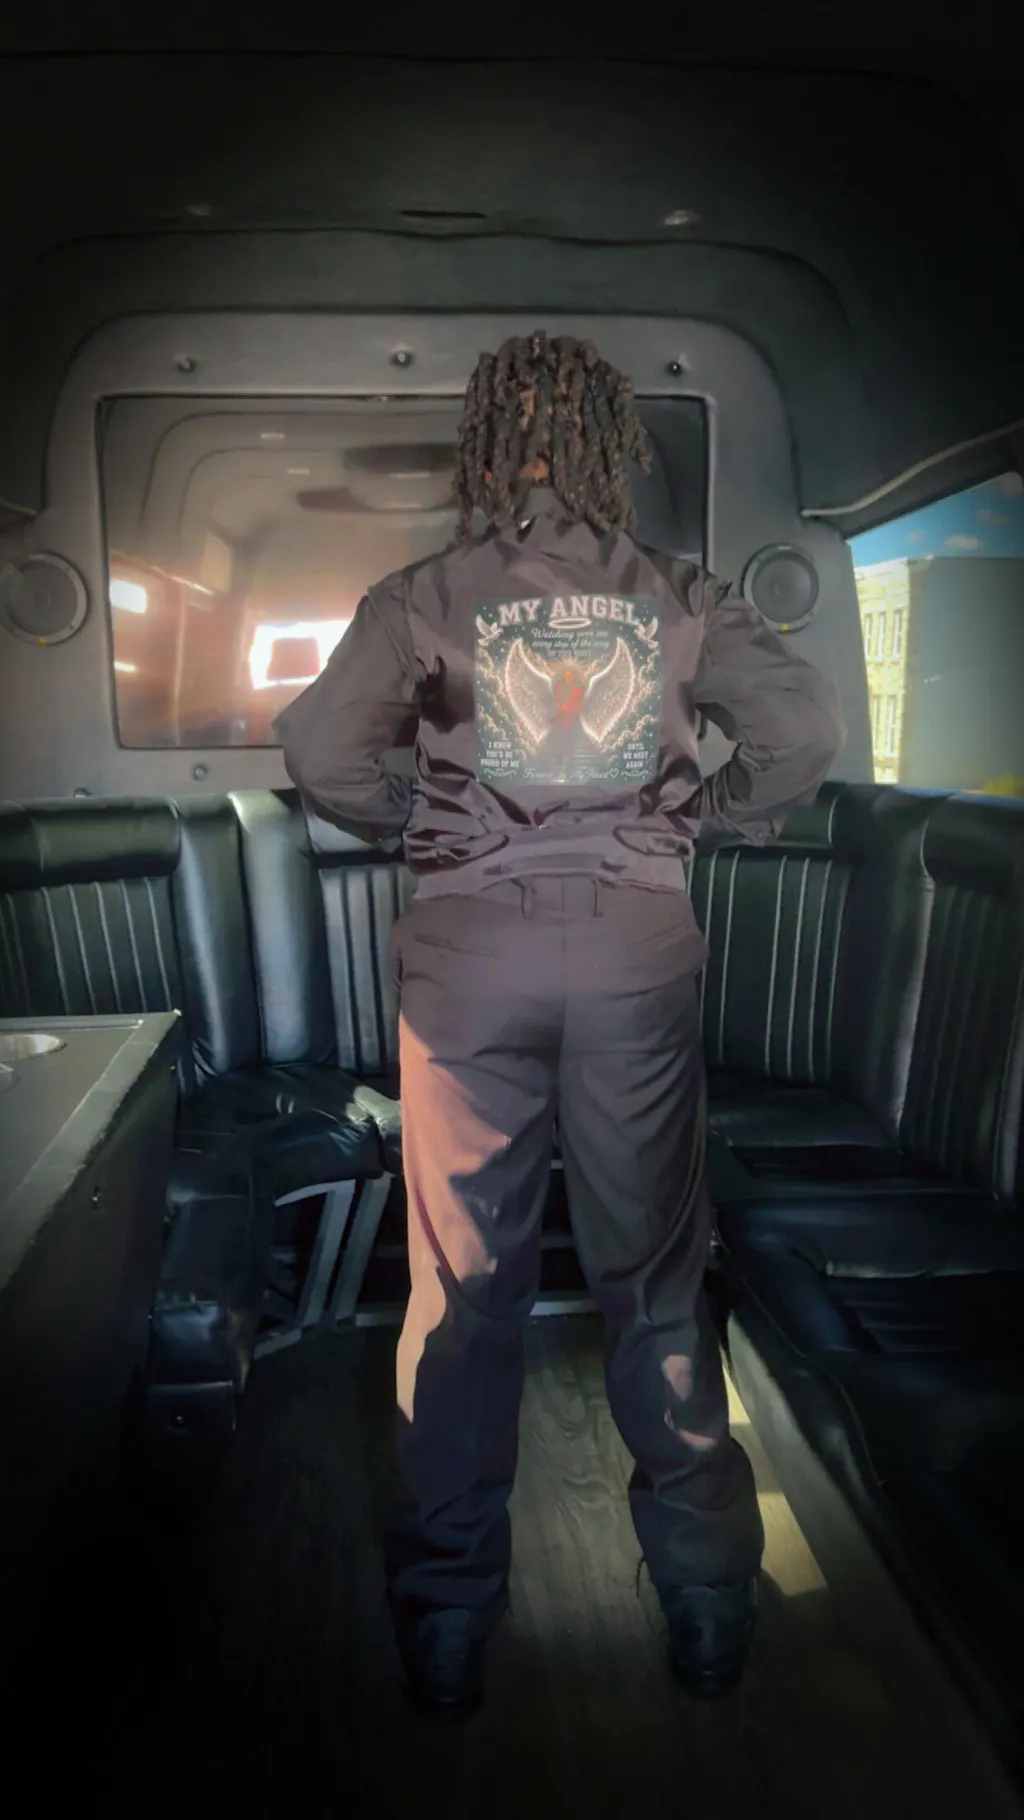
Clamp your heat press down at 150°C using firm, medium pressure for exactly 15 seconds to liquefy the resin completely. Once the timer ends, let the garment cool completely if you are using standard cold-peel film rolls. Peel the plastic backing away using a smooth, low-angle motion to reveal the vivid graphics.
Frequently Asked Questions (SSS) DTF Printing Process
What is the step-by-step process of DTF printing?
The core process follows five major stages: preparing a mirrored 300 DPI file, printing CMYK and white inks onto PET film, applying hot-melt adhesive powder, curing the film in an oven, and heat pressing the design onto the fabric.
Can you use a regular printer for DTF?
No, standard office printers cannot handle thick textile inks. DTF requires specialized garment printers equipped with white ink circulation lines, specialized RIP software, and durable printheads designed for heavy pigments.
What equipment do I need to start a DTF transfer printing business?
A professional business setup requires a dedicated DTF printer with RIP software, premium PET film rolls, textile inks, hot-melt adhesive powder, a curing oven, and a heavy-duty commercial heat press machine.
Is DTF printing better than screen printing for detailed graphics?
Yes. DTF printing captures intricate gradients, photographic elements, and tiny fine lines directly from digital files. It eliminates the expensive manual screen setup costs required by traditional methods.