How to Use DTF Transfer Film: A Step-by-Step Guide
DTF (Direct-to-Film) transfer printing has revolutionized the way designs are transferred onto fabrics. It offers high-quality, vibrant prints that are durable and versatile. If you're new to DTF printing or looking to improve your shop's efficiency, learning exactly how to use dtf transfer film properly during the mechanical layout process is essential. This technical workflow guide focuses purely on the application, powdering, curing, and heat pressing sequence to ensure your transfers bond perfectly every time.
Before launching your production run, make sure your shop is stocked with professional-grade media. You can shop DTF transfer film premium rolls and sheets directly at DTF Print Depot to guarantee consistent ink absorption and smooth peeling cycles.
1. Prepare Your Digital Design
Before diving into the printing process, start with a high-resolution design (300 DPI minimum) built on a transparent canvas. Frame your artwork using graphics software like Adobe Illustrator or Photoshop. Because you are transferring the design face-down onto the fabric, you must mirror your design horizontally in your RIP software layout before hitting print.
2. Set Up Your DTF Printer
Load your premium film media roll or sheet into the feeding mechanism. Ensure you identify the treated matte printing side versus the glossy back side; your inks must print directly onto the treated matte surface coating. Configure your RIP software profiles to lay down a precise balance of CMYK colors followed instantly by a solid white ink underbase layer.
3. Print the Design
Proceed with printing the mirrored layout onto the film. As the graphics emerge from the printhead area, monitor the wet ink layers. The white underbase should fully encapsulate the colored design without bleeding past the edges, creating a clean image on the film carrier sheet.
4. Apply the Adhesive Powder
While the printed ink is completely wet, move the film into the powder stage. Generously apply premium hot-melt adhesive powder over the wet print area. Gently shake or tap the film manually (or use an automated shaker) to ensure the powder evenly coats every millimeter of the white ink base. Carefully dust off any excess powder from the unprinted transparent film areas to avoid background spots later.
5. Cure the Adhesive Powder
The powder-coated film must now pass through a controlled heating cycle to melt the adhesive granules cleanly into the ink layers. Place the transfer sheet inside a specialized curing oven or position it directly beneath an open heat platen without touching it. Cure at 230-250°F (110-120°C) for roughly 2 to 3 minutes. The process is complete when the powder transforms from a dry white texture into a smooth, shiny, orange-peel-like melted glaze.
6. Heat Press the Transfer
Pre-press your target garment for 3 to 5 seconds to eliminate residual moisture and wrinkles from the fabric fibers. Position your cured transfer sheet down onto the garment with the adhesive layer facing the textile. Program your industrial heat press to 300-320°F (150-160°C) and apply medium to high pressure for 12 to 15 seconds.
7. Peel Off the Carrier Film
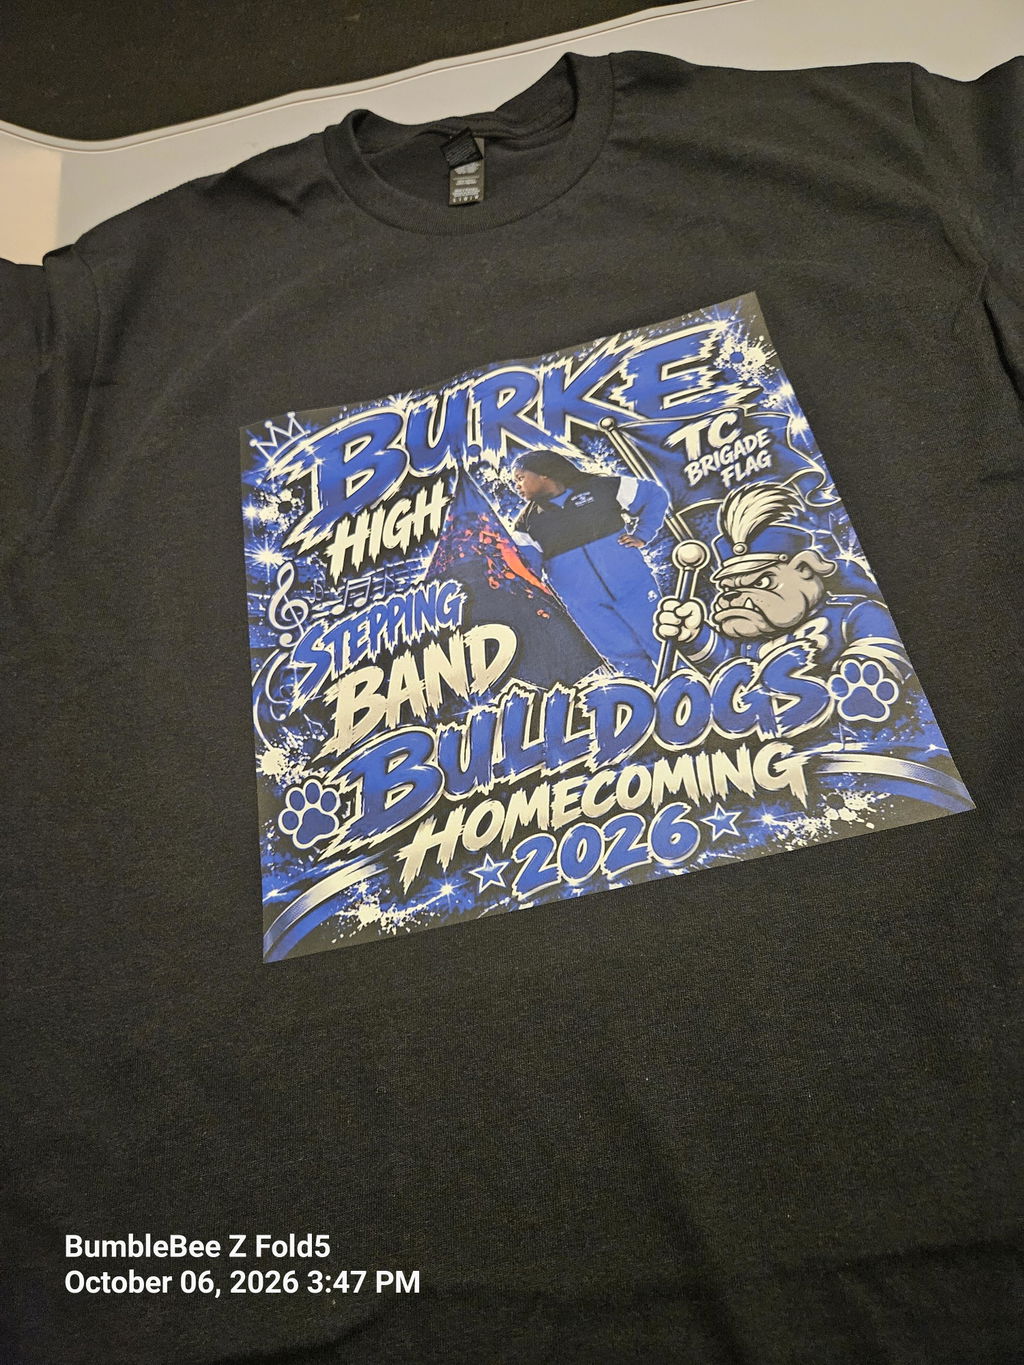
Remove the garment from the platen and allow the assembly to cool completely down to room temperature (for cold-peel film types) or proceed immediately if utilizing modern hot-peel media. Smoothly pull the film carrier away from one corner in a flat, continuous motion. The vibrant, opaque design will remain securely bonded to the textile fibers.
8. Post-Press for Maximum Wash Longevity
To secure absolute commercial durability and soften the final touch, perform a critical post-press step. Lay a sheet of premium parchment paper or a protective Teflon layer over the exposed print on the garment. Lower your press platen for an additional 5 to 7 seconds. This fixes the print into the weave of the fabric, ensuring supreme stretch resistance and wash durability.
Caring for Your Completed Apparel
To maximize the operational life of your custom products, follow structural textile care steps. Wash finished garments inside out in cold water cycles, avoid harsh chemical bleaching agents, and tumble dry on low settings. This simple maintenance routine keeps the transferred graphics looking sharp and colorful across dozens of home laundry cycles.
Conclusion How to Use DTF Transfer Film
Mastering how to use DTF transfer film requires a balance of proper temperature controls, exact powder coverage, and uniform pressing pressure. By standardizing these application steps within your custom apparel workshop, you will eliminate peeling errors, minimize production waste, and scale up professional order turnarounds easily.
If you would like to explore the professional solutions offered by DTF Print Depot for hard surface applications, you can access our UV DTF Film collection through this link. On this page, you can find high-quality film options specially produced for high ink absorption and smooth transfer processes, ensuring durable results for all your hard-surface projects.