DTF Shaker and Dryer
DTF printing relies heavily on the efficient operation of both the shaker and dryer units. These machines ensure proper powder application and curing, which are critical for high-quality prints. Proper maintenance of your inline hardware not only extends its lifespan but also guarantees consistent print results and reduces costly downtime. In this guide, we’ll share pro tips on how to keep your automated configuration running smoothly.
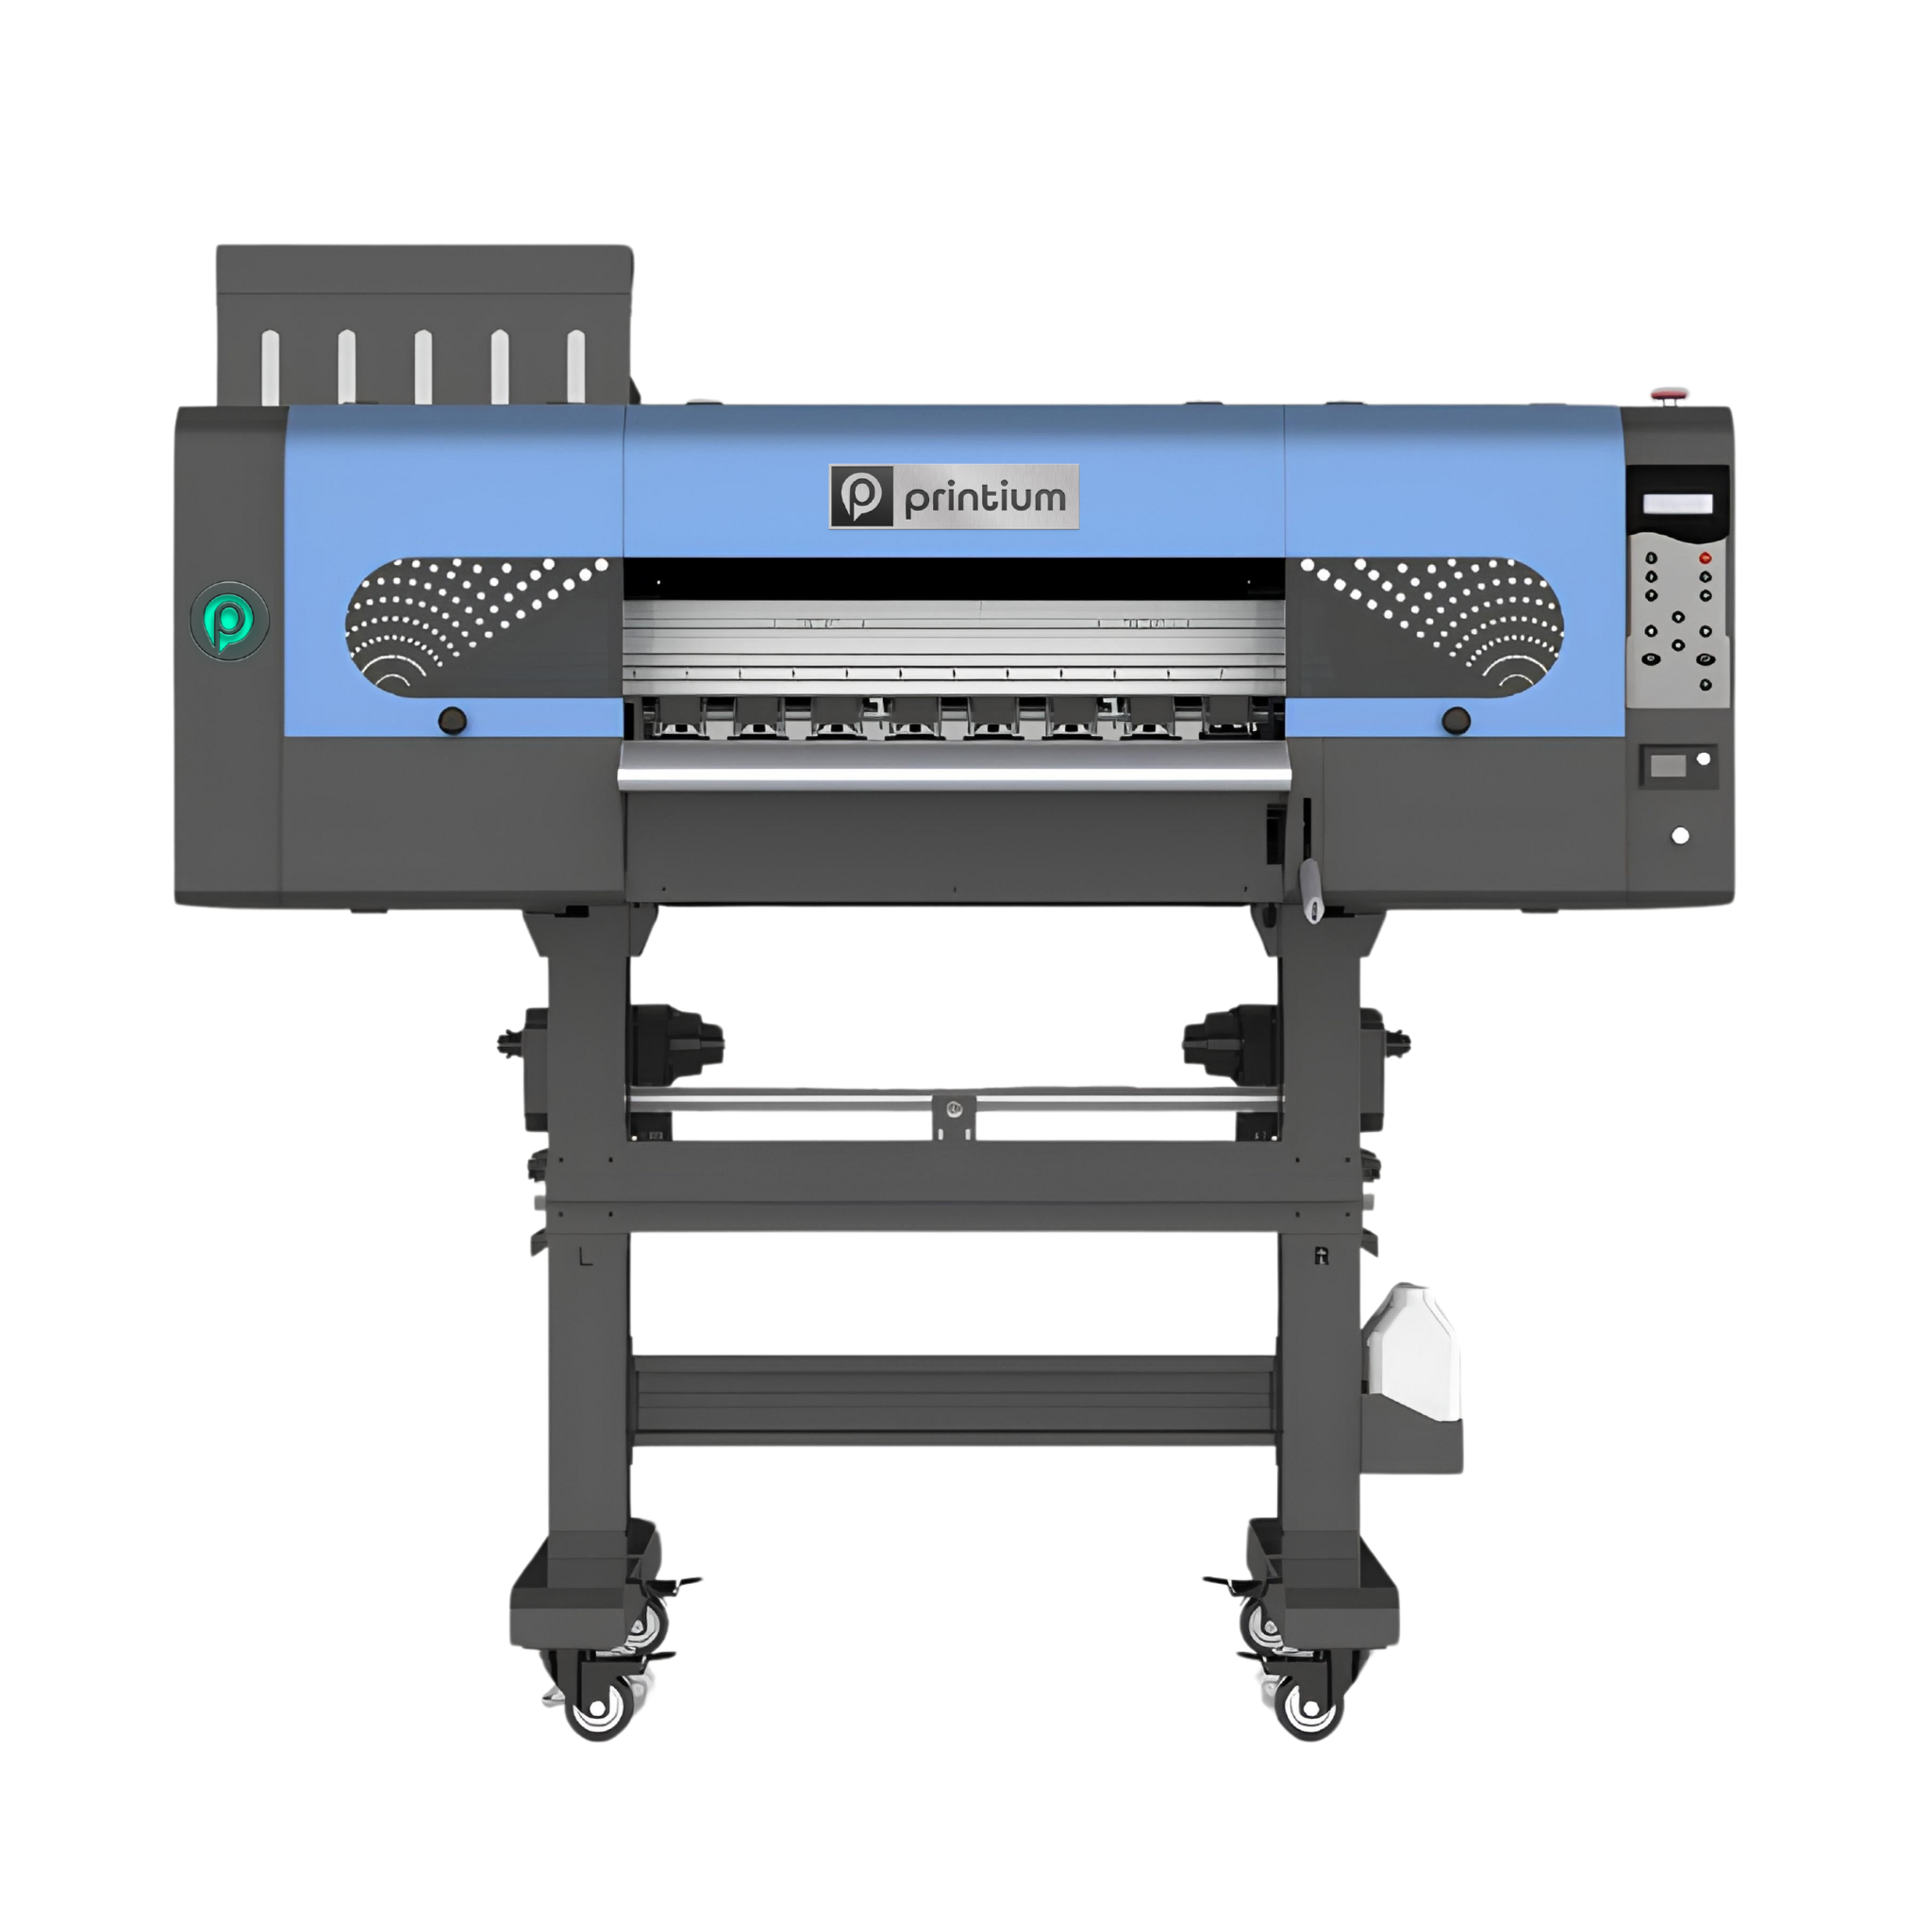
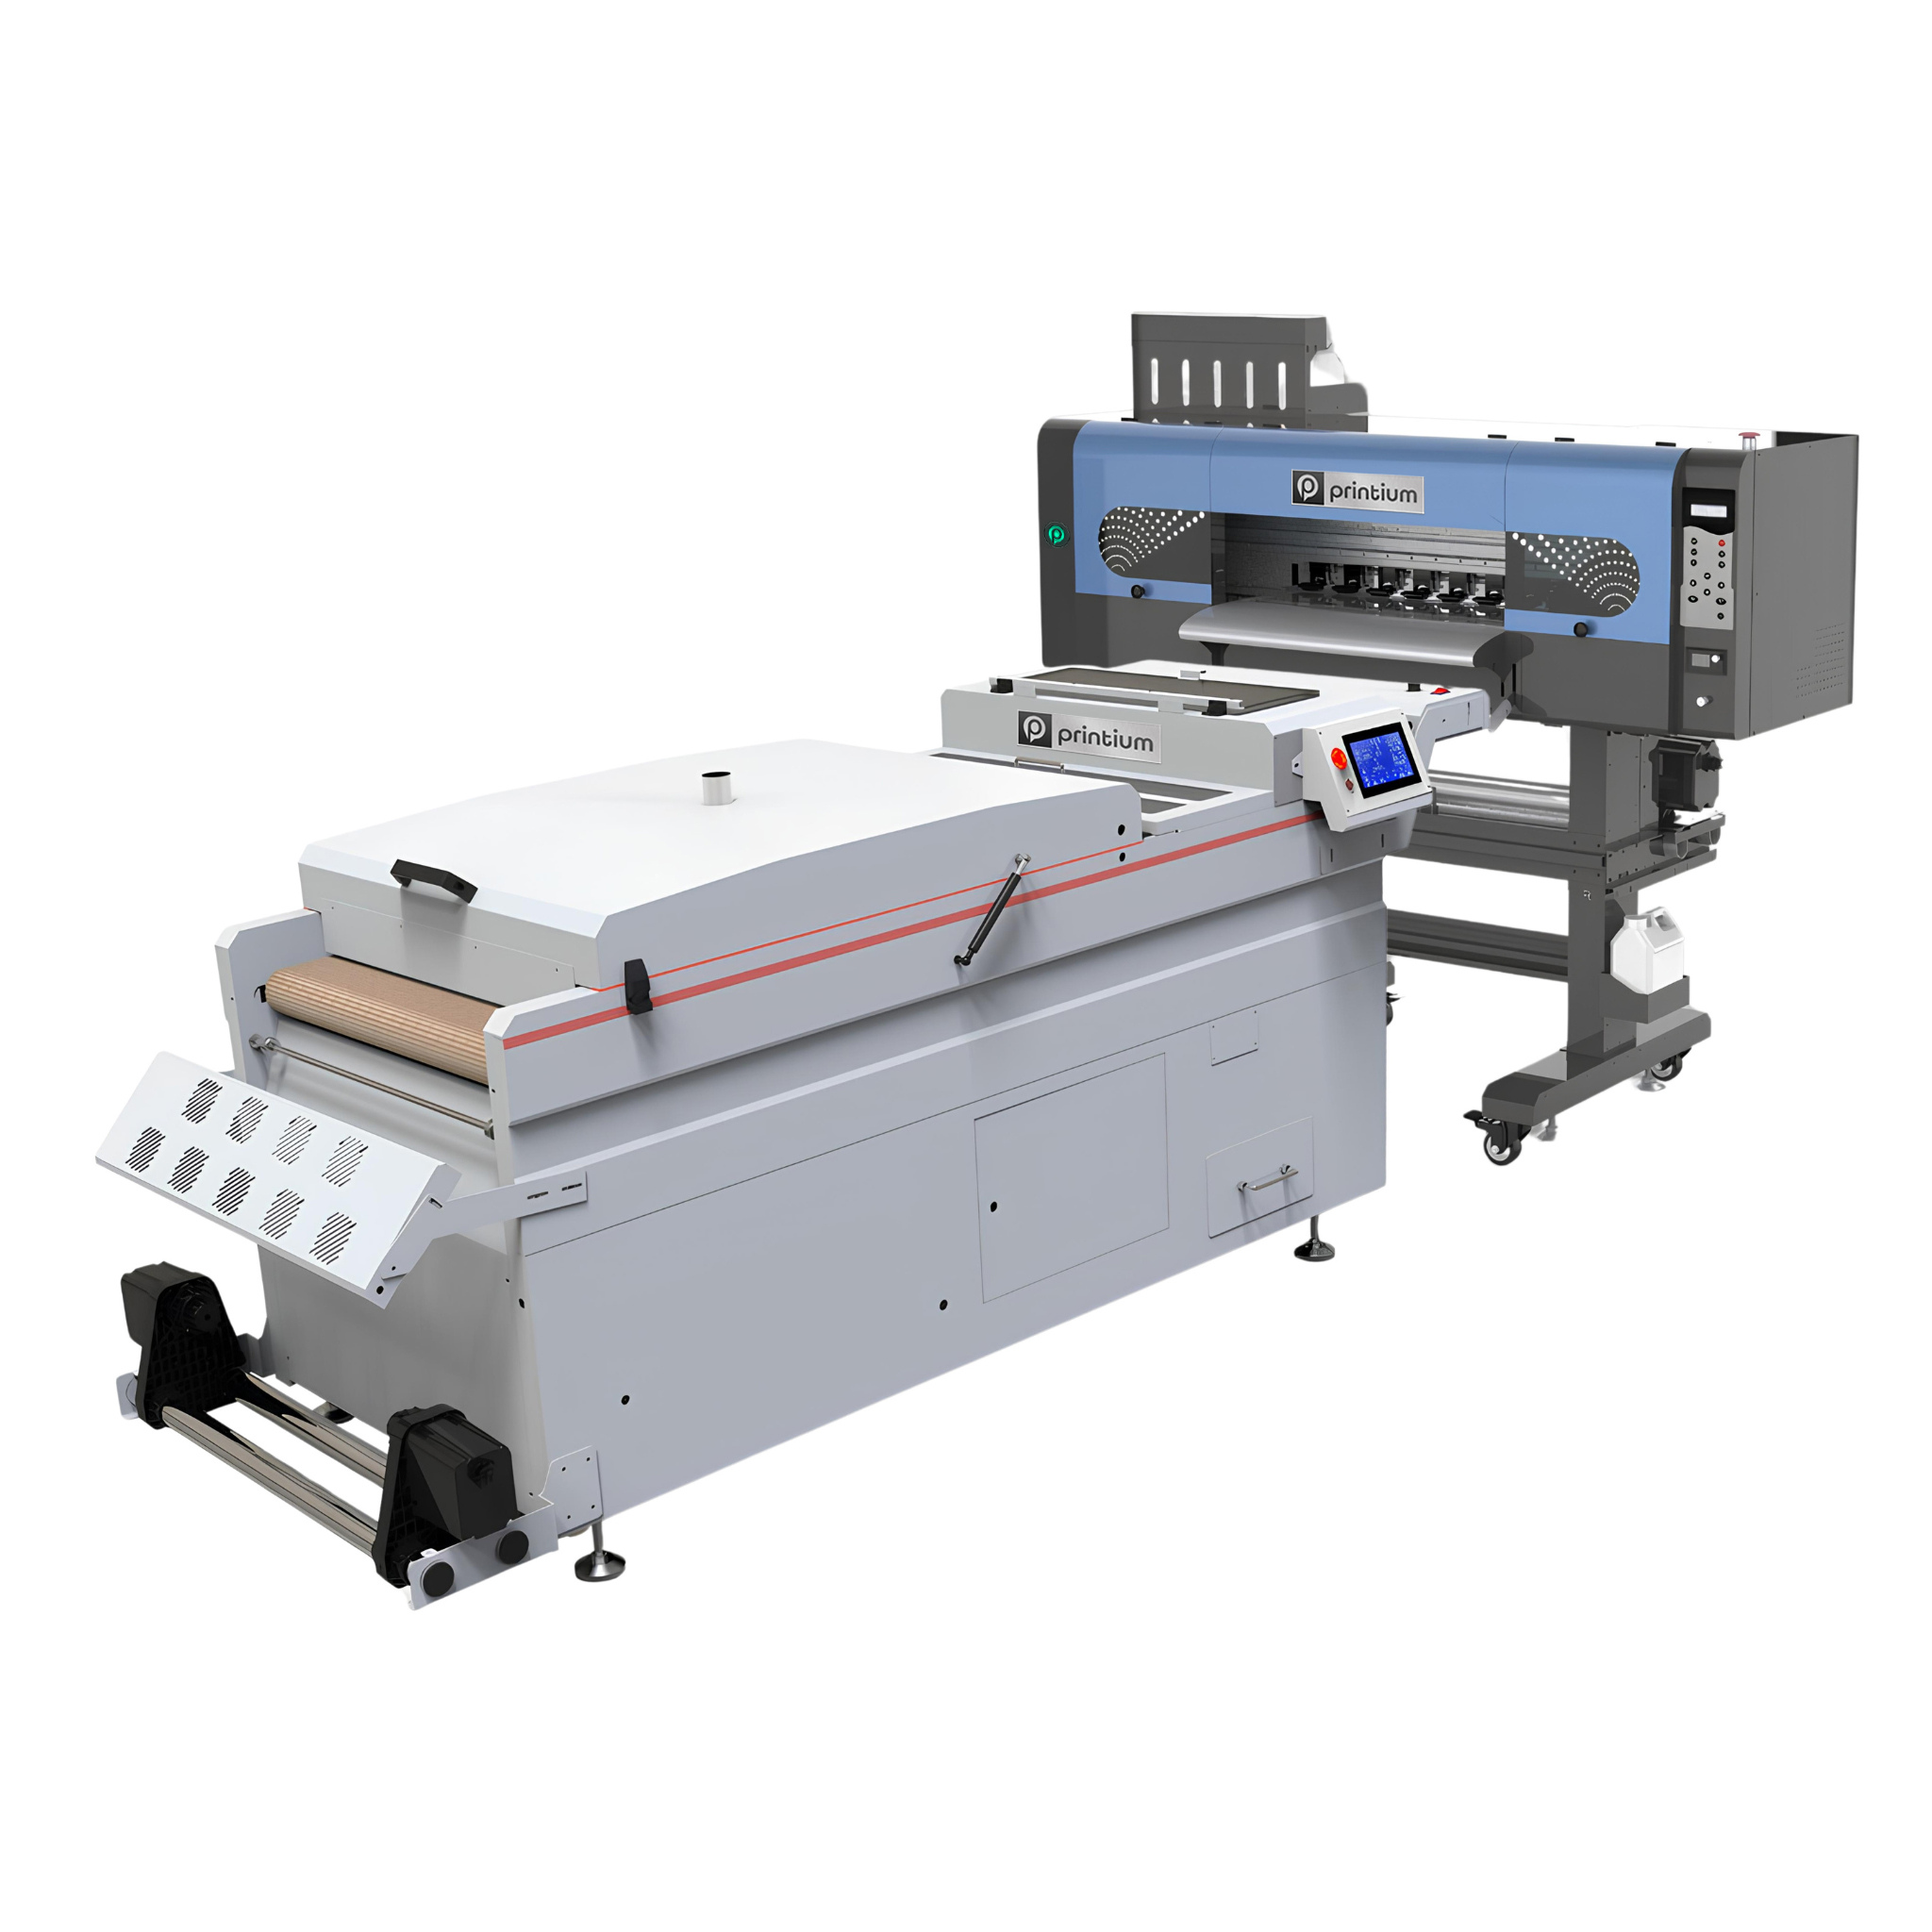
Looking to upgrade or replace your layout line? Check out our professional DTF shaker and dryer options to ensure elite production. If you are starting fresh, explore our high-efficiency complete DTF setup systems to get everything you need for flawless printing in one package.
Why Maintenance Matters
Shakers and dryers operate under demanding conditions, involving powder handling, heat, and continuous motion. Dust buildup, worn parts, or electrical issues can quickly degrade performance. Routine dtf dryer maintenance ensures:
- Even powder distribution across the film surface
- Consistent drying temperatures for optimal curing
- Reduced mechanical wear on moving components
- Prevention of unexpected breakdowns during busy print runs
Pro Tips for Maintaining Your DTF Powder Shaker
1. Keep It Clean
Powder residue can quickly accumulate on motors, belts, and moving parts. Clean your dtf powder shaker regularly using compressed air and soft brushes to prevent clogging, mechanical friction, and overheating.
2. Check the Motors and Belts
Inspect shaker motors and conveyor belts for signs of wear, stretching, or damage. Replace any frayed belts or weak motors promptly to maintain smooth, automated powder application.
3. Lubricate Moving Parts
Apply appropriate lubricants to bearings and gears according to the manufacturer’s recommendations. Proper lubrication reduces friction and prolongs part life.
4. Inspect Electrical Connections
Loose or corroded wiring can cause intermittent issues or complete heating failures. Periodically check all electrical connectors and terminals, tightening or cleaning as needed.
Pro Tips for Maintaining Your DTF Dryer
1. Monitor Heating Elements
Dryer bulbs or heating elements degrade over time, leading to uneven drying. Replace them before they burn out completely to avoid production delays and uncured transfers.
2. Maintain Temperature Sensors
Accurate temperature control is essential for melting the adhesive powder cleanly. Clean or replace sensors if you notice inconsistent readings or sudden overheating trends.
3. Clean Conveyor Belts and Vacuum Pumps
Dust and loose adhesive powder can damage belts and reduce vacuum pump efficiency. Clean these components regularly and inspect for physical wear.
4. Test Emergency Stops and Safety Features
Regularly test emergency stop buttons and safety locks to ensure they function correctly. This is vital for operator safety and machine protection.
DTF Shaker and Dryer Maintenance Schedule
To avoid breakdown surprises, implement this structured checklist within your production workflow:
| Frequency | Shaker Maintenance Tasks | Dryer Maintenance Tasks |
|---|---|---|
| Daily | Brush off excess powder buildup from the recycling tray and shaking mesh. Check powder level. | Wipe down external surfaces. Monitor heat consistency and vacuum extraction flow. |
| Weekly | Blow out motor enclosures with compressed air. Check conveyor belt alignment. | Clean the conveyor mesh belt. Wipe down temperature sensors carefully. |
| Monthly | Lubricate bearings and gears. Inspect mechanical belt tension. | Inspect heating bulbs/elements for dark spots. Clean exhaust fan/filters. |
| Quarterly | Check all internal electrical terminal connections for corrosion or looseness. | Calibrate temperature readings with an external thermal probe. |
General Maintenance Best Practices
- Schedule Routine Checks: Use our maintenance table to create a digital calendar to track inspections and part replacements.
- Use Genuine Replacement Parts: Always use OEM or trusted brand parts for compatibility and reliability.
- Train Your Team: Ensure operators understand basic maintenance to catch issues early.
- Keep Records: Document maintenance activities to identify patterns or recurring problems.
Conclusion DTF Shaker and Dryer
Proper maintenance of your DTF shaker and dryer is essential for achieving consistent, high-quality prints and extending the lifespan of your equipment. These machines play a critical role in the powder application and curing phases of the printing process, so keeping them in optimal condition directly impacts your final product’s durability and appearance.
By following the pro tips outlined—such as regular cleaning, timely replacement of worn parts, careful monitoring of heating elements, and ensuring all electrical connections are secure—you can avoid unexpected breakdowns that disrupt production. This proactive approach not only reduces costly repairs but also minimizes downtime, keeping your workflow efficient and your delivery times reliable.
Moreover, investing in genuine, high-quality replacement parts ensures compatibility and performance. A well-maintained shaker ensures even powder distribution, preventing issues like uneven prints or powder clumping. Similarly, a properly cared-for dryer guarantees uniform curing, which is vital for print longevity and wash resistance.
If you would like to explore the professional solutions offered by DTF Print Depot for hard surface applications, you can access our UV DTF Film collection. On this page, you can find high-quality film options specially produced for high ink absorption and smooth transfer processes, ensuring durable results for all your projects.
Frequently Asked Questions
How often should I clean my DTF shaker?
You should clean loose powder off the shaking mechanism and surrounding trays daily. A deeper blowout using compressed air to clear powder dust from the motors and belts should be executed weekly to prevent strain and overheating.
Why is my DTF dryer heating unevenly?
Uneven dryer heat is typically caused by failing heating elements, dirty temperature sensors, or a clogged exhaust filter restricting airflow. Check for dark spots on your bulbs and clean your sensors to restore consistent temperature tracking.