DTF Printing – A Beginner's Guide
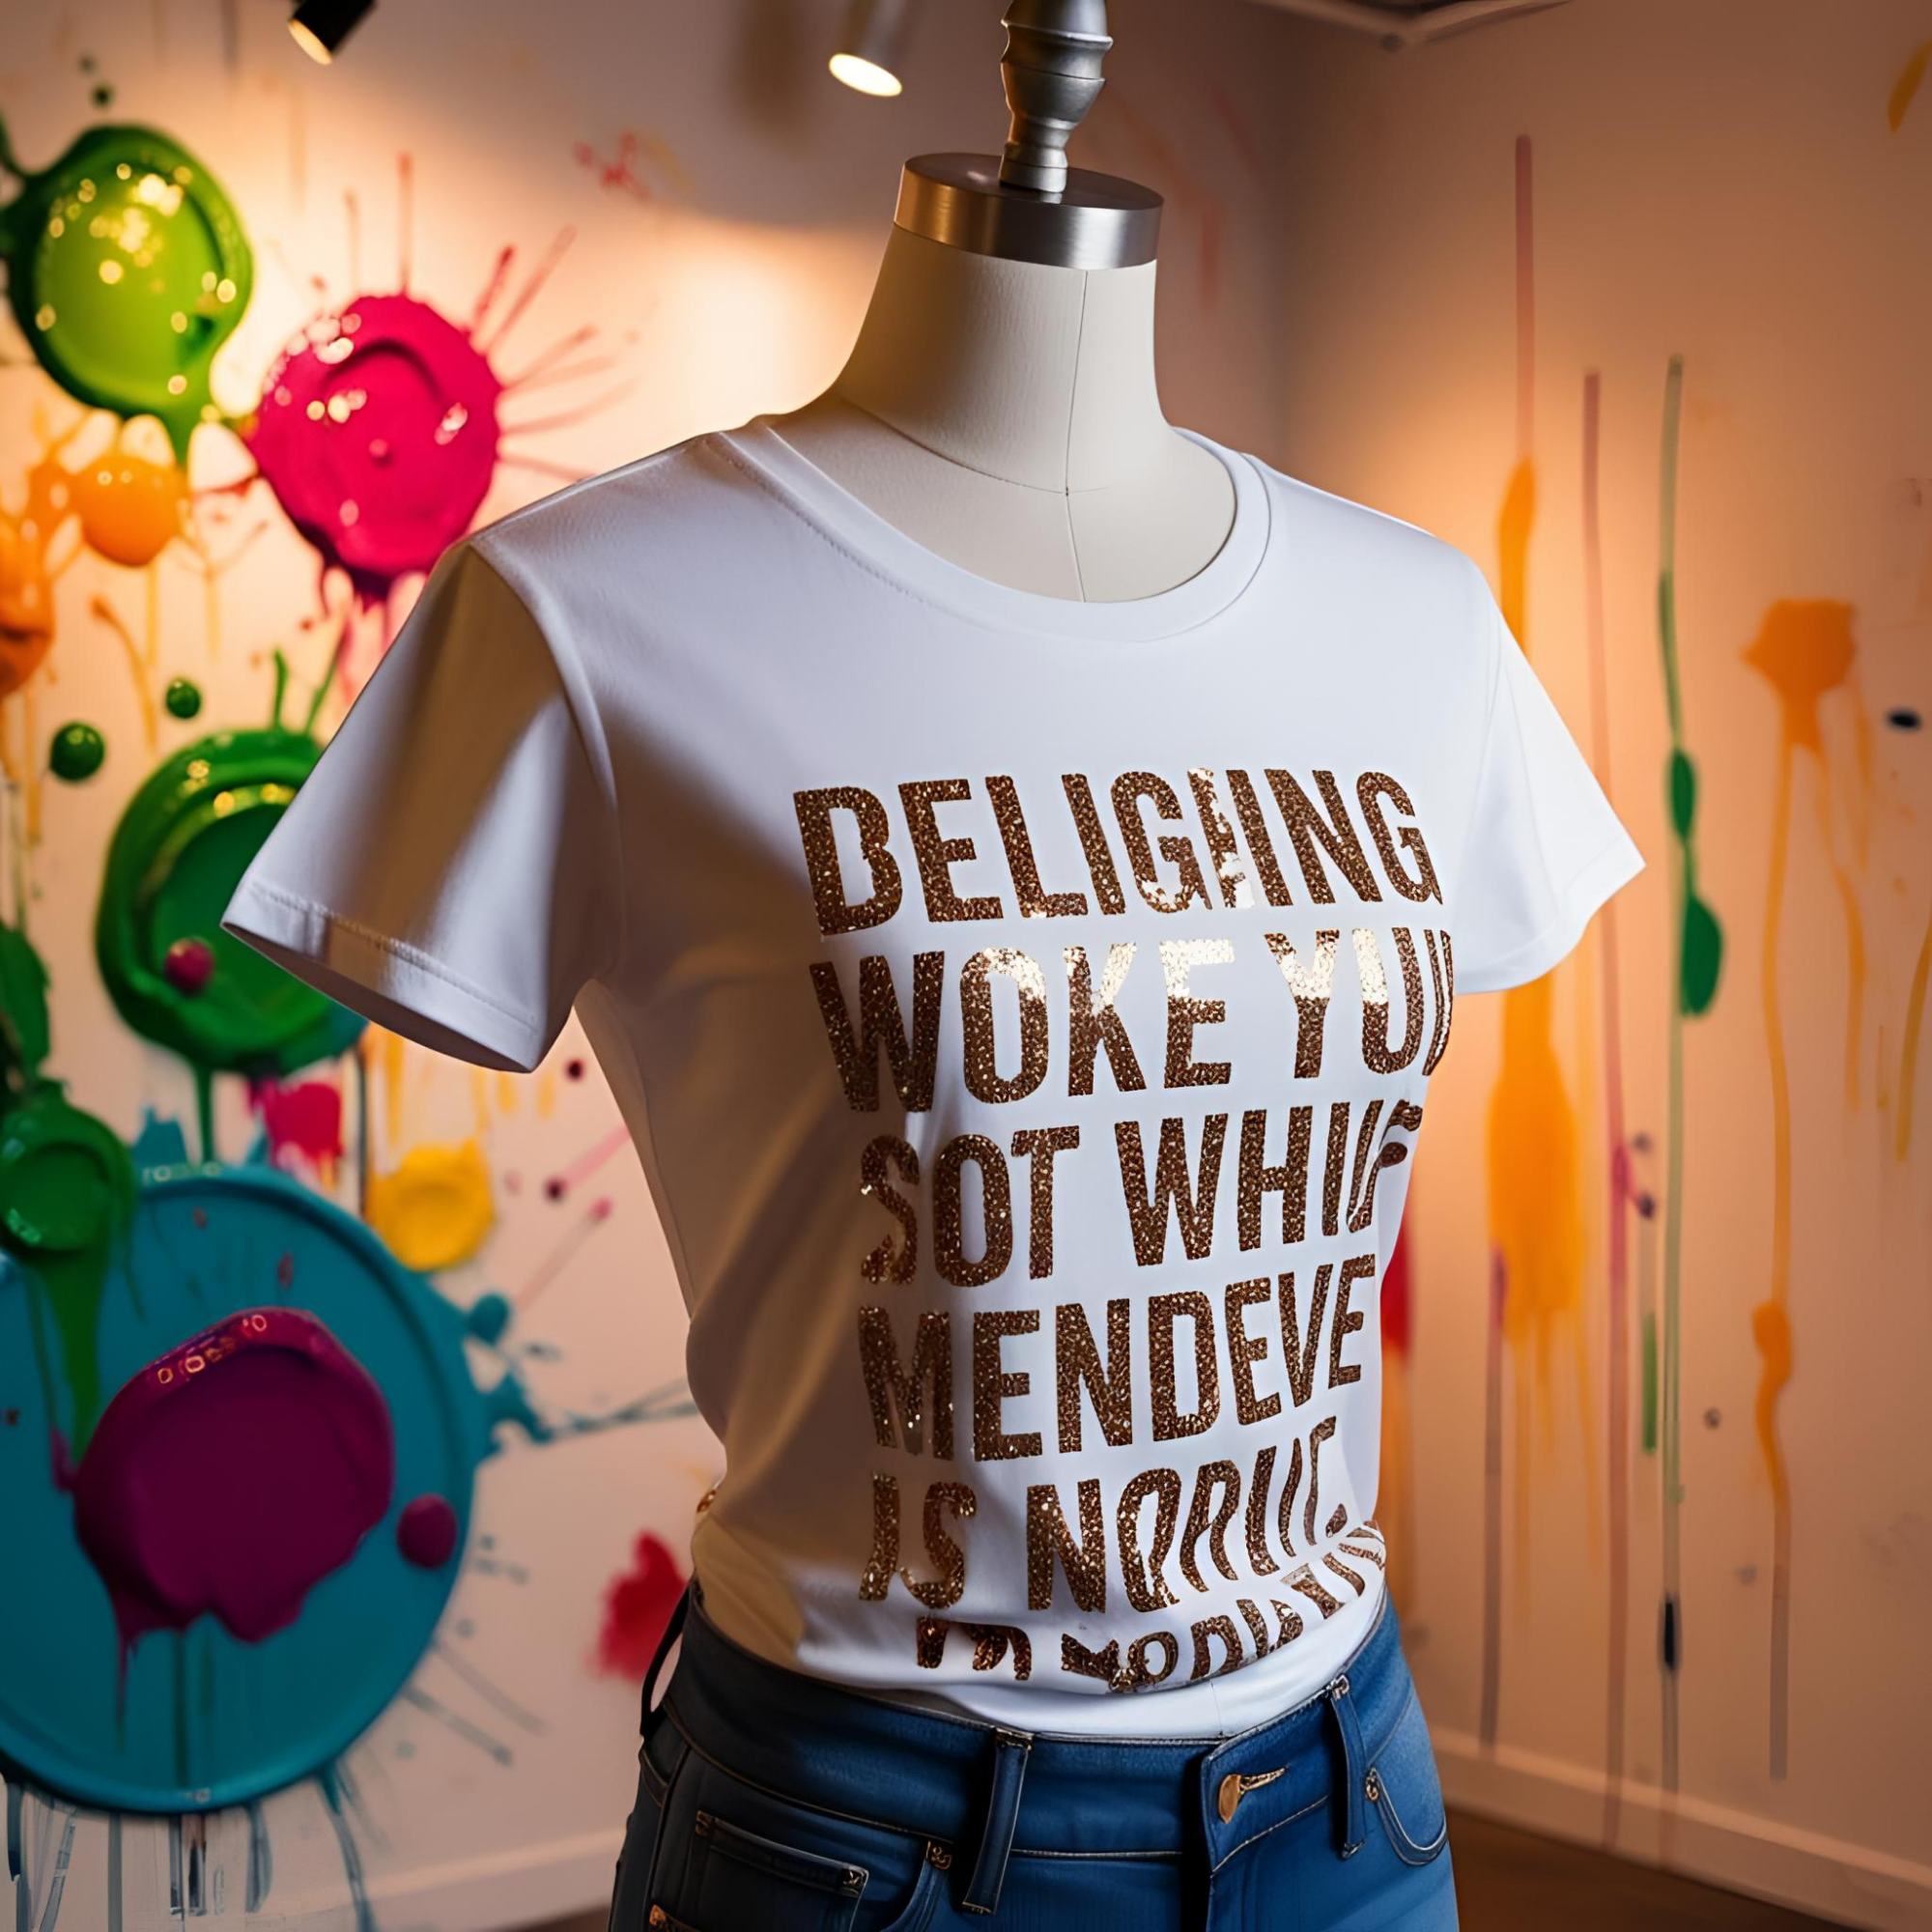
Direct to Film (DTF) printing is the fastest-growing technology in the custom apparel world. It allows you to create high-quality transfers that can be applied to almost any fabric. For beginners, the process might seem complex at first glance. However, once you understand the basic steps, it becomes a highly efficient workflow. This guide is designed to break down the core techniques used in professional DTF shops.
The beauty of DTF Printing lies in its simplicity and versatility. Unlike other methods, you don't need to be an expert in textile chemistry to start. You simply need the right equipment and a clear understanding of the process. From selecting the film to the final heat press, every step matters for a perfect result. Let's dive into the essential techniques that will help you master this craft.
Understanding the DTF Printing Process
The DTF Printing process starts with digital artwork on a computer. This design is sent to a specialized inkjet printer. The printer uses unique DTF inks to print the image onto a translucent PET film. First, the colored (CMYK) layers are printed. Immediately after, a solid white ink layer is printed on top of the colors. This white layer acts as the foundation for the entire design.
After DTF Printing, the wet ink is coated with a special adhesive powder. This powder sticks only to the printed areas of the film. The film then goes through a curing oven or under a heat press to melt the powder. Once the powder turns into a smooth, tacky layer, the transfer is ready. You can apply it to a garment immediately or store it for later use. This "print-first, apply-later" flexibility is a major benefit for small businesses.
Essential Equipment for Beginners
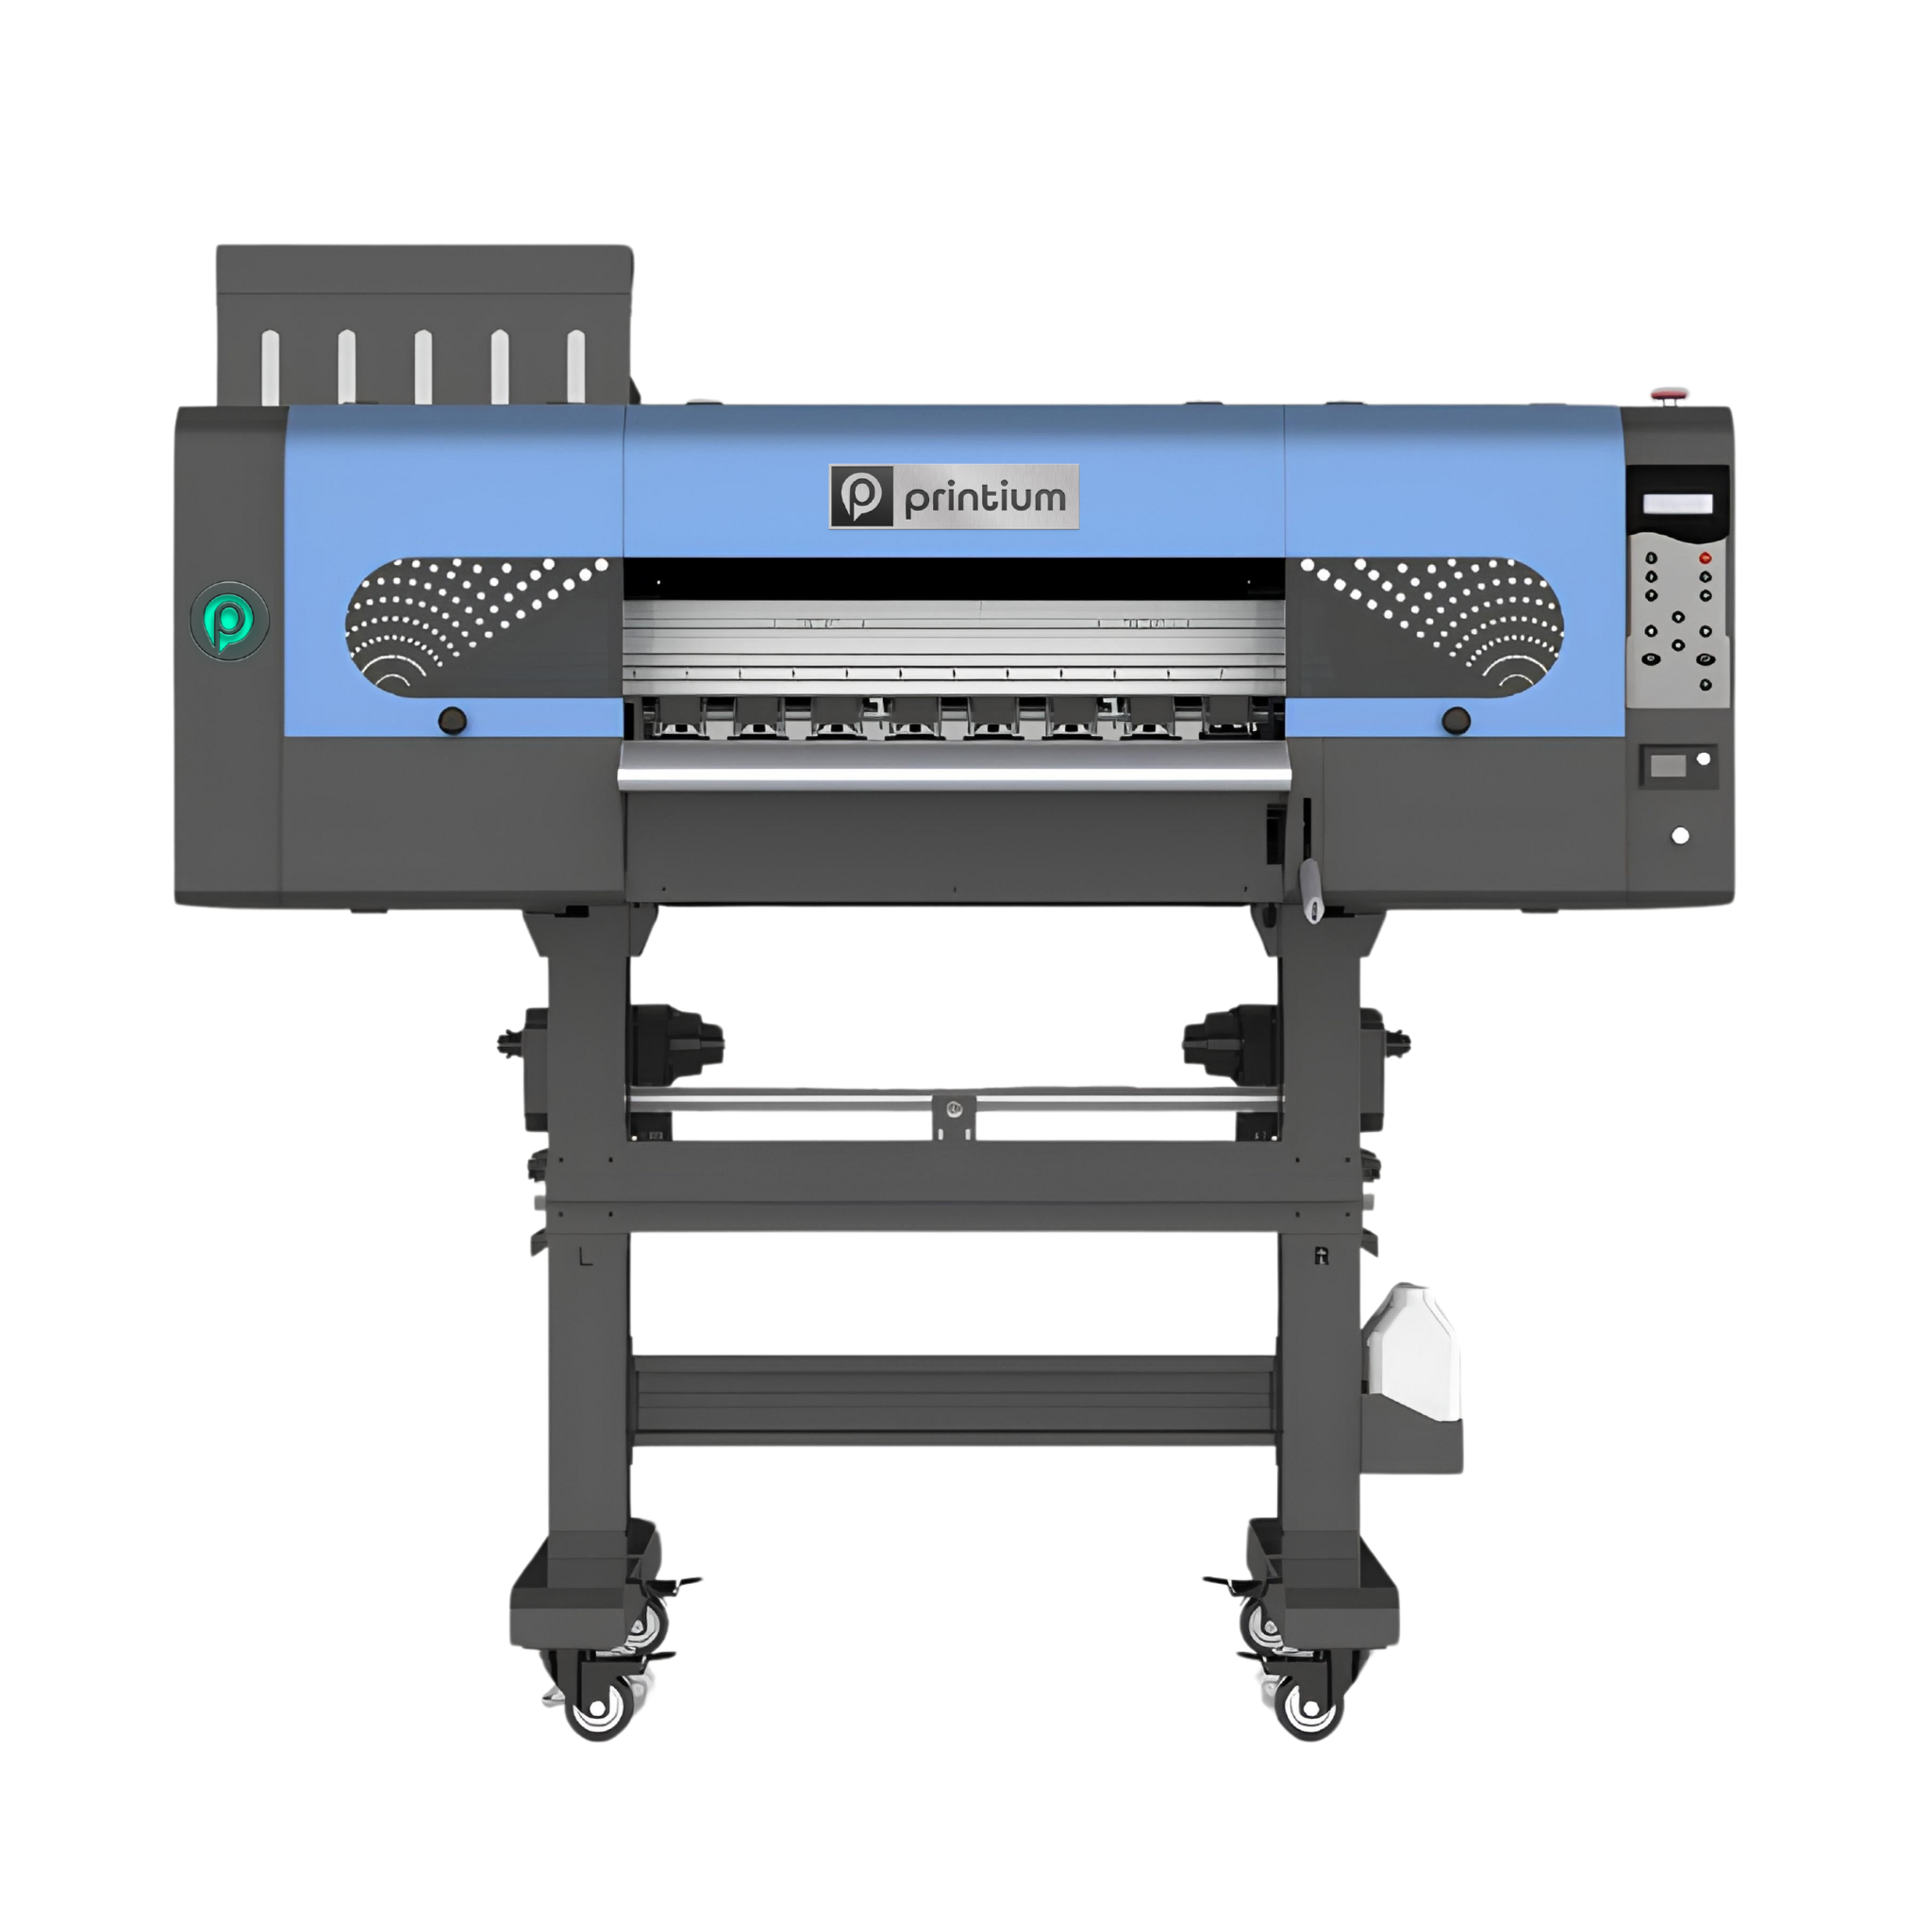
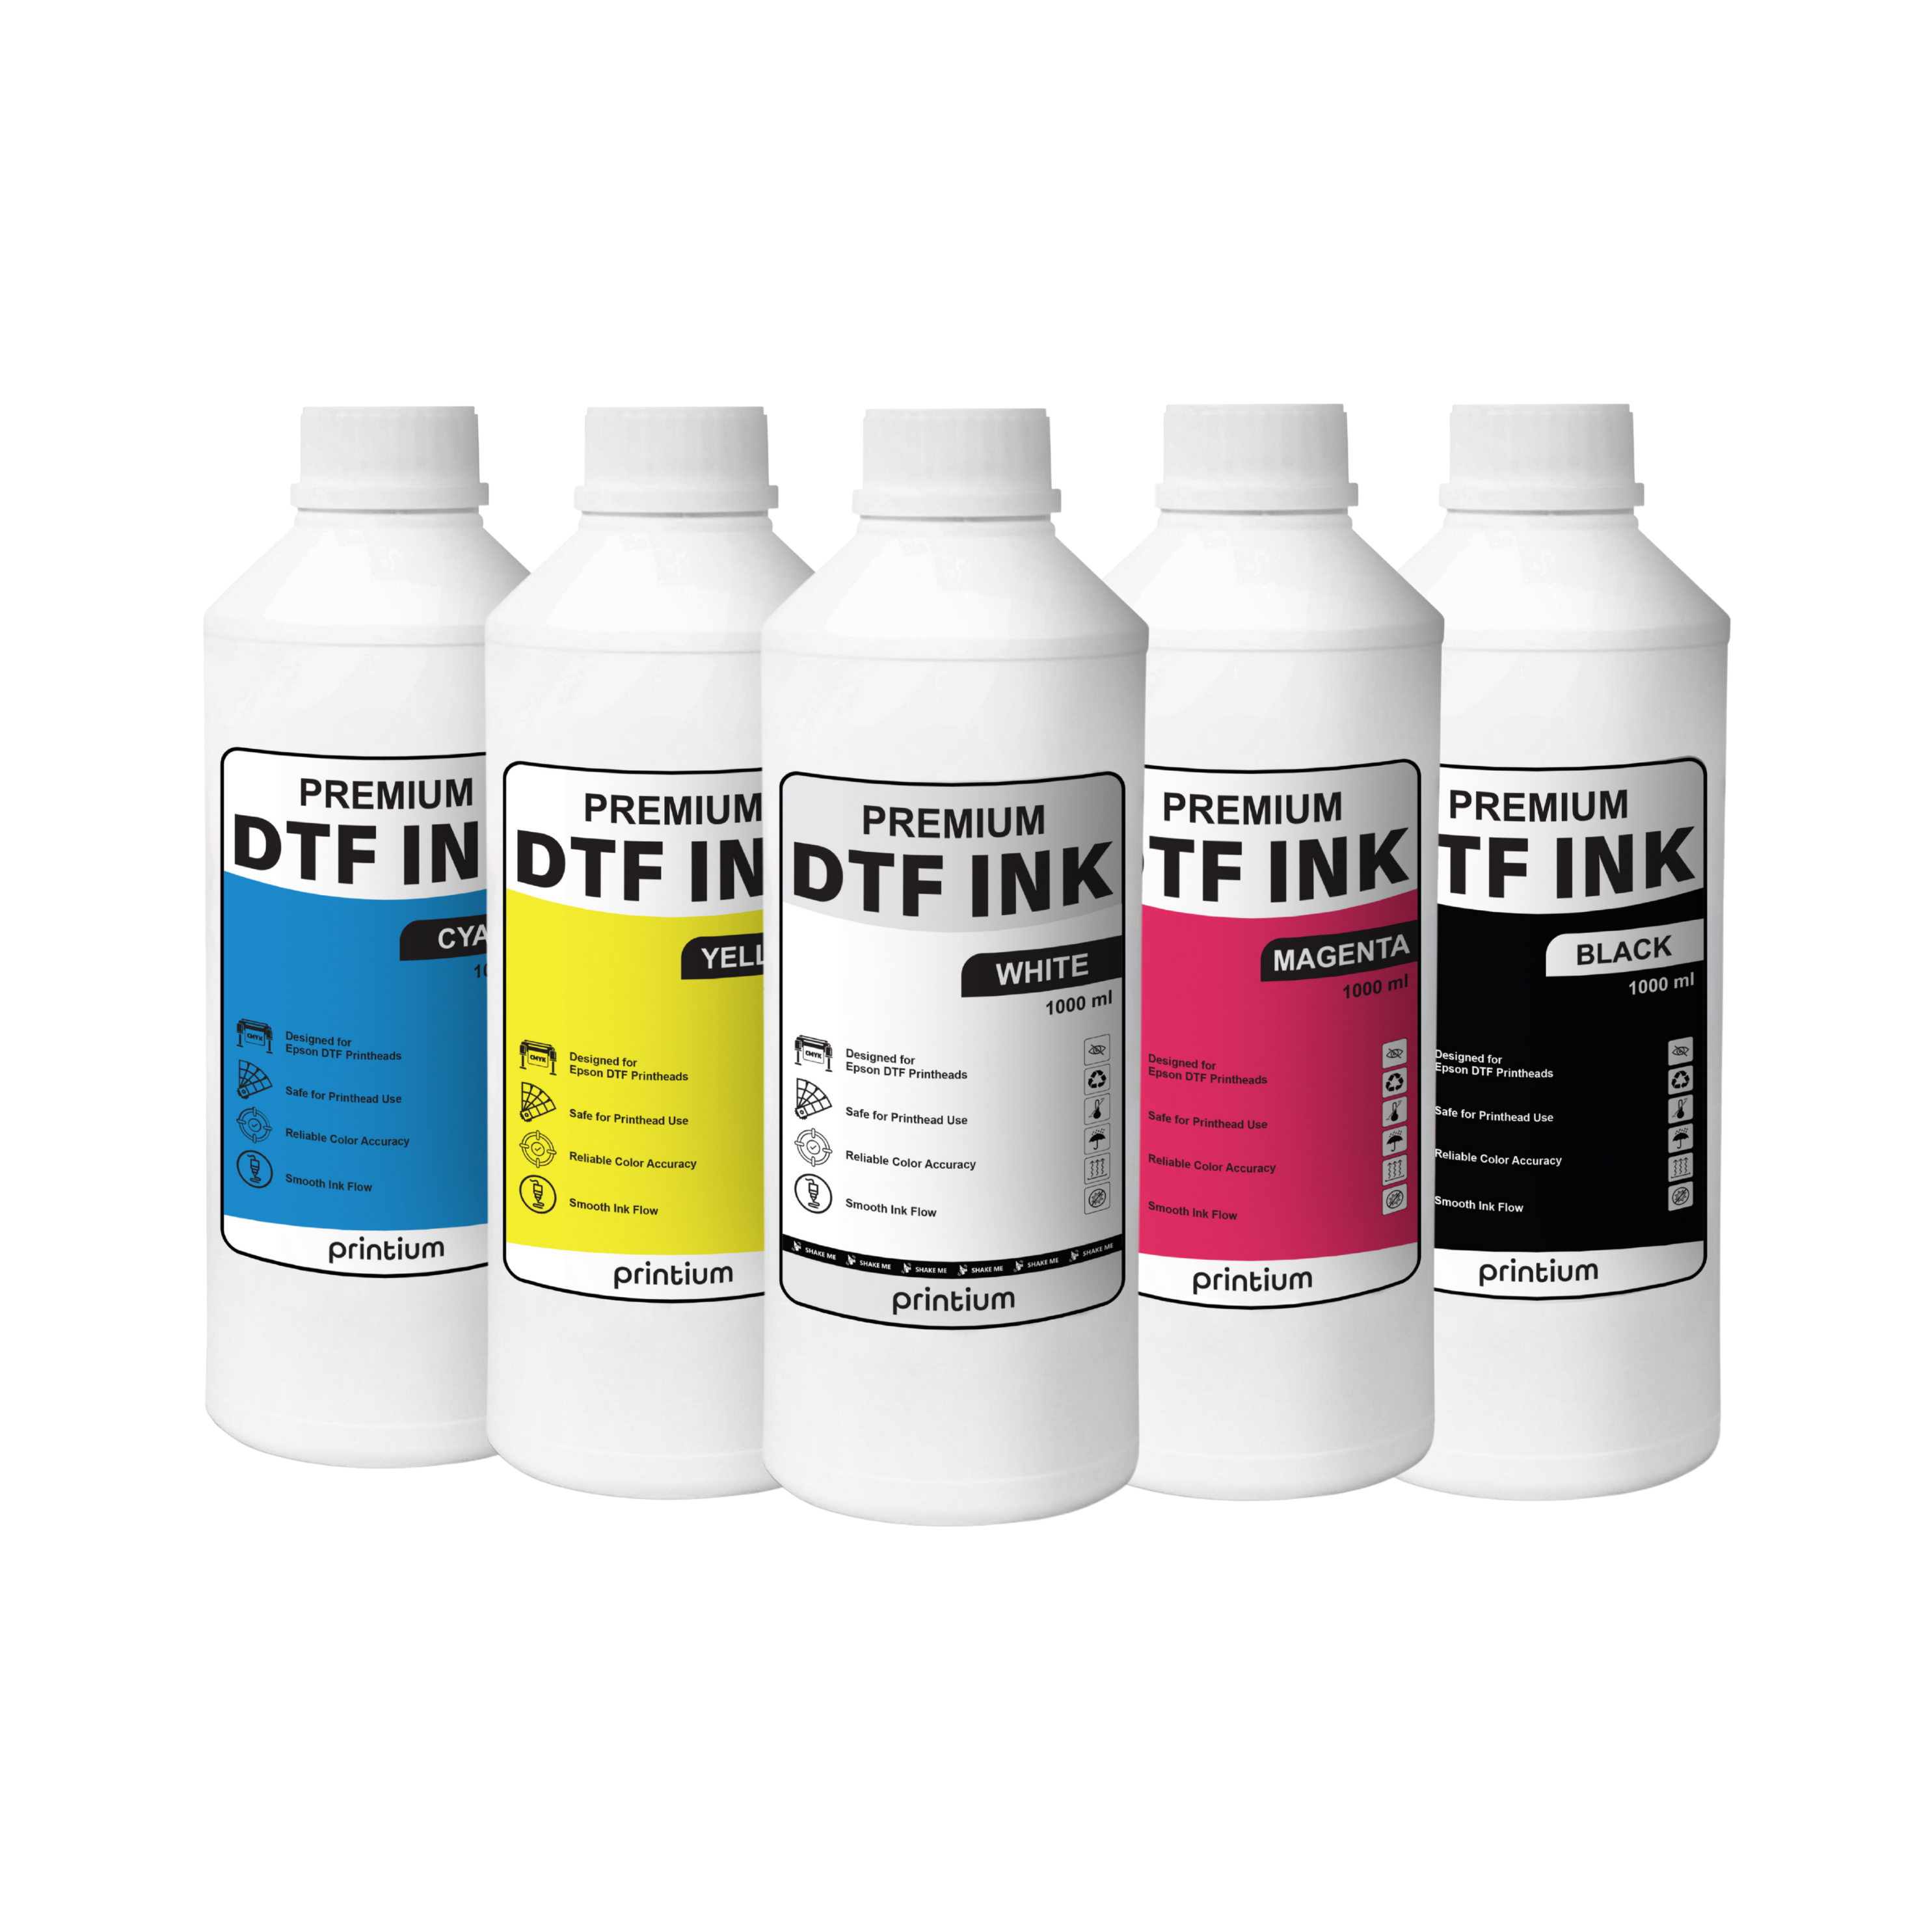
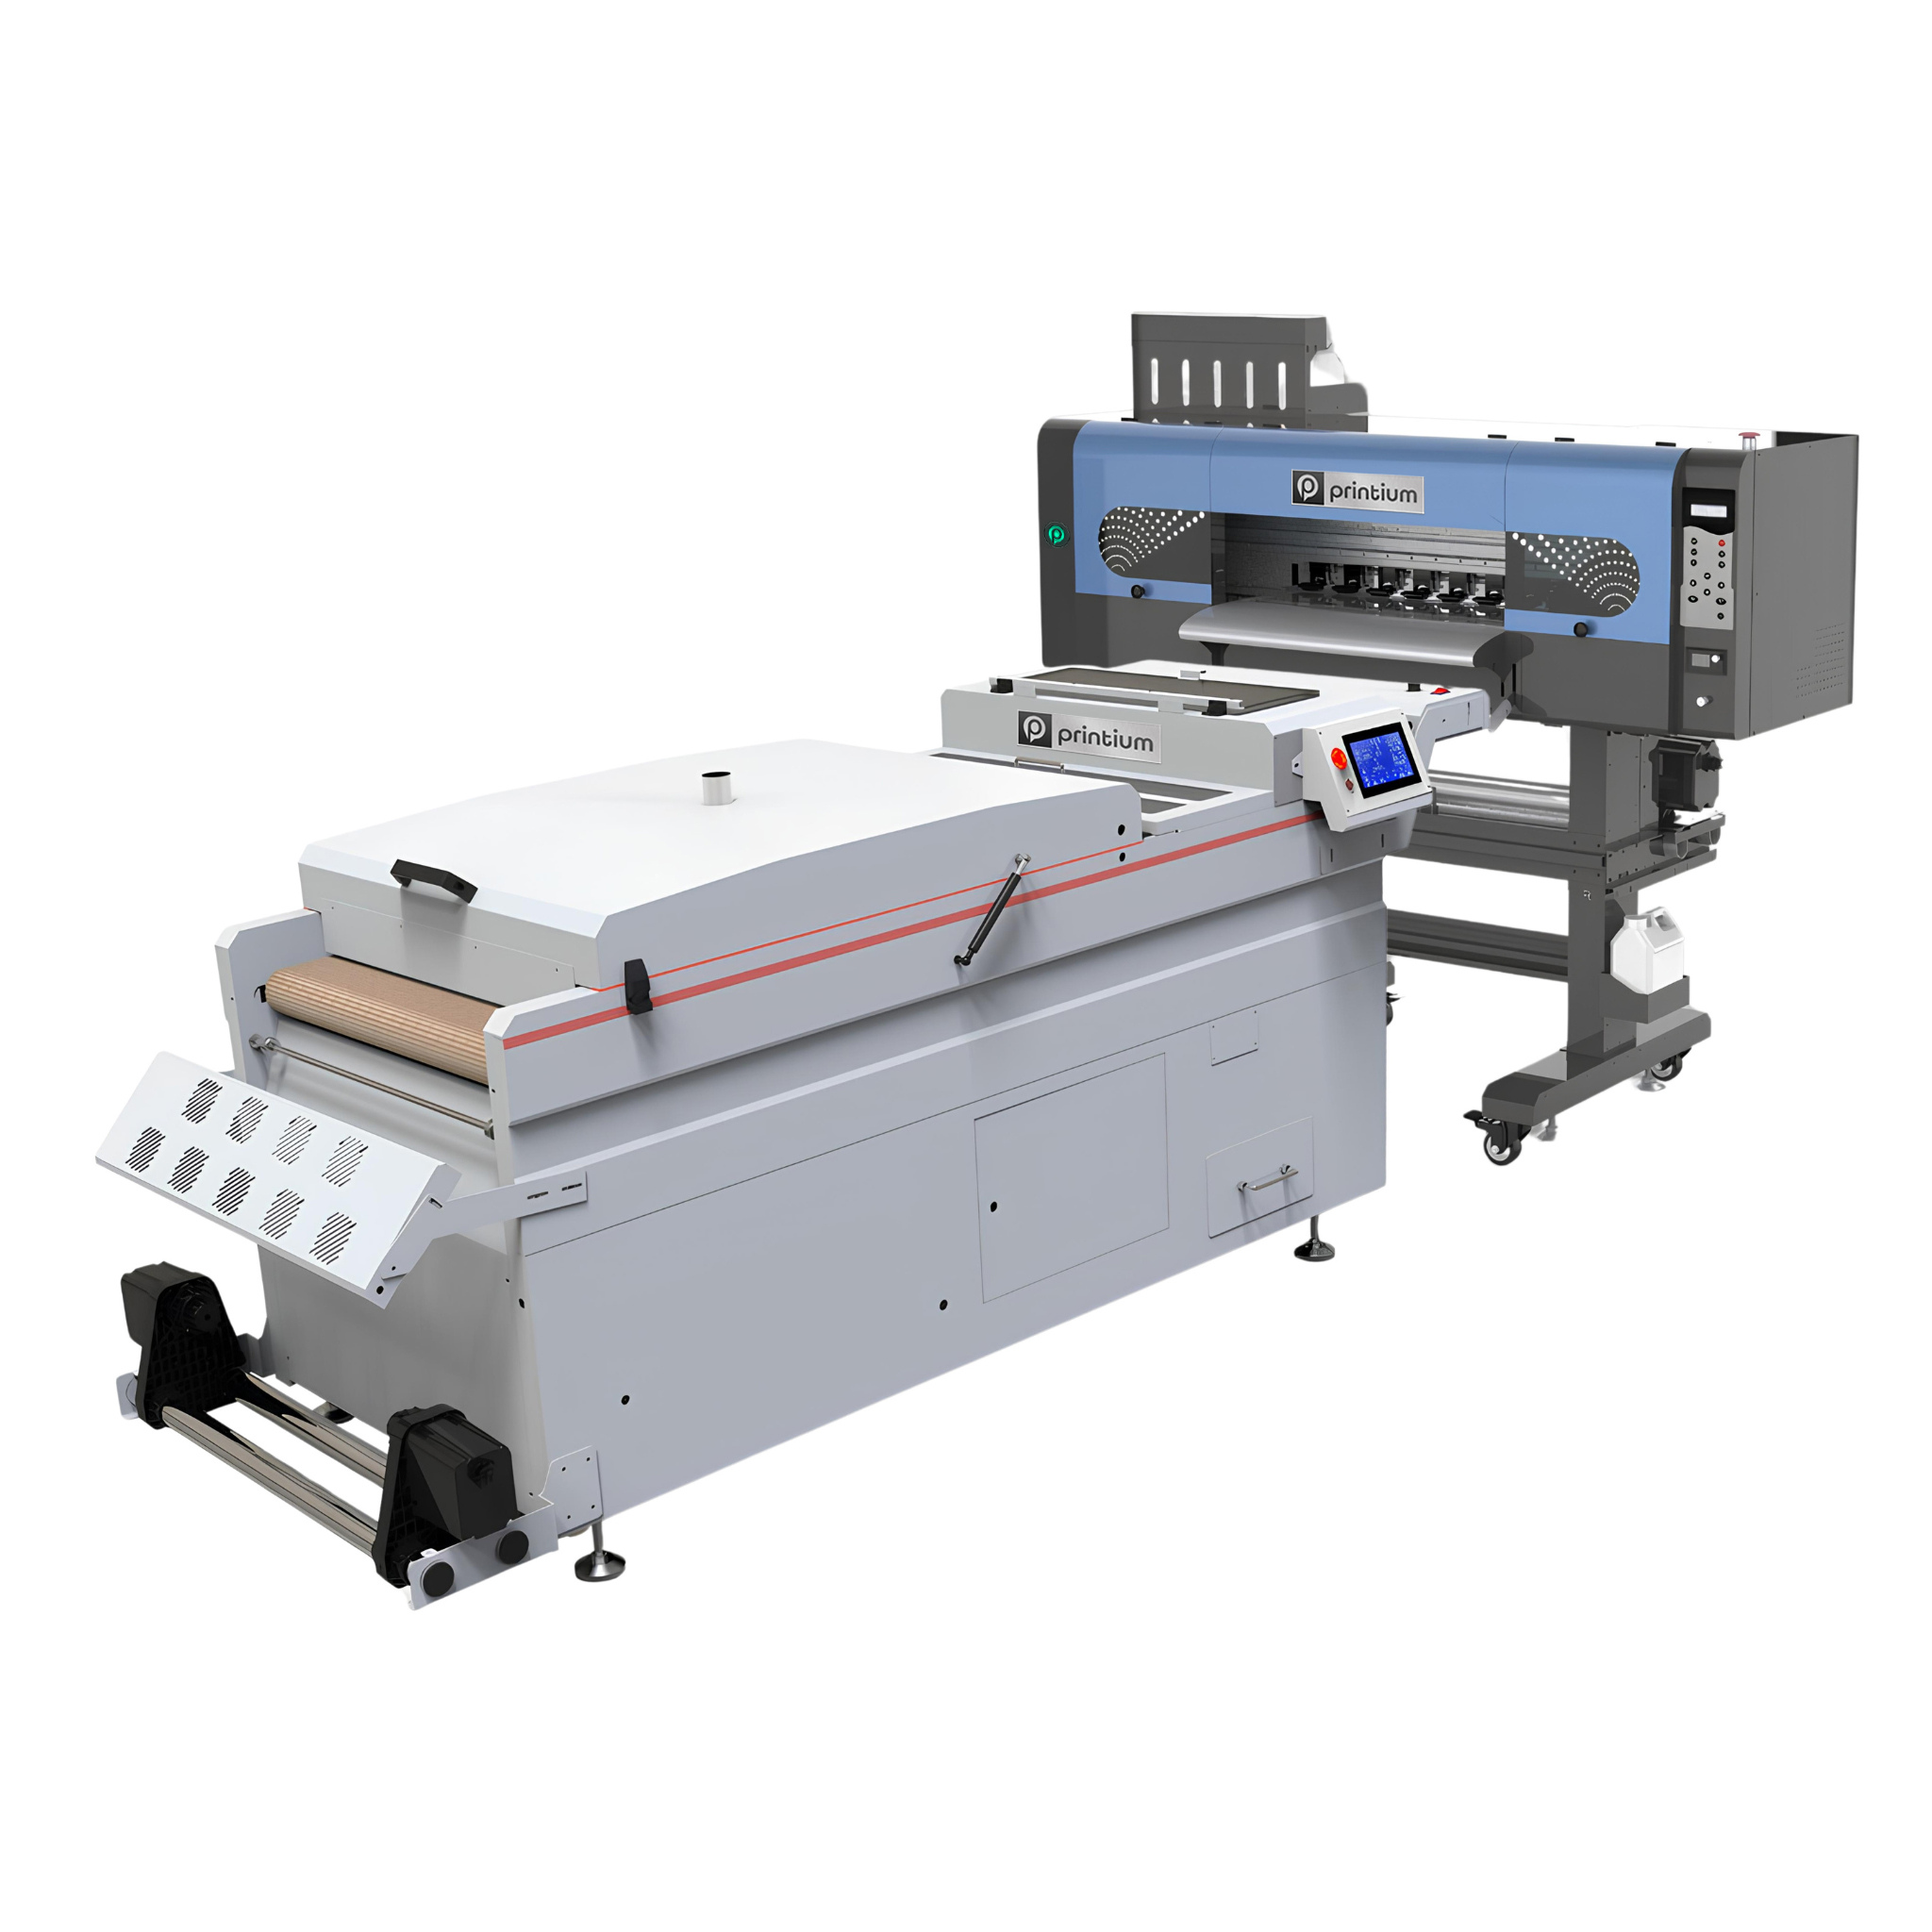
To start your DTF journey, you need a few core pieces of hardware. First and foremost is a reliable DTF printer equipped with a white ink circulation system. White ink is heavy and can clog the printhead if it sits still for too long. A good printer ensures the ink stays fluid and ready for use. You also need high-quality PET films and DTF-specific inks for the best color reproduction.
The second critical tool is the powder shaking and curing unit. For beginners, this can be a manual powder station or an automated machine. The goal is to apply an even layer of adhesive powder across the wet print. Finally, you will need a professional heat press. This machine provides the consistent temperature and pressure required to bond the transfer to the fabric. Investing in quality tools at the start prevents many common production headaches.
Preparing the Digital Artwork
Successful DTF printing starts with a high-resolution digital file. We recommend using vector files (AI, EPS, or SVG) or high-quality raster images (PNG with transparency). The background must be completely removed so the printer only applies ink to the design. If there are stray pixels or semi-transparent edges, the white ink base may look messy. Always check your "transparency" settings before hitting the print button.
The software used to manage the print is called RIP (Raster Image Processor) software. This software allows you to control the ink density and white ink underbase. It also lets you "mirror" your design before printing. Mirroring is vital because you are printing on the back of the film. When you flip the film onto the shirt, the design will face the correct way. Mastering your RIP software is the fastest way to improve your print quality.
Applying the Adhesive Powder
Applying the powder is a technique that requires attention to detail. Once the film leaves the printer, the ink is still wet. You must cover the wet areas completely with the hot-melt adhesive powder. If you are doing this manually, gently rock the film to ensure the powder reaches every corner. Then, flick the back of the film to remove any excess powder from the non-printed areas.
Leftover powder on the blank parts of the film can cause "speckling" on the garment. This looks like tiny dots of glue around your design. Using an automated shaker helps achieve a more consistent result for high-volume jobs. The powder must be stored in a dry, cool place to prevent clumping. Proper powder application is the secret to a transfer that feels soft but stays strong.
The Curing Stage: Turning Powder to Glue
Curing is the chemical process of melting the adhesive powder into the ink. This is usually done in a curing oven or under the hovering platen of a heat press. The temperature typically ranges between 110°C and 150°C. You must watch for the powder to change from a grainy white to a shiny, "orange peel" texture. If you under-cure the film, the transfer will not stick to the shirt.
Over-curing is also a risk. If the film gets too hot for too long, the ink can bubble or the film can warp. This can lead to "oil leaks" or poor wash fastness. Beginners should run several test strips to find the "sweet spot" for their specific oven and powder. Once cured, the film is no longer wet and can be handled easily. This is the stage where the magic happens and your design becomes a permanent transfer.
Heat Press Techniques for Success
The final step is pressing the transfer onto your chosen garment. Every fabric reacts differently to heat and pressure. For standard cotton shirts, a temperature of 150°C for 15 seconds is a common starting point. Ensure the garment is pre-pressed for 5 seconds to remove moisture and wrinkles. Place the transfer on the shirt, cover it with a Teflon sheet, and lock the press.
One of the most important techniques to learn is the "peel" method. Most DTF films are either "Cold Peel" or "Hot Peel." Cold peel films must be completely cool to the touch before you remove the plastic. If you peel too early, the design may lift off the fabric. Hot peel films allow you to remove the plastic immediately after the press opens. Always check your film's specifications to avoid ruining a perfectly printed design.
Why Quality Control Matters
As a beginner, developing a habit of quality control will save you money. Always perform a "nozzle check" on your printer every morning. This ensures that all ink channels are firing correctly and colors will be accurate. Check the cured film for any "pinholes" or uneven powder coverage before pressing. A small mistake on the film is much cheaper to fix than a ruined garment.
Wash testing is another vital part of the learning process. Take your first few samples and put them through several heavy wash cycles. Look for any fading, cracking, or lifting at the edges. If the print holds up, your techniques are correct. If not, you may need to adjust your heat press pressure or curing temperature. Continuous testing is the path to becoming a DTF expert.
Conclusion
Mastering DTF Printing is an exciting journey that opens up endless creative possibilities. As we have covered in this 900-word beginner’s guide, success comes from attention to detail. From artwork preparation to the final cold peel, every step is a skill to be refined. By using the right equipment and following these core techniques, you can produce professional results from day one.
The world of custom apparel is waiting for your designs. DTF technology gives you the power to print on almost anything with vibrant, durable results. Stay patient as you learn the nuances of your specific setup. With practice, you will soon be creating high-end transfers that rival the best in the industry. Your future in digital printing starts with these fundamental techniques.
If you are looking to dive deeper into the technical details of the transfer process, don't miss our comprehensive blog post on DTF Transfer Film. This article explains the essential role of PET films in achieving high-quality results and provides expert tips on choosing the right film for your specific production needs.
You can stay up to date with the latest digital printing projects and professional services by following DTF Print Depot across our social media channels. Explore our high-quality transfers and vibrant designs on